- Encrypted paymentSecure, encrypted checkout
- Tracked worldwideFree on 3+ bottle bundles
- 30-day guaranteeMoney-back if it is not for you
- Clear labellingCoverage and results stated honestly
Stock up & save
Choose your RustGuard™ bundle
Listed in USD and billed in USD; your bank converts to AUD at checkout.
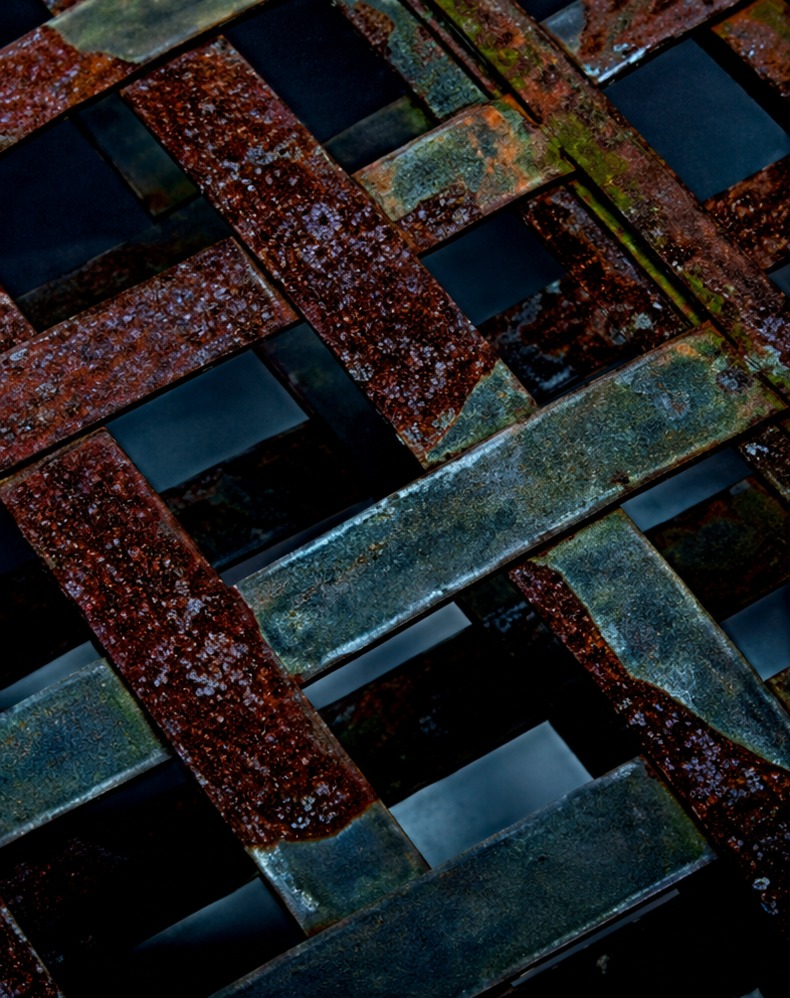
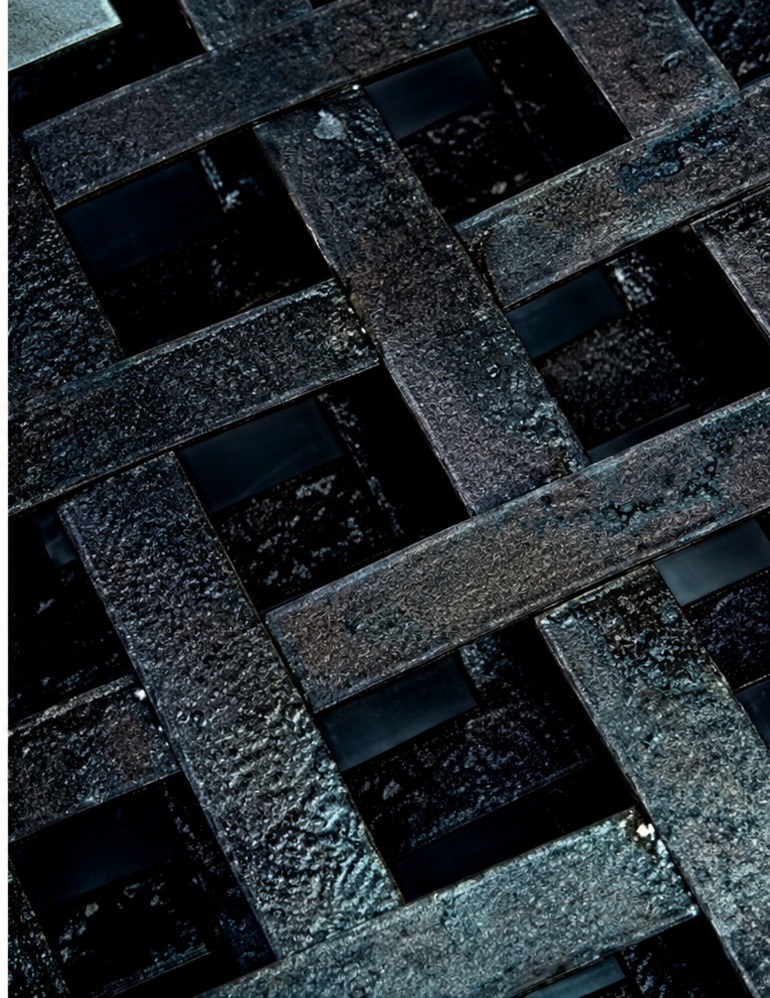
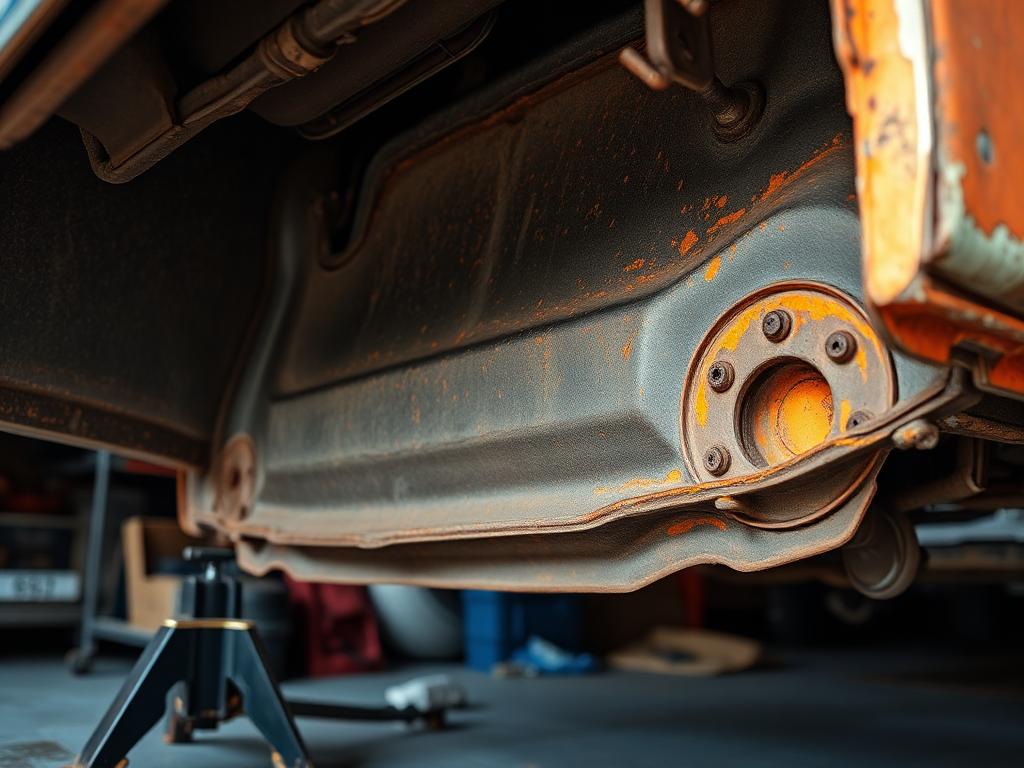
Rusted metal in, paint-ready surface out
Brush RustGuard™ over sound rust, let it cure, then paint. Images are illustrative — results depend on surface condition and preparation.
The short answer
On a car, a converter is for the steel you can reach but cannot blast: arches, sills, floor pans, boot floors, subframes and seams. Scrape off what is loose, degrease hard, brush two thin coats into the pitting, cure 24 hours, then topcoat with chassis paint. Anything a screwdriver goes through needs welding, not chemistry.
- Both rear arches: one bottle. Sills plus arches: two. Full underside: three to five
- Mask brakes, fuel and brake lines, bushes and connectors before you open the bottle
- Two thin coats on salted, pitted steel — the second is where the durability comes from
- Cure fully before underseal or paint, or you will trap moisture and blister it
Where rust shows up first
The areas worth checking before you order.
- Wheel arch lips and inner arches where road salt collects
- Sill and rocker panels below the door seal line
- Floor pans and footwells, especially under old carpet underlay
- Boot floor, spare wheel well and battery tray
- Subframes, suspension turrets and rear beam
- Bonnet and tailgate seams where water sits in the fold
Step-by-step on this job
- 01
Get the car up and lit
Ramps or axle stands on level ground, wheels chocked, and a bright inspection light. You cannot treat what you cannot see.
- 02
Feather the paint edge
Where rust has broken through, sand back until you reach sound paint with no lifting edge. Vacuum the dust out of the seams.
- 03
Degrease hard
Underbody film is oil, wax and road grime. Wash with detergent, rinse, and let it dry fully — trapped water stops the reaction.
- 04
Brush the converter into the pitting
Work along seams and inside lips with a small brush. Two thin coats on pitted areas beats one heavy coat.
- 05
Cure 24 hours, then topcoat
Chassis paint, underbody schutz or acrylic enamel all go over the cured film. Do not shortcut the cure — trapped moisture blisters the topcoat.
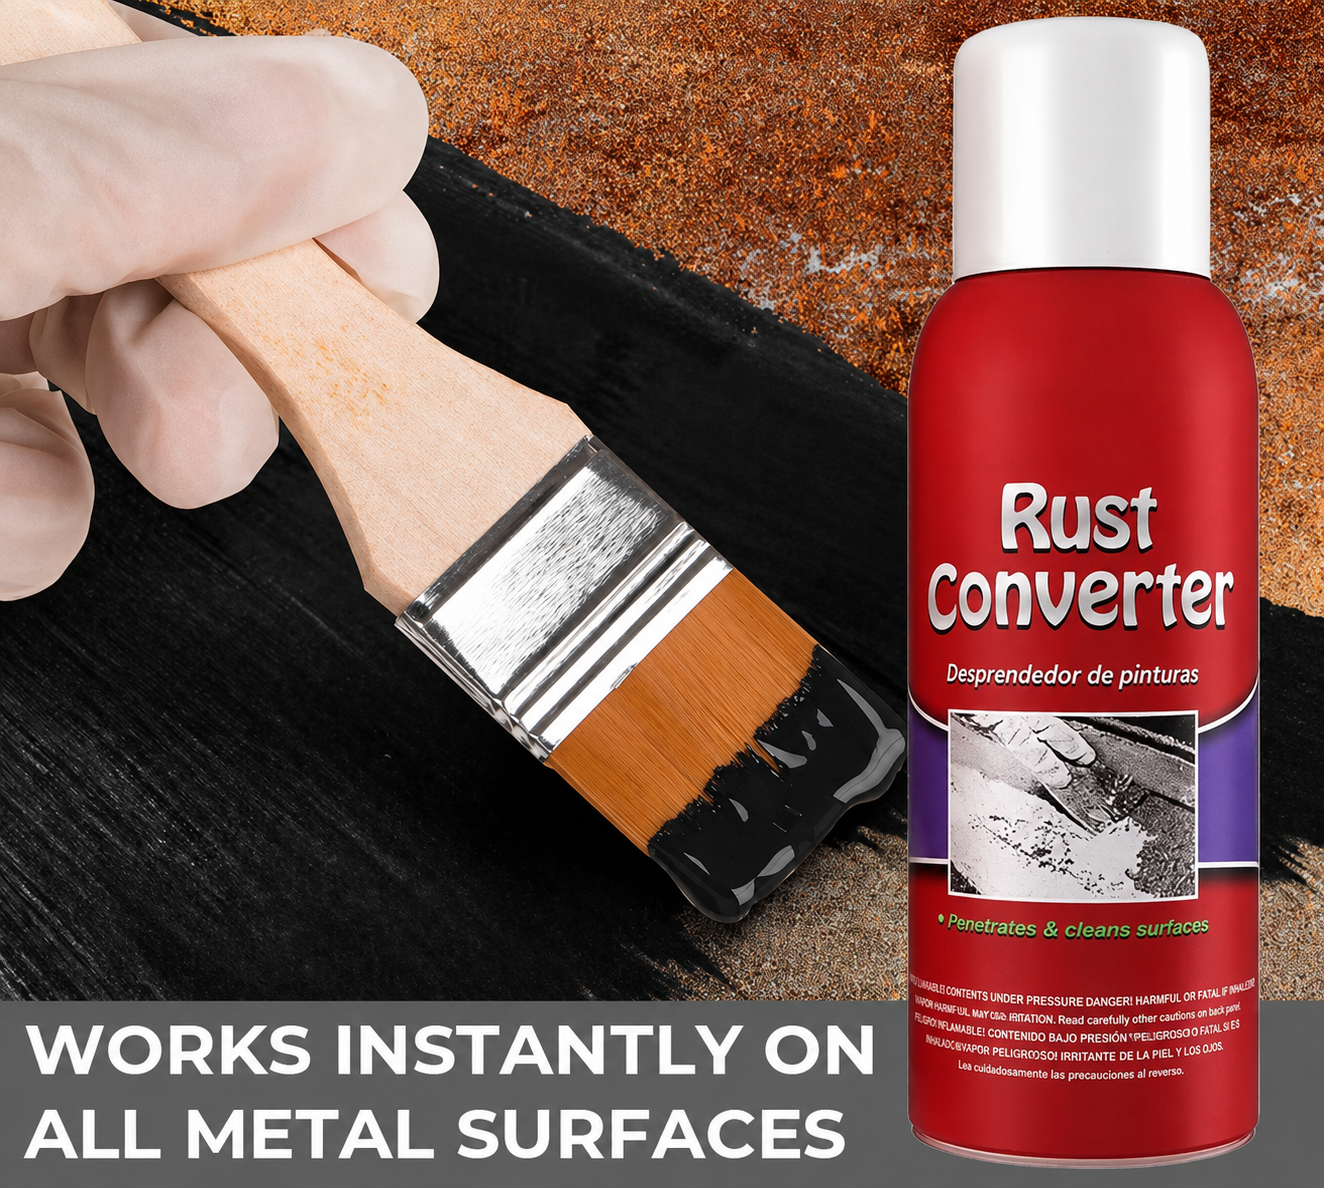
What not to do
The cautions that save a re-do.
- Never apply near brake friction surfaces, discs, pads or wheel bearings
- Mask fuel and brake lines, rubber bushes and electrical connectors
- Keep it off glass, trim and good paint — wipe overspill immediately while wet
- If a screwdriver goes through the panel, it needs welding, not converter
Typical quantities
A starting point based on the jobs customers order for most often.
| Job | Bottles |
|---|---|
| Both rear arches | 1 bottle |
| Sills plus both arches | 2 bottles |
| Full underside of a hatchback | 3–5 bottles |
| Floor pans and boot floor | 2 bottles |
| Full 4x4 or van underside | 5–8 bottles |
Work out your exact quantity
Area
100 sq ft
Bottles needed
3
Recommended bundle
×3 — $42
Based on up to 55 sq ft per bottle on smooth steel, adjusted for surface condition. Estimates only — measure generously.
Why converters win
RustGuard™ vs the old ways
| Method | RustGuard™ | Grinding / sanding | Naval jelly | Paint straight over rust |
|---|---|---|---|---|
| Works on pitted rust you cannot reach | Partly | |||
| No power tools required | ||||
| Leaves a paint-ready surface | After priming | |||
| Stops the treated rust spreading | ||||
| Low dust, low mess | ||||
| Cost for a 100 sq ft panel | From $24 | Discs + hours | $$ | Repaint yearly |
Read the detail: rust converter vs naval jelly · converter vs remover · how to choose one
What buyers say
Rated by people who hate sanding
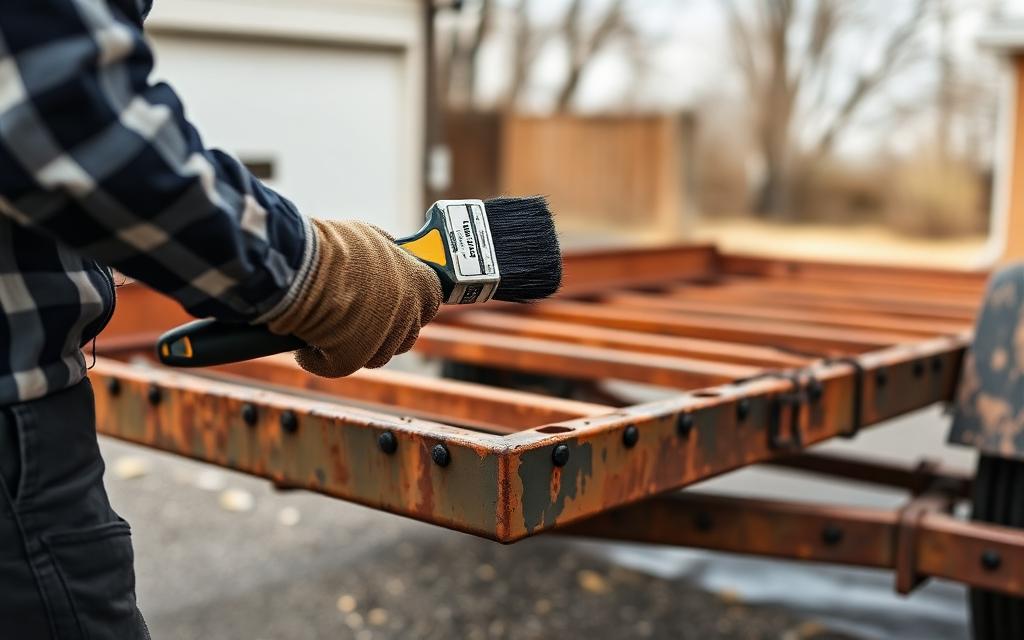
Saved my truck bed
Wire-brushed the loose scale, brushed a coat on and left it overnight. Next morning it was a flat black surface that took primer without fighting me.
Dale R. · Tucson, AZ
No more grinding for hours
I restore gates and railings. This cut my prep time in half on pitted sections where the grinder just polishes the rust around.
Marcus H. · Leeds, UK
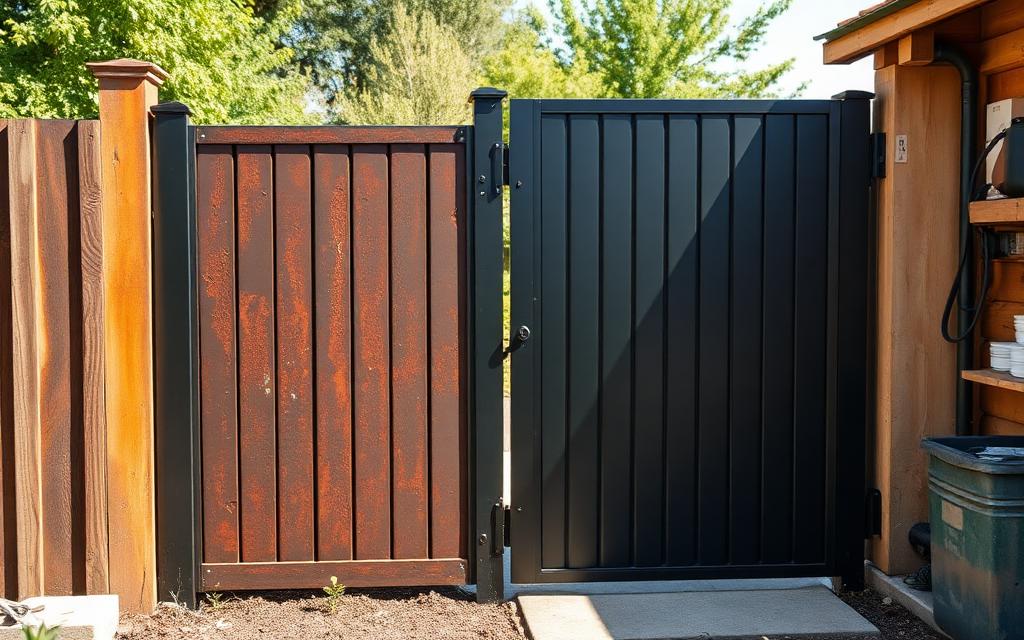
Held up through the wet season
Treated the shed roof sheets and topcoated them. Two seasons of rain later the treated panels still look the way I left them.
Janine K. · Brisbane, AU
Trailer frame looks new
Frame rails were surface-rusted everywhere. Two bottles covered the whole thing with enough left over for the tongue and jack.
Tom V. · Hamilton, ON
Simple to use
Shake, brush, wait. No mixing, no strong acid smell like the jelly products I used before.
Ricardo M. · Houston, TX
Bought the 5-pack, no regrets
Fence posts, patio furniture and a mower deck off one bundle. Ordering the workshop pack was cheaper than buying singles twice.
Ellen S. · Portland, OR
Reviews shown are illustrative sample copy while we collect verified customer feedback.
Buy with confidence
Nothing to lose but the rust
Worldwide shipping
Tracked delivery to the US, UK, Canada, Australia, EU and more. Free on 3-bottle bundles and above.
Encrypted payment
Card details are captured on a secure, encrypted checkout page. We never see or store your card number.
30-day guarantee
If RustGuard™ is not right for your project, contact support within 30 days for a refund of the product price.
No grinder needed
Brush-on chemistry designed for pitted, hard-to-reach rust where abrasives cannot get a bite.
Secure checkout
Order your RustGuard™ bundle
Pick a bundle, tap checkout — that's it. No account, no forms to fight. Your delivery address and payment are collected on the secure checkout page.
Step 1 — Choose your bundle
One bottle covers about 55 sq ft. Treating a whole vehicle, trailer or roof section? Most people need 3 or more.
Free tracked shipping unlocked
Most projects use more than they expect — the ×8 pack drops you to $9.00/bottle (you pay $11.00 now).
Step 2 — Checkout securely
Apple Pay, Google Pay and all major cards are accepted on the secure Shopify checkout — address, payment and confirmation, all in one place.
- 1Tap checkoutYour bundle is reserved in a secure cart.
- 2Pay your wayCard, Apple Pay or Google Pay — under a minute.
- 3Tracked dispatchConfirmation email instantly, packed in 1 business day.
“Ordered the 5-pack, treated the whole trailer frame and still had a bottle spare.”
Tom V. · Hamilton, ON
“Arrived tracked in five days and the brush kit saved me a trip to the store.”
Dale R. · Tucson, AZ
Reviews are illustrative while verified feedback is collected.
Why cars rust from the inside out
Almost no car rusts from the paint inwards. Water gets into a box section through a drain hole, a seam or a failed sealer, sits in the bottom of the cavity, and works outward until the paint bubbles. By the time you see a blister on a sill, the steel behind it has usually been wet for two or three winters.
That geometry decides your method. The outer surface is easy to grind and paint, and doing only that is why so many sill repairs bubble again by the following spring. The corrosion is on the inside face and in the pitting, where an abrasive cannot reach and a converter can, because it is a liquid and it wicks.
It also means drainage is part of the repair. Before you treat anything, poke every drain hole in the sills, doors and boot floor clear, and check the sunroof and scuttle drains if the car has them. Treating rust while leaving the water trap in place buys a year at most.
Bottle count by car type and job
Based on the jobs customers order for most often. Add a bottle if pitting is deep enough to want a second coat everywhere rather than in patches.
| Job | Small hatchback | Saloon / estate | 4x4, van or pickup |
|---|---|---|---|
| Both rear arches | 1 bottle | 1 bottle | 1–2 bottles |
| Sills and rockers | 1 bottle | 2 bottles | 2 bottles |
| Floor pans and footwells | 1–2 bottles | 2 bottles | 2–3 bottles |
| Boot floor and spare well | 1 bottle | 1 bottle | 1–2 bottles |
| Subframes and suspension mounts | 1 bottle | 1–2 bottles | 2 bottles |
| Whole underside | 3 bottles | 3–5 bottles | 5–8 bottles |
Working under a car without wrecking something expensive
Access first: ramps or axle stands on level ground, wheels chocked, and never rely on a jack alone. Take the wheels off for arch work — you want to reach the inner lip properly, and it keeps product well away from discs and pads.
Then mask more than feels necessary. Brake and fuel lines, flexible hoses, ABS sensor wiring, rubber bushes, driveshaft gaiters and anything threaded you may need to adjust. Converter on a bush does no harm mechanically but it makes future work unpleasant, and on a brake friction surface it is genuinely dangerous.
Light matters more than people expect. Half the missed spots on an underbody job are missed because nobody could see them: the top face of a crossmember, the back of a suspension turret, the inside lip of an arch. A bright inspection lamp and a mirror find those, and they take ten minutes.
Sills and arches, the way we would do them
- 01
Wash the underside and let it dry a full day
Salt and mud hold water. Pressure wash, then give it 24 hours in dry air — trapped moisture stalls the reaction.
- 02
Feather back any lifted paint
Where rust has broken through, sand until you reach sound paint with no lifting edge, then vacuum dust out of the seams.
- 03
Degrease and splash test
Detergent or degreaser, rinse, then flick water at it. Sheeting means clean. Beading means oil is still there — go again.
- 04
Brush the first thin coat into the pitting
Small brush along seams, inside the arch lip, into every pit. Wet and even, never puddled.
- 05
Watch the colour turn
Orange to blue-black in 20 minutes to two hours. Anything still orange is telling you it was greasy or there was no rust there.
- 06
Second thin coat after 3–4 hours
On salted, pitted steel this is not optional if you want the repair to last more than a couple of winters.
- 07
Cure 24 hours, then seal and paint
Seam sealer over the cured film where water sits, then chassis paint or underbody schutz over the lot.
The mistakes that put you back under the car next year
- Treating the outside of a sill and ignoring the cavity behind it
- Leaving drain holes blocked, so the box section refills at the next rain
- Applying to a damp underbody because the top surface felt dry
- One heavy coat instead of two thin ones on pitted steel
- Underseal over an uncured film — the classic cause of blistering months later
- Coating over perforation and calling it repaired
Inspection tests, structure and what a converter cannot sign off
Treated and painted surface rust is not an inspection problem. Corrosion within a prescribed structural area, or metal thin enough to perforate under a firm poke, is a failure regardless of what you coat it with — and coating it makes the assessment harder rather than easier for whoever looks next.
The honest test is a blunt screwdriver and moderate pressure on the worst spot. If it dents, you are in converter territory. If it goes through or the metal flexes like foil, that panel needs cutting out and welding, and no chemistry changes that.
Where a car sits in between — solid but heavily pitted — conversion is the right maintenance choice. You are stabilising what is there, sealing the pitting, and buying years while you plan proper metalwork rather than watching it get worse over another two winters.
Where it is the wrong product on a car
- Perforated sills, floors or chassis rails — welding or a patch panel, not paint
- Brake discs, pads, friction surfaces or anything that must grip
- Aluminium panels, stainless trim and bright brightwork
- Inside sealed box sections you cannot wet — use a cavity wax after the outside is done
- Exhaust manifolds and anything running above about 400°F
- Cosmetic outer bodywork where you want a smooth show finish without filler
Shipping to Australia
- Tracked delivery Australia-wide, typically 7–14 business days.
- Listed in USD and billed in USD; your bank converts to AUD at checkout.
- Free tracked shipping on bundles of 3 bottles and above.
- 30-day money-back guarantee from the date of delivery.
Frequently asked questions
Will this pass a roadworthiness or MOT test?
Surface rust treated and painted is fine. Corrosion in a prescribed structural area, or metal you can perforate, is a failure regardless of what you coat it with.
Can I use it inside the cabin?
Yes, on the floor pan with carpet and underlay removed. Ventilate the car and let it cure fully before refitting trim.
Do I need to remove the wheels?
For arch work, yes — you want proper access to the inner lip, and it keeps product off the brakes.
What about seam sealer?
Convert first, cure 24 hours, then seam sealer over the treated film, then topcoat the whole area.
How much rust converter for a whole car?
Three bottles for a small hatchback underside, three to five for a saloon or estate, five to eight for a 4x4, van or pickup. The three-pack ships free, which is why most car jobs start there.
Can I use it inside the cabin on the floor pan?
Yes, with carpet and underlay out. Ventilate the car while it dries and let it cure fully before refitting trim.
Will converter stop a bubble in my paint spreading?
Only if you feather the paint back to sound edges first and treat the exposed rust. Brushing over an intact bubble does nothing, because the corrosion is underneath.
Do I have to use chassis paint over it?
No. Chassis paint, underbody schutz, acrylic enamel and hammered finishes all work. Test a patch first with any 2K automotive system.
Is it safe near fuel and brake lines?
Mask them. It is water-based and not aggressive to metal lines, but overspray on flexible hoses and connectors is worth avoiding entirely.
Can I do this on a driveway?
Yes — no dust, no rinse water, low odour. That is the main reason converters suit home car work better than blasting.
Keep reading
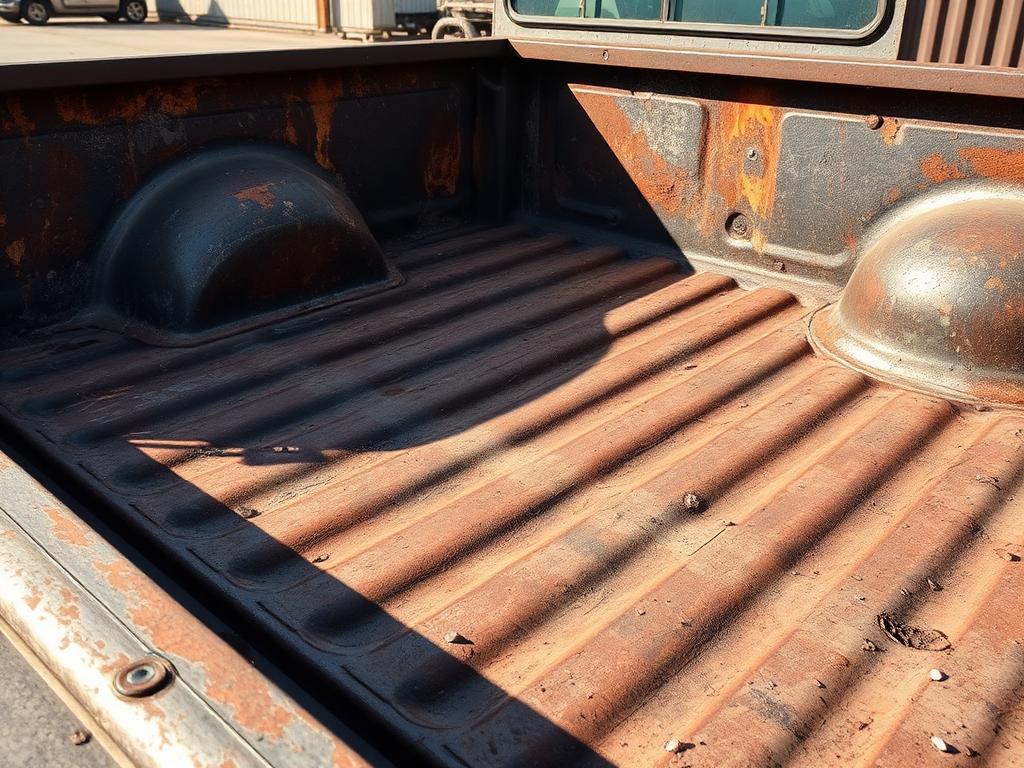
- Rust converter for trucks and pickups — AustraliaAustralia: Stop frame and bed rust on pickups and light trucks. RustGuard™ converts corrosion in place on ladder frames, bed floors and hitches.
- Rust converter for iron and steel that leaves a paint-ready surface — AustraliaAustralia: Brush RustGuard™ onto rusted iron or steel, convert the corrosion and topcoat in 24 hours. Bundles from $24, free shipping on 3+.
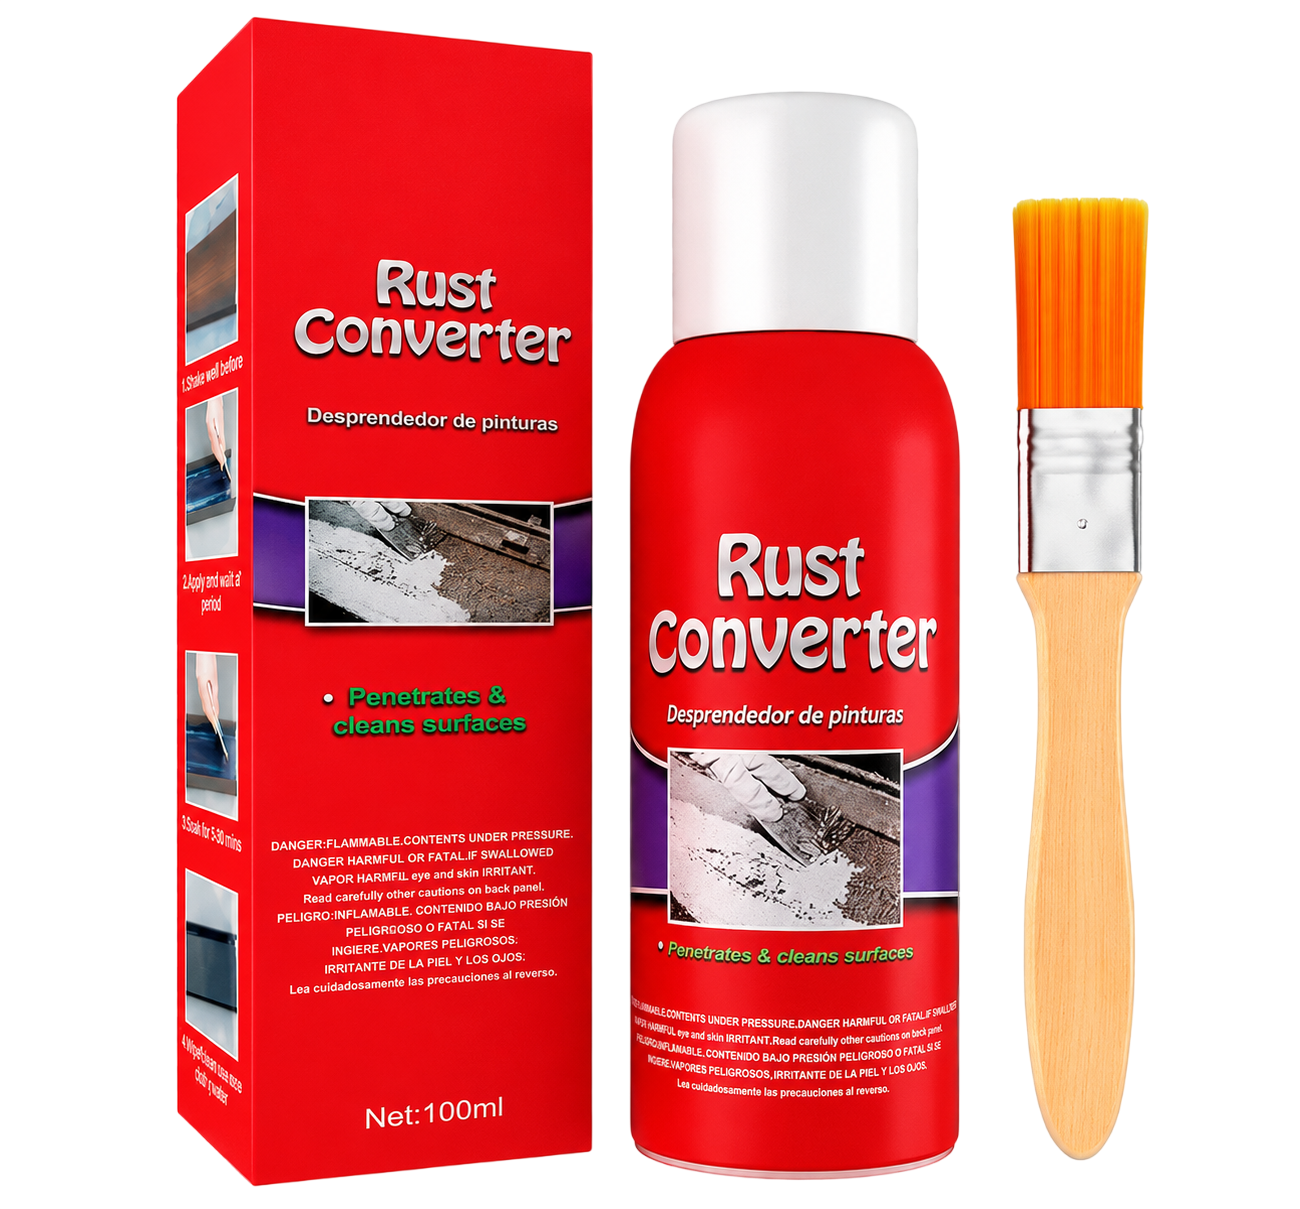
Last step
Ready to stop the rust?
Tracked delivery Australia-wide, typically 7–14 business days. 30-day money-back guarantee.