- Encrypted paymentSecure, encrypted checkout
- Tracked worldwideFree on 3+ bottle bundles
- 30-day guaranteeMoney-back if it is not for you
- Clear labellingCoverage and results stated honestly
Stock up & save
Choose your RustGuard™ bundle
Prices in USD. Free tracked shipping on 3-bottle bundles and above.
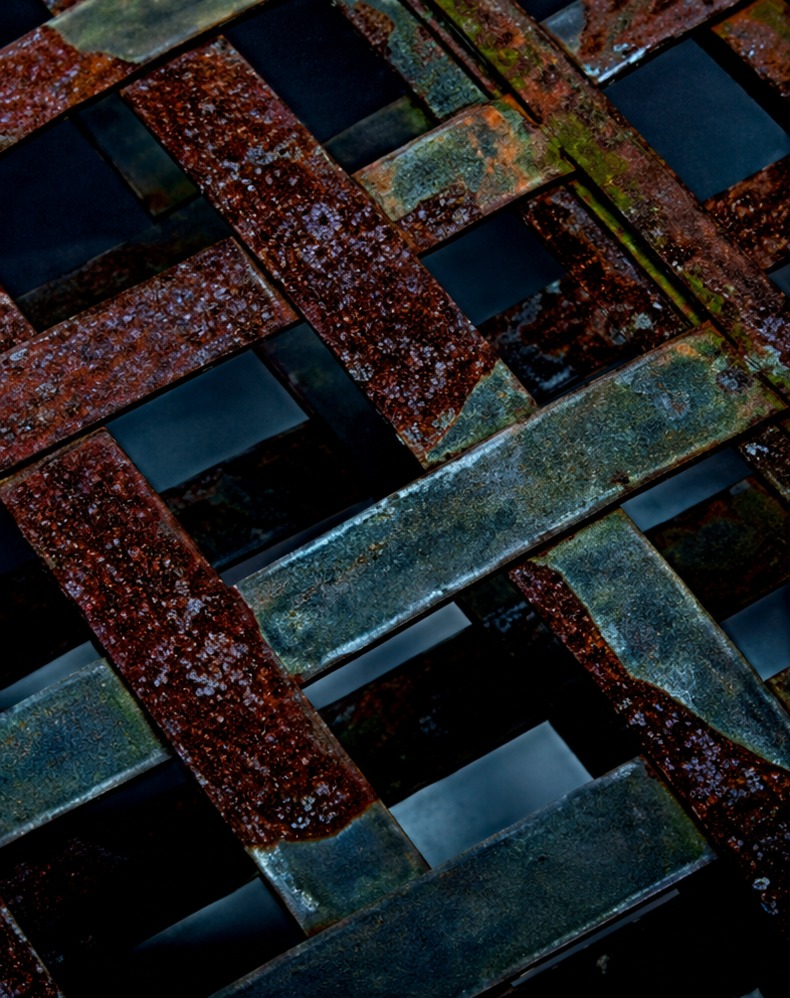
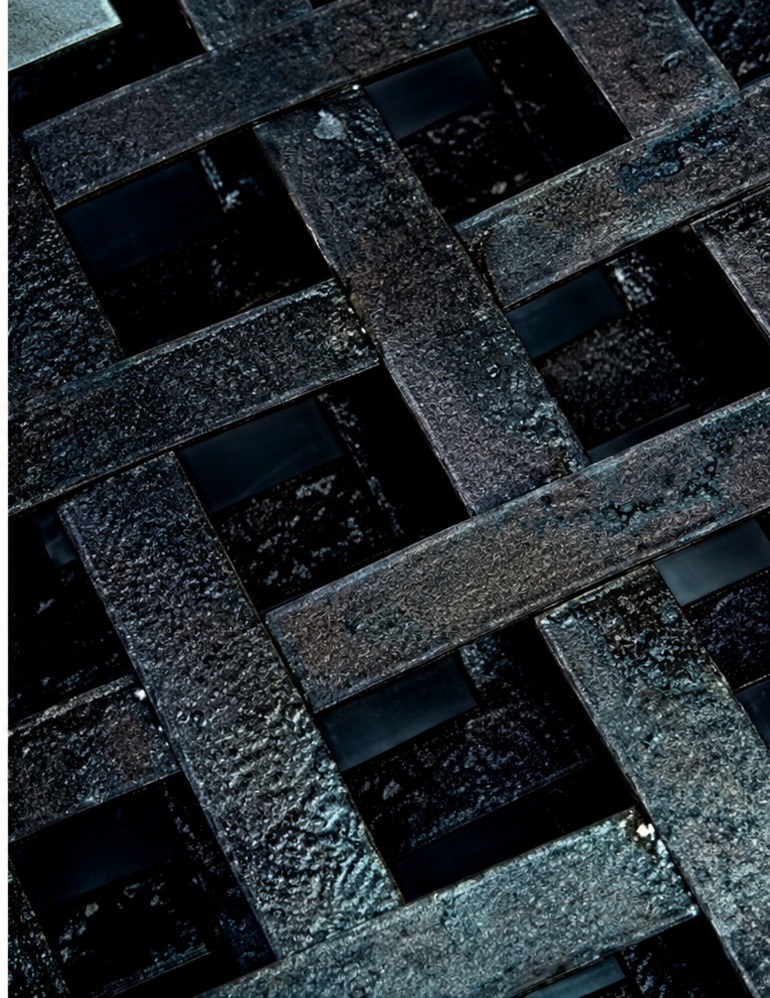
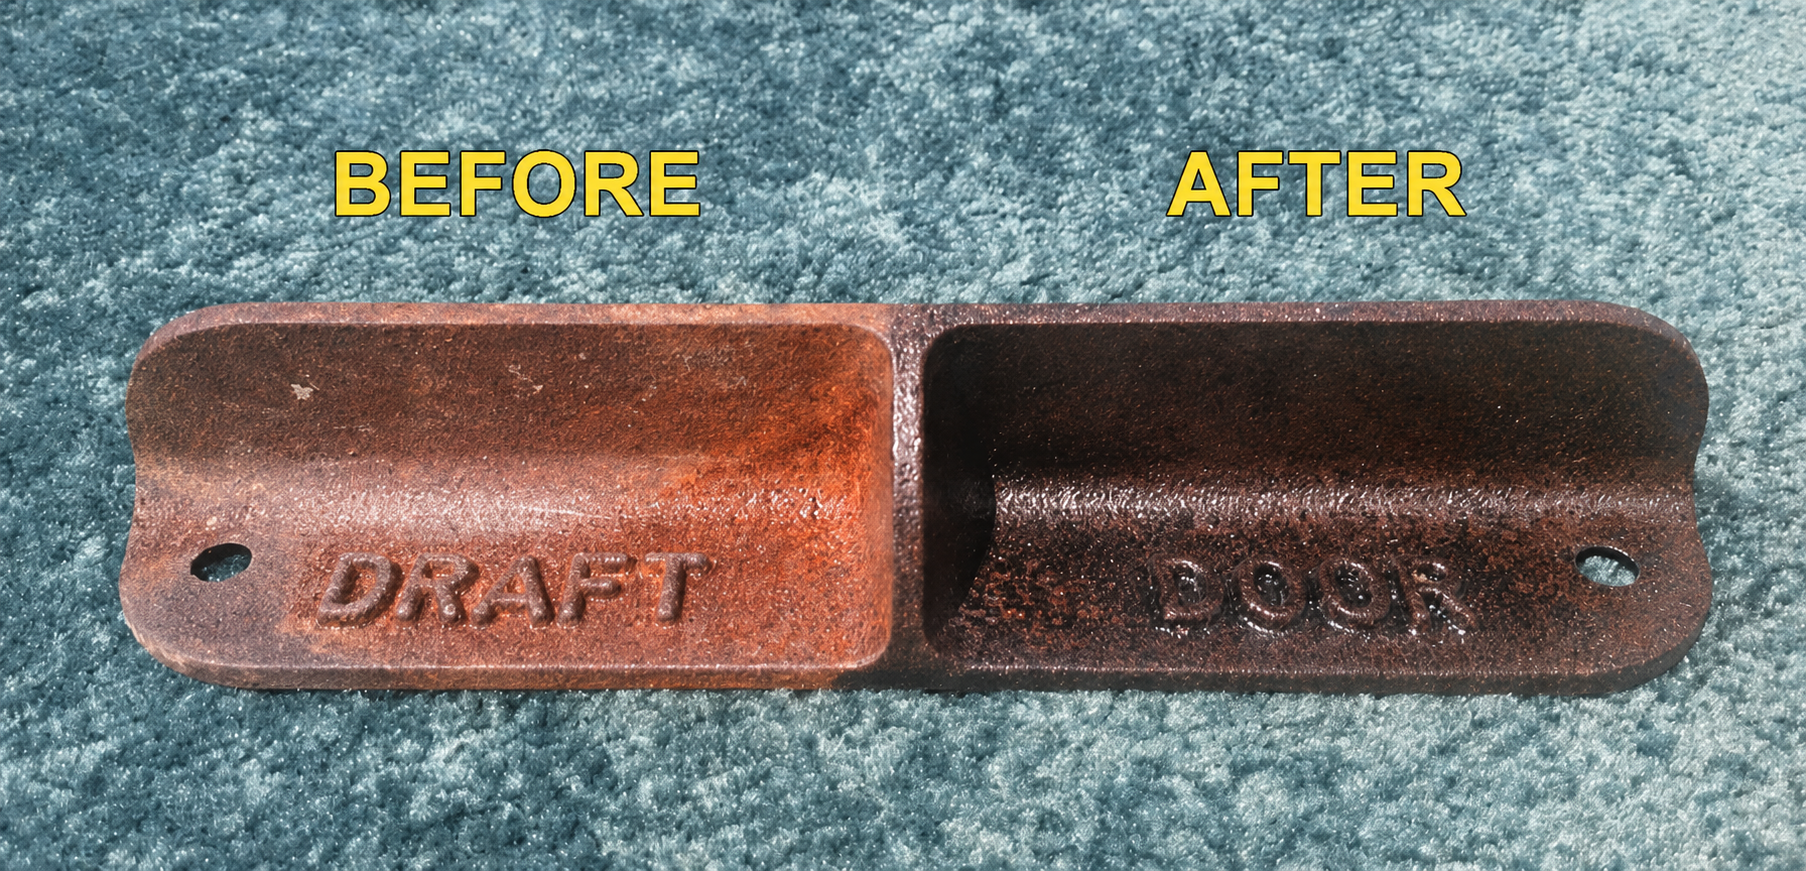
Rusted metal in, paint-ready surface out
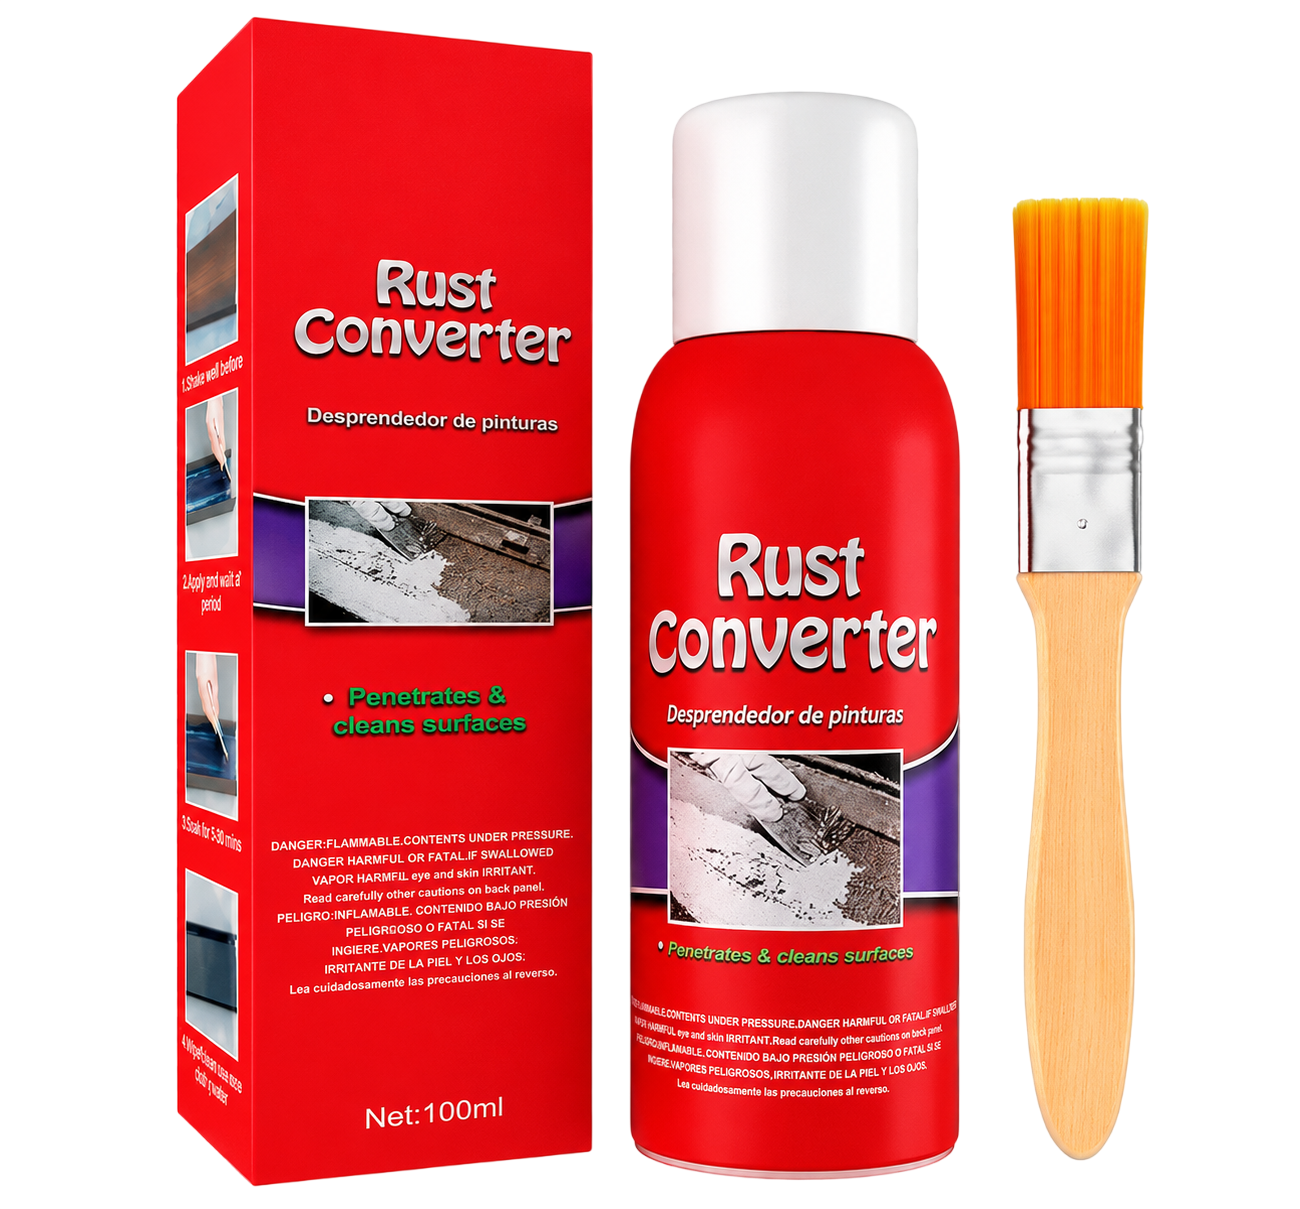
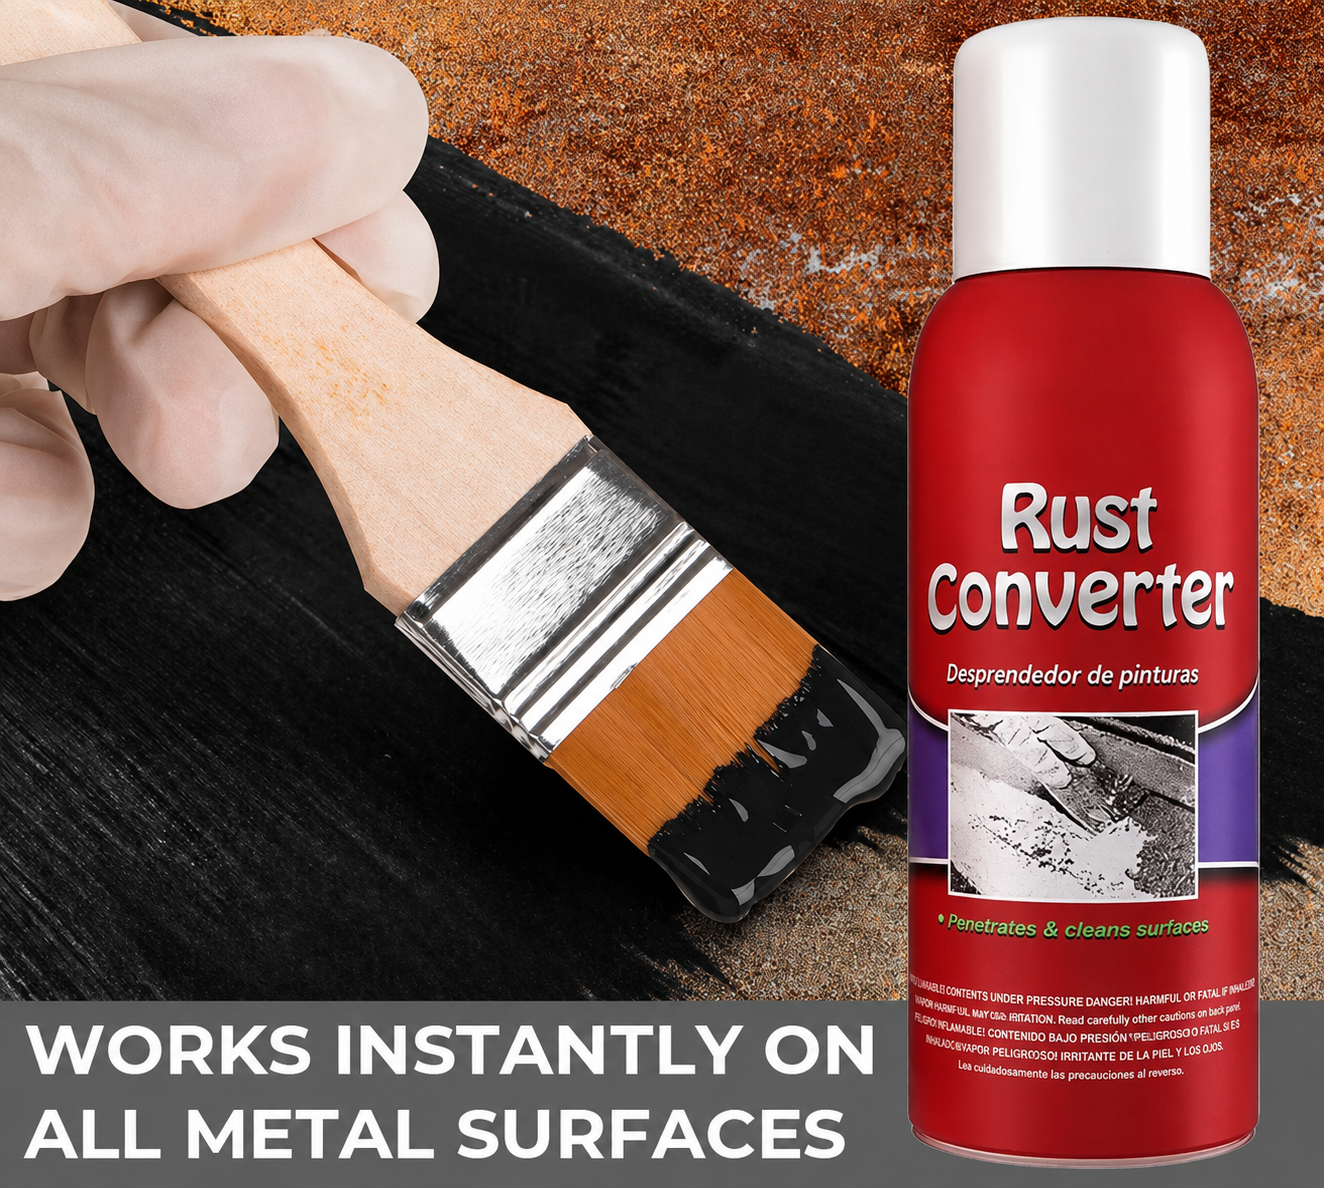
Brush RustGuard™ over sound rust, let it cure, then paint. Images are illustrative — results depend on surface condition and preparation.
The short answer
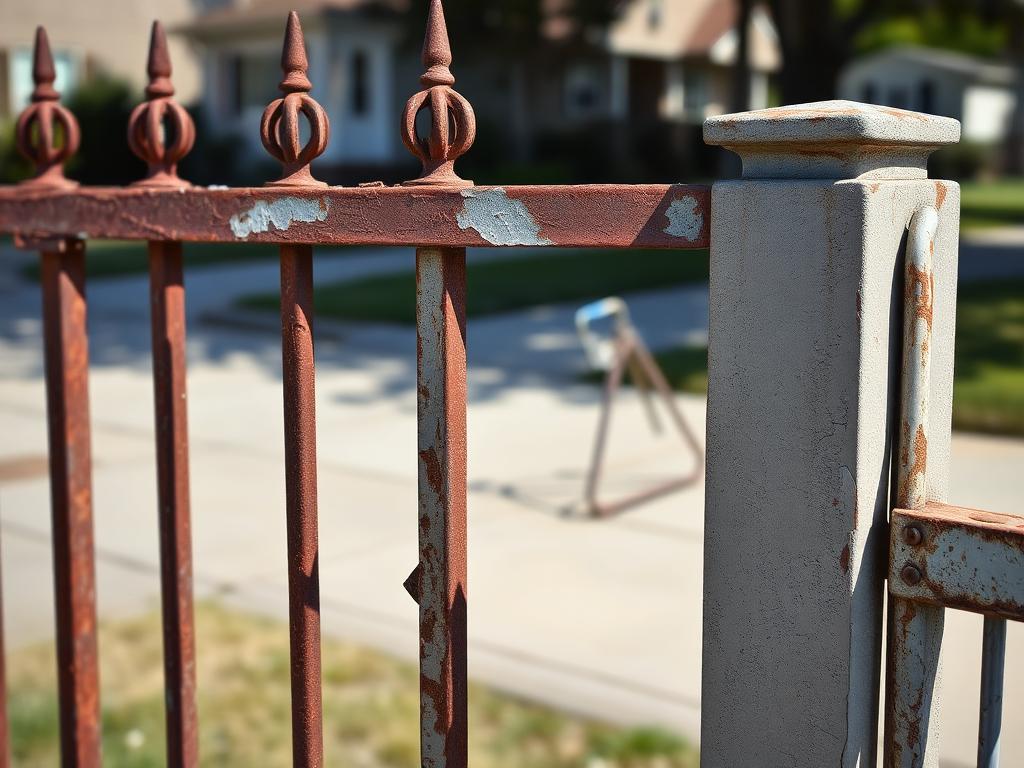
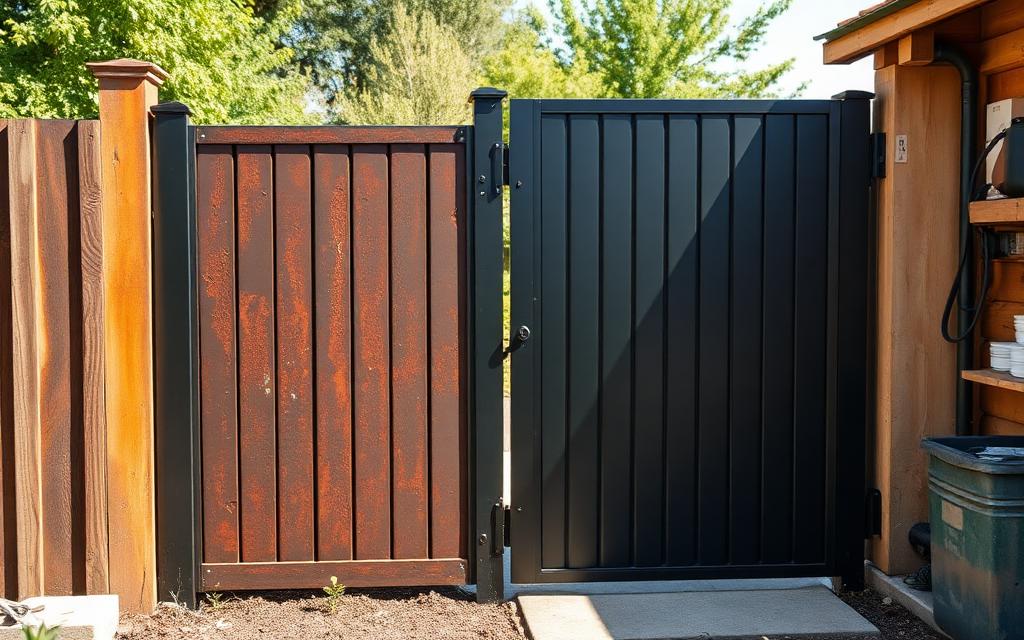
Wrought iron railings, steel gates and metal fence panels are the easiest converter job there is: accessible on both faces, mostly light-to-medium surface rust, and no mechanical components to mask. Wire-brush the flakes off, degrease, brush one to two thin coats, cure overnight and topcoat. Forty feet of railing is about three bottles including both faces.
- Measure both faces of flat bar and both sides of every picket — the area doubles
- 40 ft of 3 ft railing ≈120 sq ft ≈ 3 bottles
- Treat the bottom 6 inches hardest: ground contact is where it always rots
- Hinges, latches and drop bolts get a brush of grease afterwards, not converter
Where rust shows up first
The areas worth checking before you order.
- Wrought iron gates, hinges and drop bolts
- Railings, balustrades and handrails
- Fence panels, posts and post caps
- Decorative scrollwork and finials
- Estate fencing and metal field gates
- Post bases where they meet concrete or soil
Step-by-step on this job
- 01
Wire brush the whole run
Get flaking paint and scale off. Around scrollwork, a small rotary brush or a hand brush works better than a big disc.
- 02
Wash and dry
Sugar soap or detergent, rinse, then dry. Old gloss paint holds a surprising amount of grime.
- 03
Convert with a small brush
A 25 mm / 1 in brush lets you follow the profile. Get into the joint between the bar and the frame, where water sits.
- 04
Second coat on the bottom third
The lowest section of any gate or railing corrodes fastest. It usually earns a second coat.
- 05
Gloss topcoat after 24 hours
Oil-based gloss or exterior metal paint gives the traditional look and the weather protection.
What not to do
The cautions that save a re-do.
- Post bases below ground level need excavating to treat properly
- Mask adjacent brickwork, render and paving — runs stain porous surfaces
- Leave hinge pivots and lock mechanisms clean; oil them separately
- Heavily corroded structural uprights should be assessed before coating
Typical quantities
A starting point based on the jobs customers order for most often.
| Job | Bottles |
|---|---|
| Single pedestrian gate | 1 bottle |
| Pair of driveway gates | 2 bottles |
| 10 m / 33 ft of railings | 2 bottles |
| Full front boundary railings and gate | 3–5 bottles |
| Long estate fence run | 8 bottles |
Work out your exact quantity
Area
100 sq ft
Bottles needed
3
Recommended bundle
×3 — $42
Based on up to 55 sq ft per bottle on smooth steel, adjusted for surface condition. Estimates only — measure generously.
Why converters win
RustGuard™ vs the old ways
| Method | RustGuard™ | Grinding / sanding | Naval jelly | Paint straight over rust |
|---|---|---|---|---|
| Works on pitted rust you cannot reach | Partly | |||
| No power tools required | ||||
| Leaves a paint-ready surface | After priming | |||
| Stops the treated rust spreading | ||||
| Low dust, low mess | ||||
| Cost for a 100 sq ft panel | From $24 | Discs + hours | $$ | Repaint yearly |
Read the detail: rust converter vs naval jelly · converter vs remover · how to choose one
What buyers say
Rated by people who hate sanding
Saved my truck bed
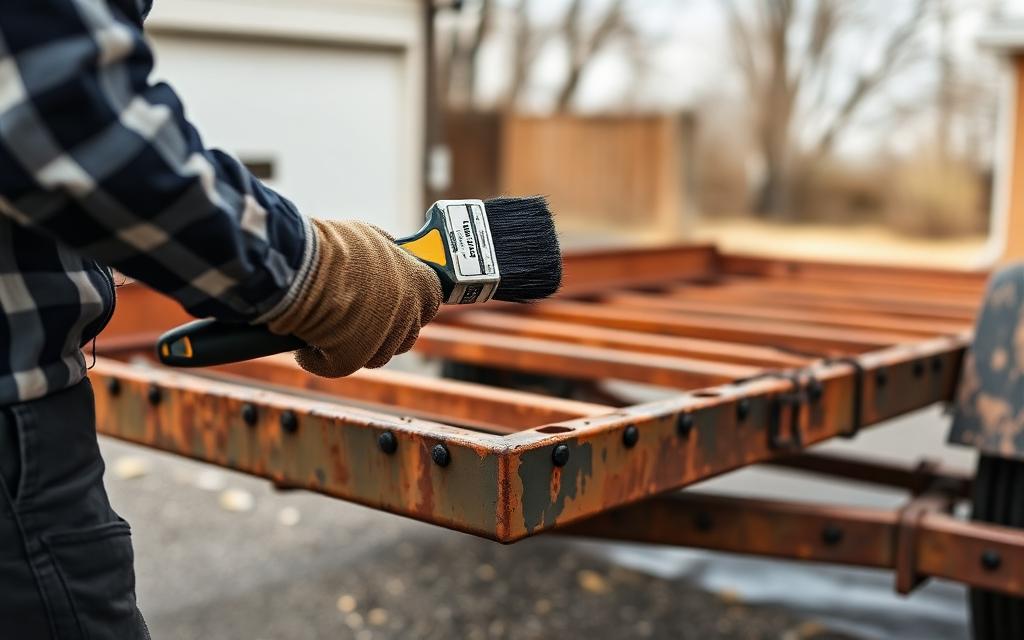
Wire-brushed the loose scale, brushed a coat on and left it overnight. Next morning it was a flat black surface that took primer without fighting me.
Dale R. · Tucson, AZ
No more grinding for hours
I restore gates and railings. This cut my prep time in half on pitted sections where the grinder just polishes the rust around.
Marcus H. · Leeds, UK
Held up through the wet season
Treated the shed roof sheets and topcoated them. Two seasons of rain later the treated panels still look the way I left them.
Janine K. · Brisbane, AU
Trailer frame looks new
Frame rails were surface-rusted everywhere. Two bottles covered the whole thing with enough left over for the tongue and jack.
Tom V. · Hamilton, ON
Simple to use
Shake, brush, wait. No mixing, no strong acid smell like the jelly products I used before.
Ricardo M. · Houston, TX
Bought the 5-pack, no regrets
Fence posts, patio furniture and a mower deck off one bundle. Ordering the workshop pack was cheaper than buying singles twice.
Ellen S. · Portland, OR
Reviews shown are illustrative sample copy while we collect verified customer feedback.
Buy with confidence
Nothing to lose but the rust
Worldwide shipping
Tracked delivery to the US, UK, Canada, Australia, EU and more. Free on 3-bottle bundles and above.
Encrypted payment
Card details are captured on a secure, encrypted checkout page. We never see or store your card number.
30-day guarantee
If RustGuard™ is not right for your project, contact support within 30 days for a refund of the product price.
No grinder needed
Brush-on chemistry designed for pitted, hard-to-reach rust where abrasives cannot get a bite.
Secure checkout
Order your RustGuard™ bundle
Pick a bundle, tap checkout — that's it. No account, no forms to fight. Your delivery address and payment are collected on the secure checkout page.
Step 1 — Choose your bundle
One bottle covers about 55 sq ft. Treating a whole vehicle, trailer or roof section? Most people need 3 or more.
Free tracked shipping unlocked
Most projects use more than they expect — the ×8 pack drops you to $9.00/bottle (you pay $11.00 now).
Step 2 — Checkout securely
Apple Pay, Google Pay and all major cards are accepted on the secure Shopify checkout — address, payment and confirmation, all in one place.
- 1Tap checkoutYour bundle is reserved in a secure cart.
- 2Pay your wayCard, Apple Pay or Google Pay — under a minute.
- 3Tracked dispatchConfirmation email instantly, packed in 1 business day.
“Ordered the 5-pack, treated the whole trailer frame and still had a bottle spare.”
Tom V. · Hamilton, ON
“Arrived tracked in five days and the brush kit saved me a trip to the store.”
Dale R. · Tucson, AZ
Reviews are illustrative while verified feedback is collected.
Why ironwork rusts at the bottom first
Look at any old set of railings and the failure is at the base: the last few inches of picket, the bottom rail, and wherever a post enters concrete or soil. Water runs down the metal, sits at the joint, and stays there long after the rest has dried in the wind. Where a post is set into concrete, the joint holds water like a cup and the steel corrodes inside the concrete collar.
The second failure point is joinery — the inside of a scroll, the back of a collar, the gap where two bars cross. Those are capillary traps: water wicks in, cannot evaporate, and rust starts from the inside of a joint that looks perfect from three feet away.
Both are ideal converter territory because both are places a wire wheel cannot properly reach. A brush-applied liquid gets into the crossing gap and the base of the picket, and cures there.
Typical quantities for fencing and ironwork
All figures count both faces, which is the mistake most people make when estimating railings.
| Job | Approximate area | Bottles |
|---|---|---|
| Single pedestrian gate | ≈20 sq ft | 1 |
| Pair of driveway gates | ≈60 sq ft | 1–2 |
| 20 ft of 3 ft railing | ≈60 sq ft | 1–2 |
| 40 ft of 3 ft railing | ≈120 sq ft | 3 |
| Balcony or stair balustrade | ≈50 sq ft | 1–2 |
| 100 ft of estate fencing | ≈300 sq ft | 5–6 |
| Ornate Victorian railing with scrollwork | Add 25% | Allow one extra |
A weekend on the railings
- 01
Cut back planting and lay a dust sheet
Protects the border from flakes and gives you somewhere to work. Anything overhanging keeps the metal damp and should be trimmed anyway.
- 02
Wire-brush every flake off
A drill-mounted twisted-knot wheel makes short work of the flats; use a hand brush in the scrolls and joints.
- 03
Wash, degrease and dry
Old ironwork carries decades of dirt and sometimes oil-based paint residue. Detergent, rinse, then a full dry.
- 04
First thin coat, base of the pickets first
Start at the ground and work up, so the worst area gets the most attention while your brush is fully loaded.
- 05
Work the joints and scrolls with a small brush
Where bars cross, hold the brush against the gap and let capillary action pull the liquid in.
- 06
Second coat after 3–4 hours on pitted sections
The bottom rail and the base of the posts almost always want it; the upper sections often do not.
- 07
Cure 24 hours, then topcoat
Satin black enamel or a hammered finish. Two thin coats of paint beat one thick one on ironwork.
Posts set in concrete, and the joint that ruins the job
If the post is set into concrete or a stone plinth, the corrosion is usually worst at and just below the interface. Rake out any crumbling mortar around the base, wire-brush what you can reach, and get the converter down into the joint — a small brush or an old paintbrush with the bristles cut short works well.
Once cured and topcoated, seal the joint properly with a flexible exterior sealant so water runs off rather than sitting in the gap. That single step does more for the next decade of the railings than anything you do to the visible metal.
Where a post has rotted through inside the concrete, no coating fixes it. It needs cutting out and a new section welding in, then treating and painting. Test by tapping along the base: a dull, papery sound means the wall thickness has gone.
What not to do on gates and railings
- Painting over flaking rust because the flakes look attached from a distance
- Ignoring the bottom 6 inches, which is where 80 per cent of the failure lives
- Coating hinge pins, latch mechanisms and drop-bolt sleeves — grease those instead
- Working in direct summer sun, which skins the film before it can wet the pitting
- Leaving the earth pin or automation gear unmasked on electric gates
- Starting when rain is due inside four hours
Work out your exact quantity
Area
100 sq ft
Bottles needed
3
Recommended bundle
×3 — $42
Based on up to 55 sq ft per bottle on smooth steel, adjusted for surface condition. Estimates only — measure generously.
Where it will not save the ironwork
- Pickets or rails that have rusted through and lost section
- Posts corroded away inside a concrete base — that is a fabrication job
- Aluminium or bright galvanised fence panels with no red rust
- Hinges, latches, locks and gate automation hardware
- Powder-coated panels that are simply faded rather than corroded
- Load-bearing balustrade that is structurally unsound and legally must be replaced
Frequently asked questions
Do I have to remove all the old paint?
No. Remove anything flaking or lifting, feather the edges, and treat the exposed rust. Sound, well-adhered old paint can stay and be painted over.
Can I treat a gate in place?
Yes. Lay dust sheets underneath and work on the closed gate, one face at a time.
What about the base of a post in concrete?
Chase out the joint if you can, treat, and reseal with a flexible sealant. Rust starts there more often than anywhere else.
Will it change the look of ornate ironwork?
The converter dries dark and matte and disappears under your gloss coat. Detail stays crisp as long as you keep the film thin.
How much rust converter for a set of railings?
About 55 sq ft per bottle in two coats, counting both faces. Forty feet of 3 ft railing is roughly 120 sq ft, so three bottles — which is also the pack that ships free.
What paint should I use over it on ironwork?
A satin or gloss exterior metal enamel, or a hammered finish, which hides pitting well. Two thin coats outlast one heavy one.
Can I spray it onto railings?
Yes, but expect to lose 30 to 40 per cent to overspray on open bars, and you will still need a brush for the scrolls and crossings.
What about the bottom of the posts in concrete?
Rake out loose mortar, brush the converter into the joint, cure, topcoat, then seal the joint with a flexible exterior sealant.
Will it work on an old Victorian gate?
Yes — wrought and cast iron are both ferrous and convert well. Allow around 25 per cent extra product for ornate scrollwork.
How often will I need to redo it?
With a maintained topcoat, expect several years. Touch up chips as they appear, especially at the base, and the underlying repair keeps working.
Keep reading
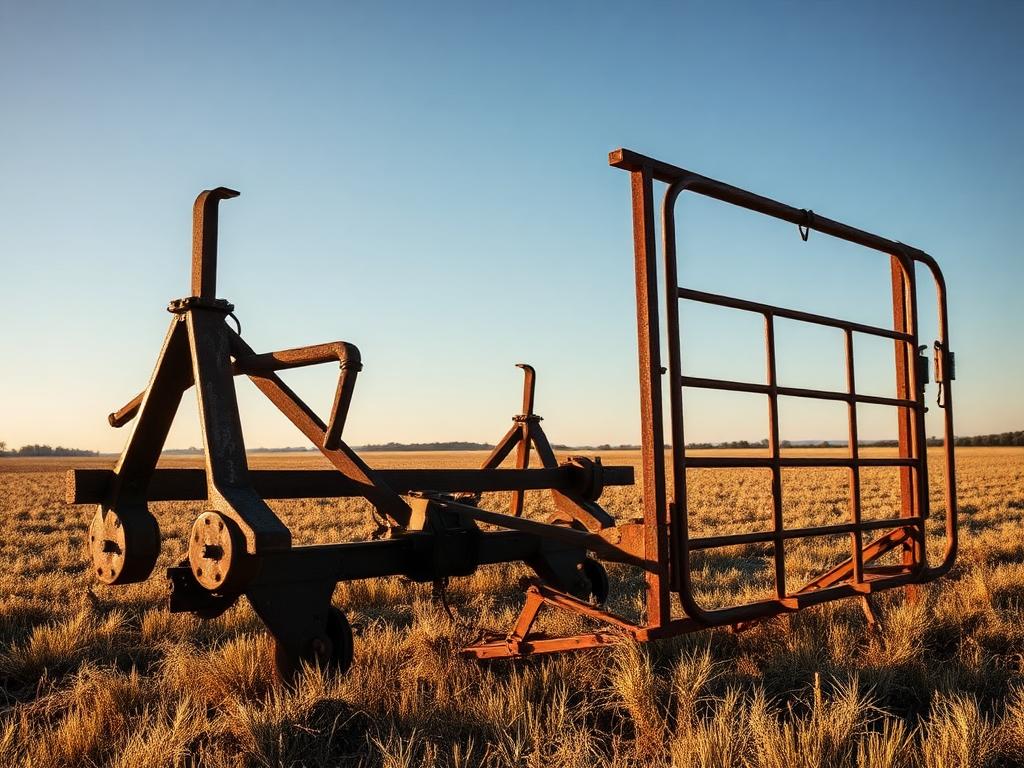
- Rust converter for farm equipmentConvert rust on implements, gates, feeders and machinery frames. RustGuard™ brushes on in the yard and primes as it works.
- Rust converter for iron and steel that leaves a paint-ready surfaceBrush RustGuard™ onto rusted iron or steel, convert the corrosion and topcoat in 24 hours. Bundles from $24, free shipping on 3+.
- How to paint over rust properlyPainting straight over rust always fails. Here's the correct sequence — prep, convert, cure, prime, topcoat — and the paints that work over a converted surface.
- Rust prevention guideA practical prevention programme for vehicles, tools and outdoor steel — coatings, drainage, storage, salt management and an inspection schedule.
- Rust converter for tools and workshop equipmentBring rusted hand tools, vices, clamps and cast-iron surfaces back into service. When to convert and when to strip and oil instead.
Last step
Ready to stop the rust?
Ships from our US fulfilment partner, typically 3–7 business days. 30-day money-back guarantee.