- Encrypted paymentSecure, encrypted checkout
- Tracked worldwideFree on 3+ bottle bundles
- 30-day guaranteeMoney-back if it is not for you
- Clear labellingCoverage and results stated honestly
Stock up & save
Choose your RustGuard™ bundle
Prices in USD. Free tracked shipping on 3-bottle bundles and above.
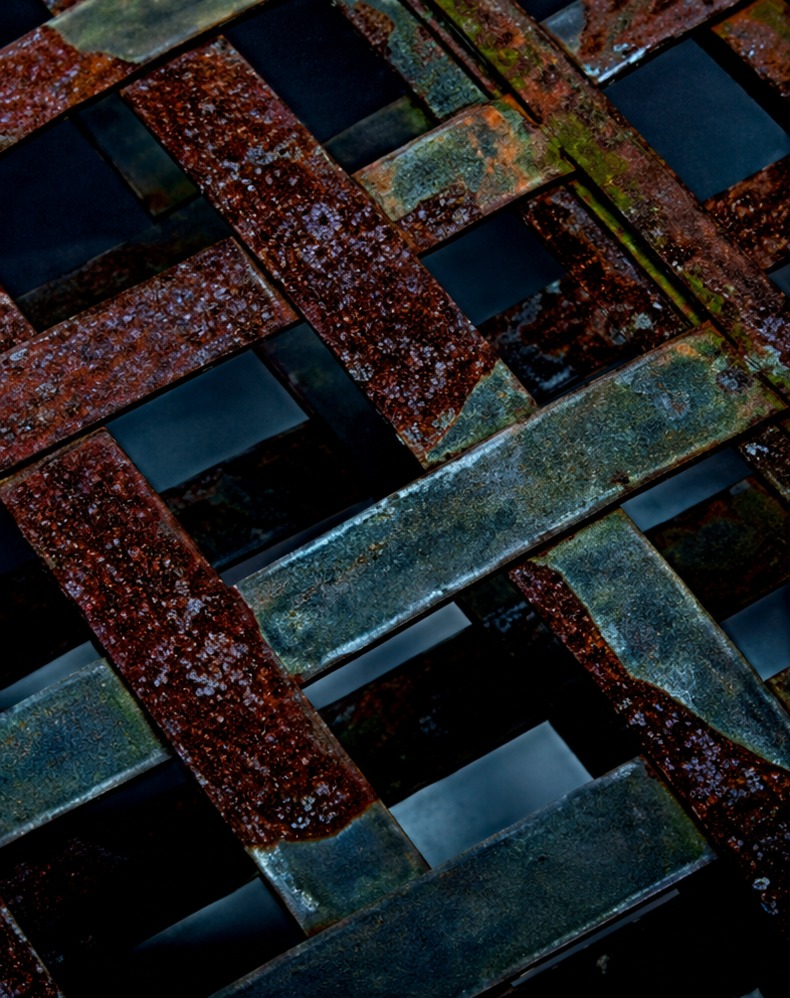
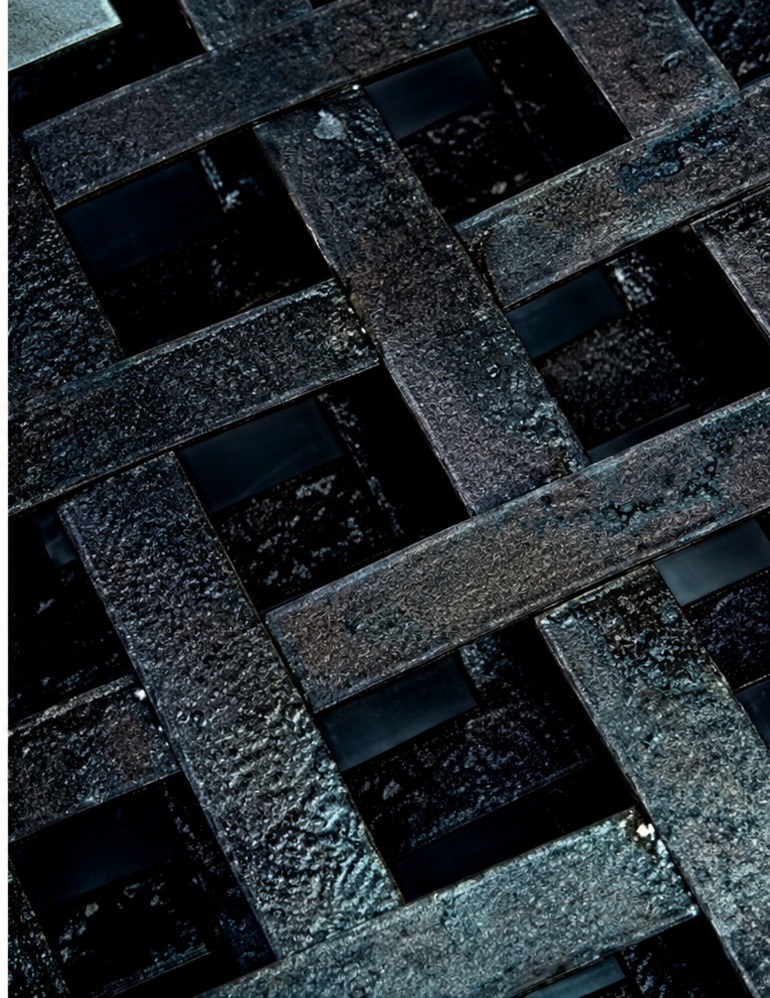
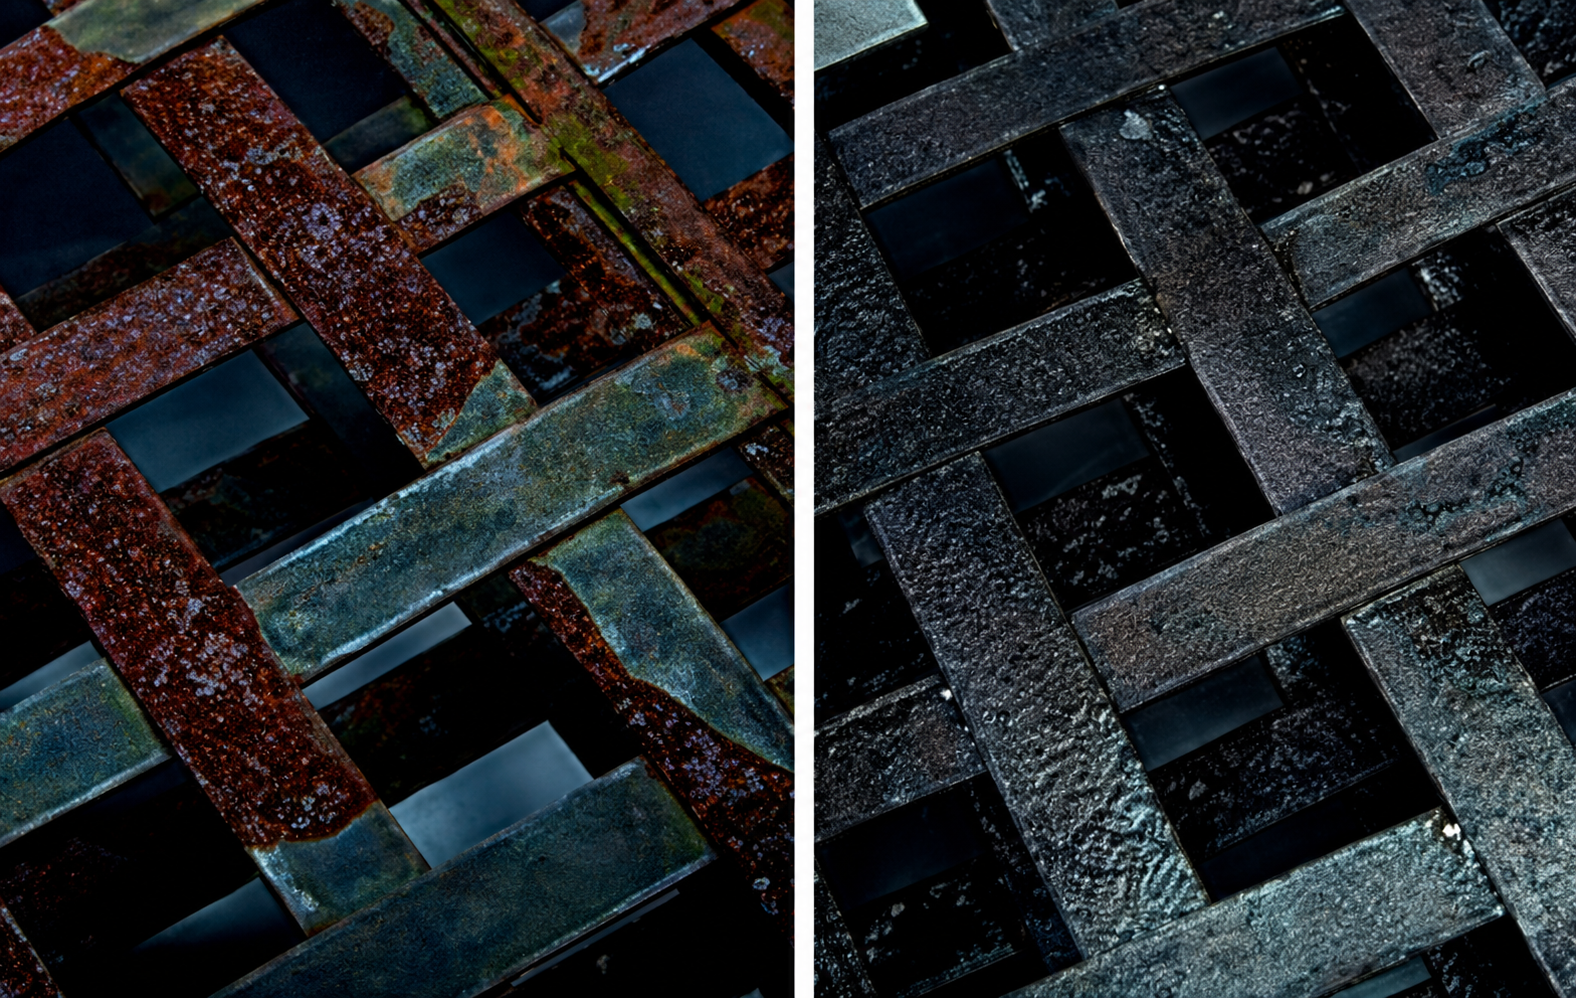
Rusted metal in, paint-ready surface out
Brush RustGuard™ over sound rust, let it cure, then paint. Images are illustrative — results depend on surface condition and preparation.
The short answer
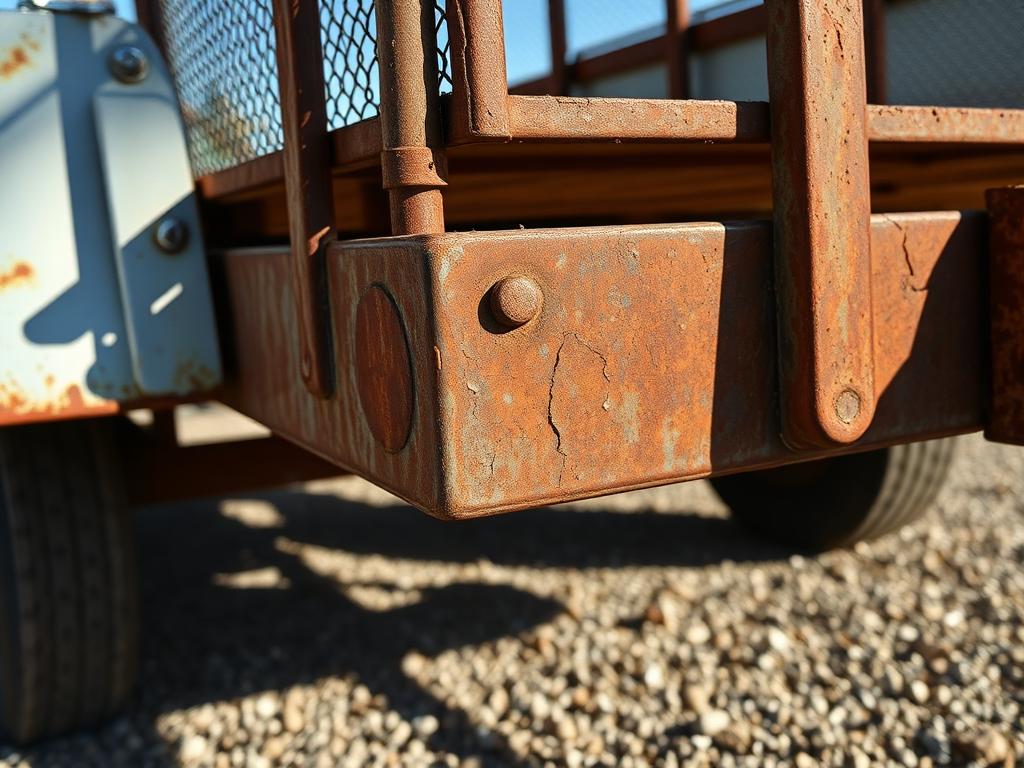
Trailers rust from the inside of the frame outward, and from the deck fixings down. Wash the salt off, let it dry a full day, wire-brush the scale from the rails, spring hangers and coupling, then brush two thin coats into the pitting and chassis-paint it after 24 hours. A single-axle utility trailer takes two bottles; a twin-axle car or plant trailer takes three to five.
- Single-axle utility trailer ≈90 sq ft — 2 bottles
- Twin-axle car trailer or plant trailer — 3 to 5 bottles
- Treat the top face of crossmembers and inside the fenders: that is where it always starts
- Keep it off brake components, wiring plugs and the ball coupling face
Where rust shows up first
The areas worth checking before you order.
- Main rails, crossmembers and drawbar
- Deck edges, wheel wells and mudguard mounts
- Loading ramps, hinges and locking pins
- Coupling, jockey wheel clamp and safety chain mounts
- Tie-down rails, D-rings and stake pockets
- Spring hangers, U-bolts and axle tubes
Step-by-step on this job
- 01
Strip the deck if it is timber
Rust always hides under deck boards. Lifting them turns a cosmetic job into a proper one.
- 02
Wash, scrape, dry
Detergent wash, scraper on the scale, then a dry day before you open a bottle.
- 03
Convert the frame
Follow every weld line. Angle iron holds water in its inner corner — that corner needs the most attention.
- 04
Treat fasteners and pins separately
Brush around U-bolts and spring hangers, but leave threads and locking faces clean.
- 05
Topcoat, then refit
After 24 hours, chassis enamel over the lot, then put the deck back down.
What not to do
The cautions that save a re-do.
- Keep it clear of brake drums, cables and bearing hubs
- Check the drawbar and coupling for thinning — those are safety-critical
- Do not coat the locking faces of ramp pins and latches
- Electrical plug and light wiring should be masked
Typical quantities
A starting point based on the jobs customers order for most often.
| Job | Bottles |
|---|---|
| Small 6x4 utility trailer frame | 1–2 bottles |
| Twin-axle car transporter | 3–5 bottles |
| Ramps and tailgate only | 1 bottle |
| Livestock or box trailer, full frame | 5 bottles |
| Frame, ramps and running gear | 5–8 bottles |
Work out your exact quantity
Area
100 sq ft
Bottles needed
3
Recommended bundle
×3 — $42
Based on up to 55 sq ft per bottle on smooth steel, adjusted for surface condition. Estimates only — measure generously.
Why converters win
RustGuard™ vs the old ways
| Method | RustGuard™ | Grinding / sanding | Naval jelly | Paint straight over rust |
|---|---|---|---|---|
| Works on pitted rust you cannot reach | Partly | |||
| No power tools required | ||||
| Leaves a paint-ready surface | After priming | |||
| Stops the treated rust spreading | ||||
| Low dust, low mess | ||||
| Cost for a 100 sq ft panel | From $24 | Discs + hours | $$ | Repaint yearly |
Read the detail: rust converter vs naval jelly · converter vs remover · how to choose one
What buyers say
Rated by people who hate sanding
Saved my truck bed
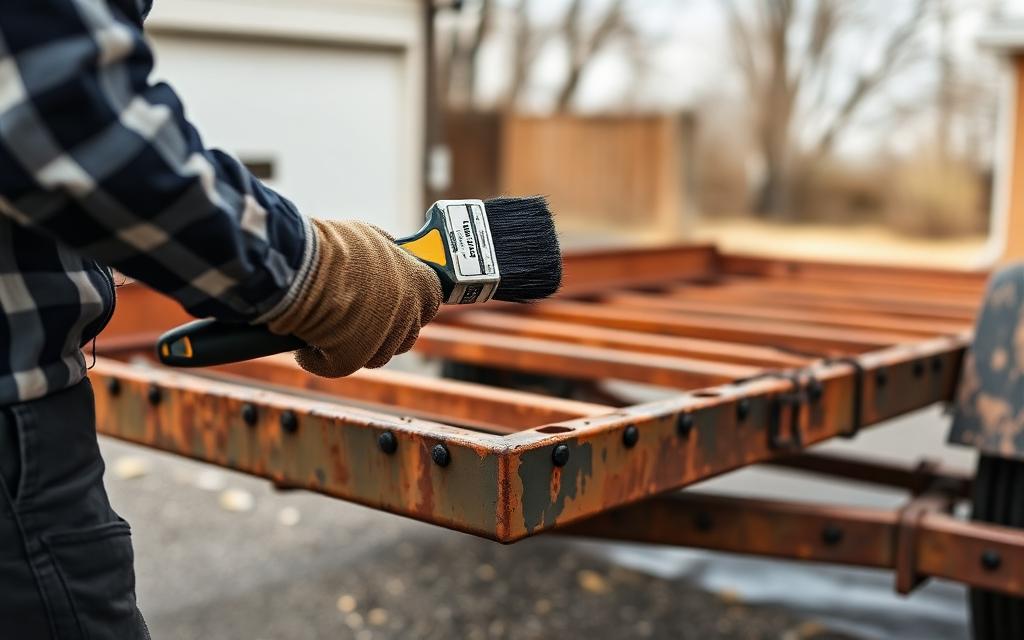
Wire-brushed the loose scale, brushed a coat on and left it overnight. Next morning it was a flat black surface that took primer without fighting me.
Dale R. · Tucson, AZ
No more grinding for hours
I restore gates and railings. This cut my prep time in half on pitted sections where the grinder just polishes the rust around.
Marcus H. · Leeds, UK
Held up through the wet season
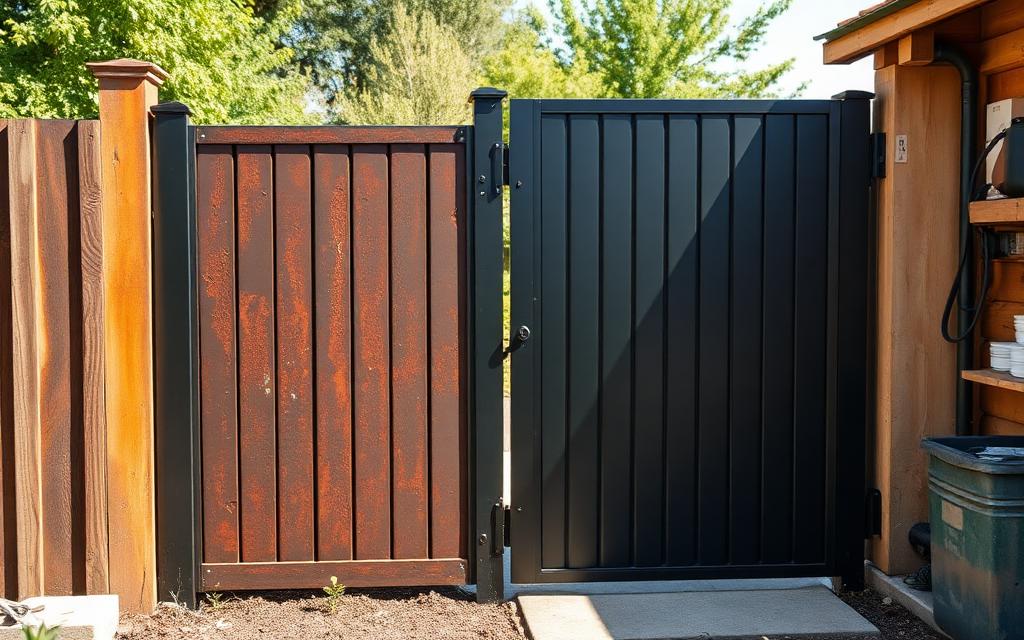
Treated the shed roof sheets and topcoated them. Two seasons of rain later the treated panels still look the way I left them.
Janine K. · Brisbane, AU
Trailer frame looks new
Frame rails were surface-rusted everywhere. Two bottles covered the whole thing with enough left over for the tongue and jack.
Tom V. · Hamilton, ON
Simple to use
Shake, brush, wait. No mixing, no strong acid smell like the jelly products I used before.
Ricardo M. · Houston, TX
Bought the 5-pack, no regrets
Fence posts, patio furniture and a mower deck off one bundle. Ordering the workshop pack was cheaper than buying singles twice.
Ellen S. · Portland, OR
Reviews shown are illustrative sample copy while we collect verified customer feedback.
Buy with confidence
Nothing to lose but the rust
Worldwide shipping
Tracked delivery to the US, UK, Canada, Australia, EU and more. Free on 3-bottle bundles and above.
Encrypted payment
Card details are captured on a secure, encrypted checkout page. We never see or store your card number.
30-day guarantee
If RustGuard™ is not right for your project, contact support within 30 days for a refund of the product price.
No grinder needed
Brush-on chemistry designed for pitted, hard-to-reach rust where abrasives cannot get a bite.
Secure checkout
Order your RustGuard™ bundle
Pick a bundle, tap checkout — that's it. No account, no forms to fight. Your delivery address and payment are collected on the secure checkout page.
Step 1 — Choose your bundle
One bottle covers about 55 sq ft. Treating a whole vehicle, trailer or roof section? Most people need 3 or more.
Free tracked shipping unlocked
Most projects use more than they expect — the ×8 pack drops you to $9.00/bottle (you pay $11.00 now).
Step 2 — Checkout securely
Apple Pay, Google Pay and all major cards are accepted on the secure Shopify checkout — address, payment and confirmation, all in one place.
- 1Tap checkoutYour bundle is reserved in a secure cart.
- 2Pay your wayCard, Apple Pay or Google Pay — under a minute.
- 3Tracked dispatchConfirmation email instantly, packed in 1 business day.
“Ordered the 5-pack, treated the whole trailer frame and still had a bottle spare.”
Tom V. · Hamilton, ON
“Arrived tracked in five days and the brush kit saved me a trip to the store.”
Dale R. · Tucson, AZ
Reviews are illustrative while verified feedback is collected.
Why trailers rust faster than the vehicle towing them
A trailer gets everything a car gets — road salt, standing water, stone chips — with almost none of the protection. There is no underbody sealer from the factory on most utility trailers, the frame is open box section with drain holes that block within a season, and it spends its life parked outdoors rather than in a garage. Add a boat or a horse and you can add repeated wetting and, in the case of livestock, ammonia.
The corrosion pattern is predictable. Water sits on the top face of the crossmembers under the deck, wicks into the gap between deck boards and steel, pools in the bottom of the main rails where a drain hole has silted up, and creeps out of the spring hanger welds. By the time the outside of a rail looks bad, the inside has been wet for years.
That geometry is exactly what a converter is for. You cannot blast the inside of a closed rail or the sandwich between a board and a crossmember, but you can wet it with a brush-applied liquid that wicks into the pitting and cures where an abrasive could never reach.
Bottle count by trailer type
| Trailer | Treatable steel | Frame only | Frame plus deck steel and fenders |
|---|---|---|---|
| Small single-axle utility | ≈70 sq ft | 1–2 bottles | 2 bottles |
| 6×4 box trailer | ≈90 sq ft | 2 bottles | 2–3 bottles |
| Twin-axle car transporter | ≈180 sq ft | 3 bottles | 4–5 bottles |
| Boat trailer, roller frame | ≈120 sq ft | 2–3 bottles | 3 bottles |
| Livestock or horse trailer chassis | ≈200 sq ft | 4 bottles | 5 bottles |
| Plant or digger trailer | ≈250 sq ft | 5 bottles | 5–8 bottles |
A trailer refurb that lasts
- 01
Strip the deck if the boards are lifting
The sandwich between board and crossmember is the worst corrosion on most trailers and you cannot treat it in place.
- 02
Pressure wash and dry for 24 hours
Salt holds moisture. Wash it out of the rails through the drain holes and give it a full dry day.
- 03
Clear every drain hole
A blocked drain hole refills the rail at the next rain and undoes the whole job within two seasons.
- 04
Scrape and wire-brush the scale
Rails, crossmember tops, spring hangers, coupling, jockey wheel bracket and the inside of the fenders.
- 05
Degrease and splash test
Wheel bearing grease and road film sit on trailer frames more than people expect. Water must sheet, not bead.
- 06
Two thin coats, three to four hours apart
Work along the seams and welds first, then the flats. Do not puddle in the bottom of the rails.
- 07
Cure 24 hours, then chassis paint
Topcoat the lot, refit the deck with new fixings, and cavity-wax inside the rails if you can reach.
The places people miss on a trailer, every time
- Top face of the crossmembers, only visible with the deck off
- Inside the mudguards, where thrown salt collects and never dries
- Spring hangers and the U-bolt plates
- The drawbar-to-frame weld and the underside of the coupling
- Around the jockey wheel clamp and the corner steady brackets
- Light bar mounts and the earth point, which is usually the first electrical failure
Boat trailers, salt water and galvanising
A launch trailer that goes into salt water is a special case. Most are galvanised, and while the zinc is bright there is nothing for a converter to do. What fails first is where the galvanising has been broken — cut ends, drilled holes, welded repairs and any point a roller bracket has worn through — and those spots go red quickly.
Treat those spots and only those spots. Wire-brush the red rust back, degrease with fresh water and detergent, brush the converter on, feather the edge into the sound zinc and topcoat the area. Trying to coat the whole galvanised frame wastes product and looks worse.
Afterwards, rinse the trailer with fresh water after every salt launch, especially through the rails and around the bearings. No coating outlasts weekly salt immersion without that habit.
Keep it off these parts
- Brake drums, shoes, discs and pads
- The ball coupling face and the hitch locking mechanism
- Wiring plugs, sockets and the light lenses
- Bearing seals and grease nipples
- Bright, intact galvanising with no red rust present
- Aluminium boat-trailer fenders and side panels
Work out your exact quantity
Area
100 sq ft
Bottles needed
3
Recommended bundle
×3 — $42
Based on up to 55 sq ft per bottle on smooth steel, adjusted for surface condition. Estimates only — measure generously.
When your trailer needs a welder, not a bottle
- A drawbar or main rail that flexes or sounds hollow under a hammer tap
- Any perforation in a load-bearing member or a suspension mount
- Cracked welds at the spring hangers, which are a road-safety issue
- Corroded brake or axle components — replace, do not coat
- Aluminium bodywork, which needs a different primer entirely
- A trailer plated for towing that would fail inspection on structural corrosion
Frequently asked questions
Can I treat a galvanised trailer frame?
Yes, on the areas where red rust is showing through failed galvanising. Sound galvanising does not need it.
Do I need to remove the wheels?
Not for the frame, but mask the hubs. For spring hanger work, taking a wheel off makes it much easier.
How often should I re-treat?
Inspect annually. Touch up any chips in the topcoat before rust restarts and you may never need a full re-treat.
Will it work on a rusted mesh deck?
Yes, and mesh is where a brush beats a spray comfortably — you can wet both sides of each strand.
How much rust converter for a trailer?
Two bottles for a typical single-axle utility or box trailer, three to five for a twin-axle car, boat or plant trailer, based on roughly 55 sq ft per bottle in two coats.
Do I have to take the deck off?
If the boards are lifting or rotten, yes — the steel underneath is usually the worst on the whole trailer. If the deck is sound and recent, treat what you can reach and plan the rest for the next deck change.
Can I use it on a galvanised trailer?
Only on areas where the zinc has failed and red rust is showing. Leave bright, intact galvanising alone.
What about a boat trailer that goes in salt water?
Treat the broken-galvanising spots, topcoat them, and rinse with fresh water after every launch. Salt immersion is brutal on any coating.
What topcoat should I use on a trailer frame?
Chassis paint or a hard enamel. Underbody schutz works well over the cured film on the rails if you want stone-chip resistance.
Will it pass an inspection afterwards?
Treated and painted surface corrosion is not a defect. Perforation or corrosion in a structural or suspension area is, whatever it is coated with.
How long before I can tow it again?
Touch dry in under an hour, but let it cure 24 hours before topcoating and before loading the trailer.
Keep reading
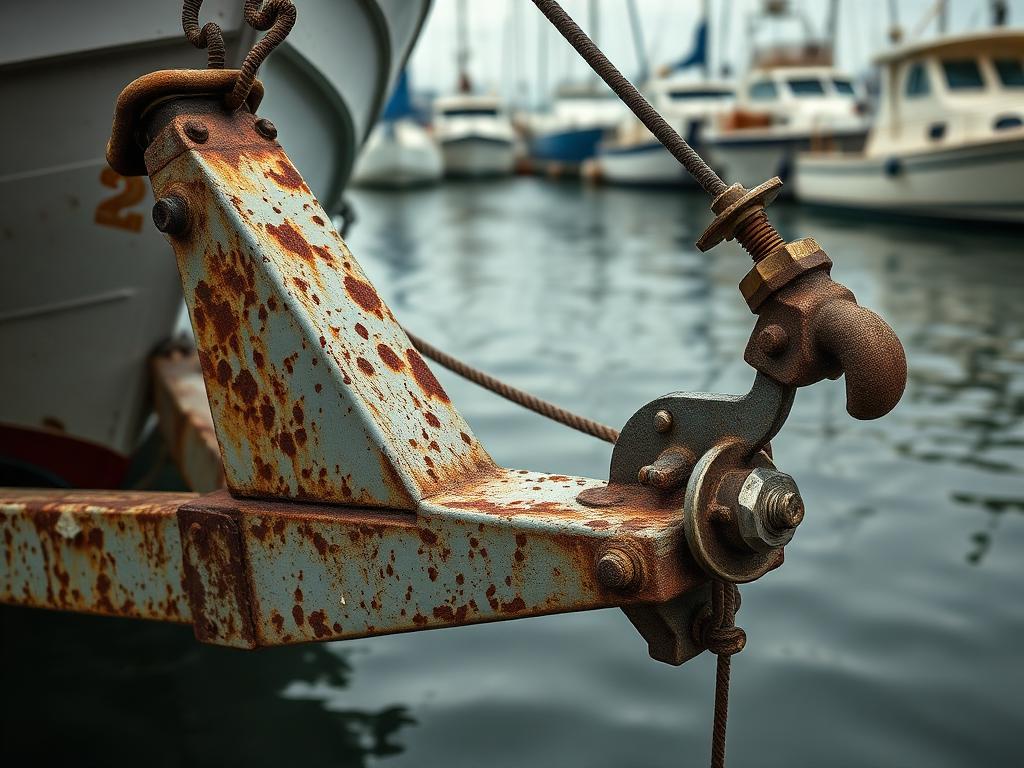
- Rust converter for boats, trailers and marine steelSalt-water rust on trailers, brackets and steel fittings. RustGuard™ converts corrosion in place so you can prime and repaint marine steel.
- Rust converter for trucks and pickupsStop frame and bed rust on pickups and light trucks. RustGuard™ converts corrosion in place on ladder frames, bed floors and hitches.
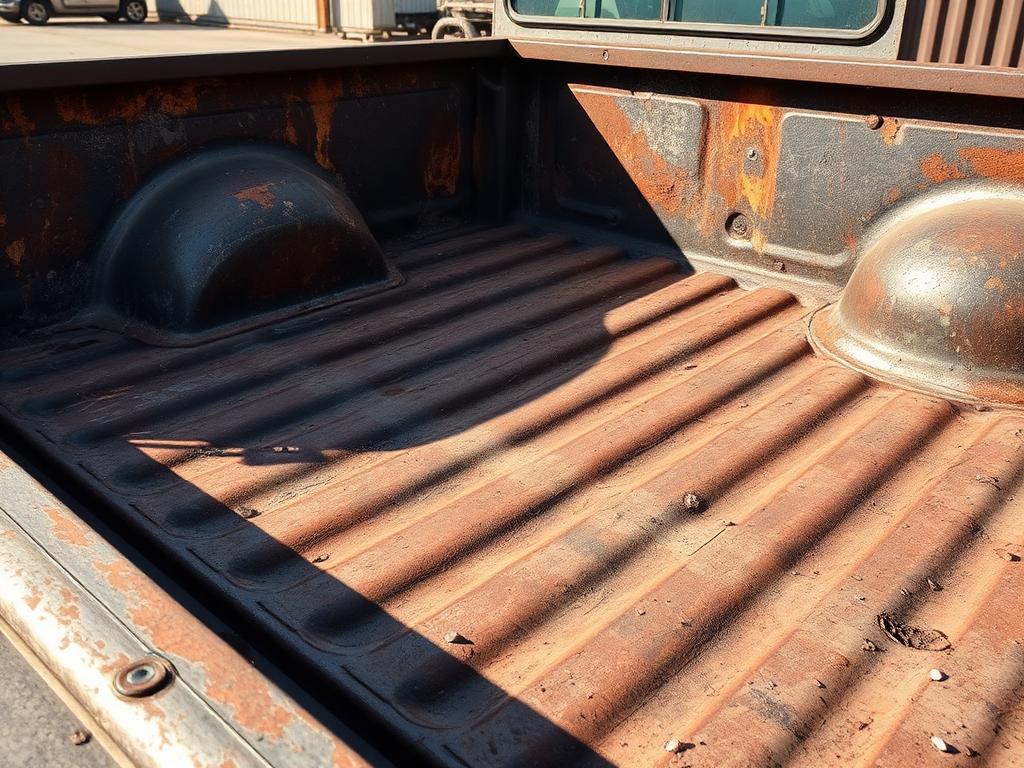
- Rust converter for iron and steel that leaves a paint-ready surfaceBrush RustGuard™ onto rusted iron or steel, convert the corrosion and topcoat in 24 hours. Bundles from $24, free shipping on 3+.
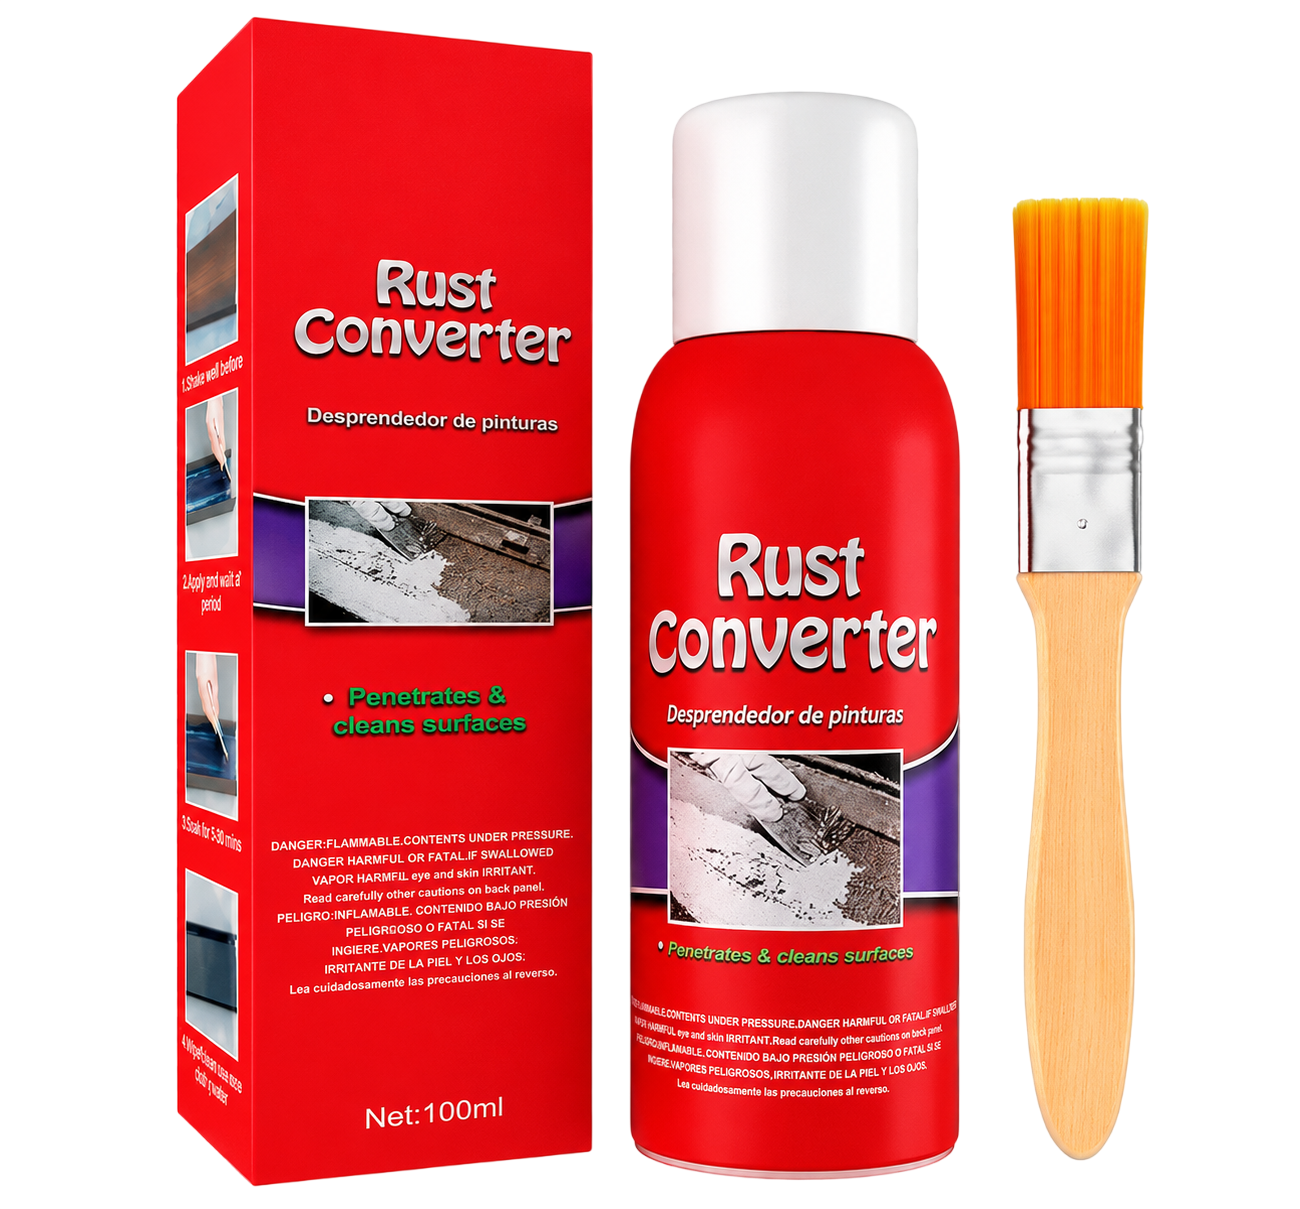
- Rust prevention guideA practical prevention programme for vehicles, tools and outdoor steel — coatings, drainage, storage, salt management and an inspection schedule.
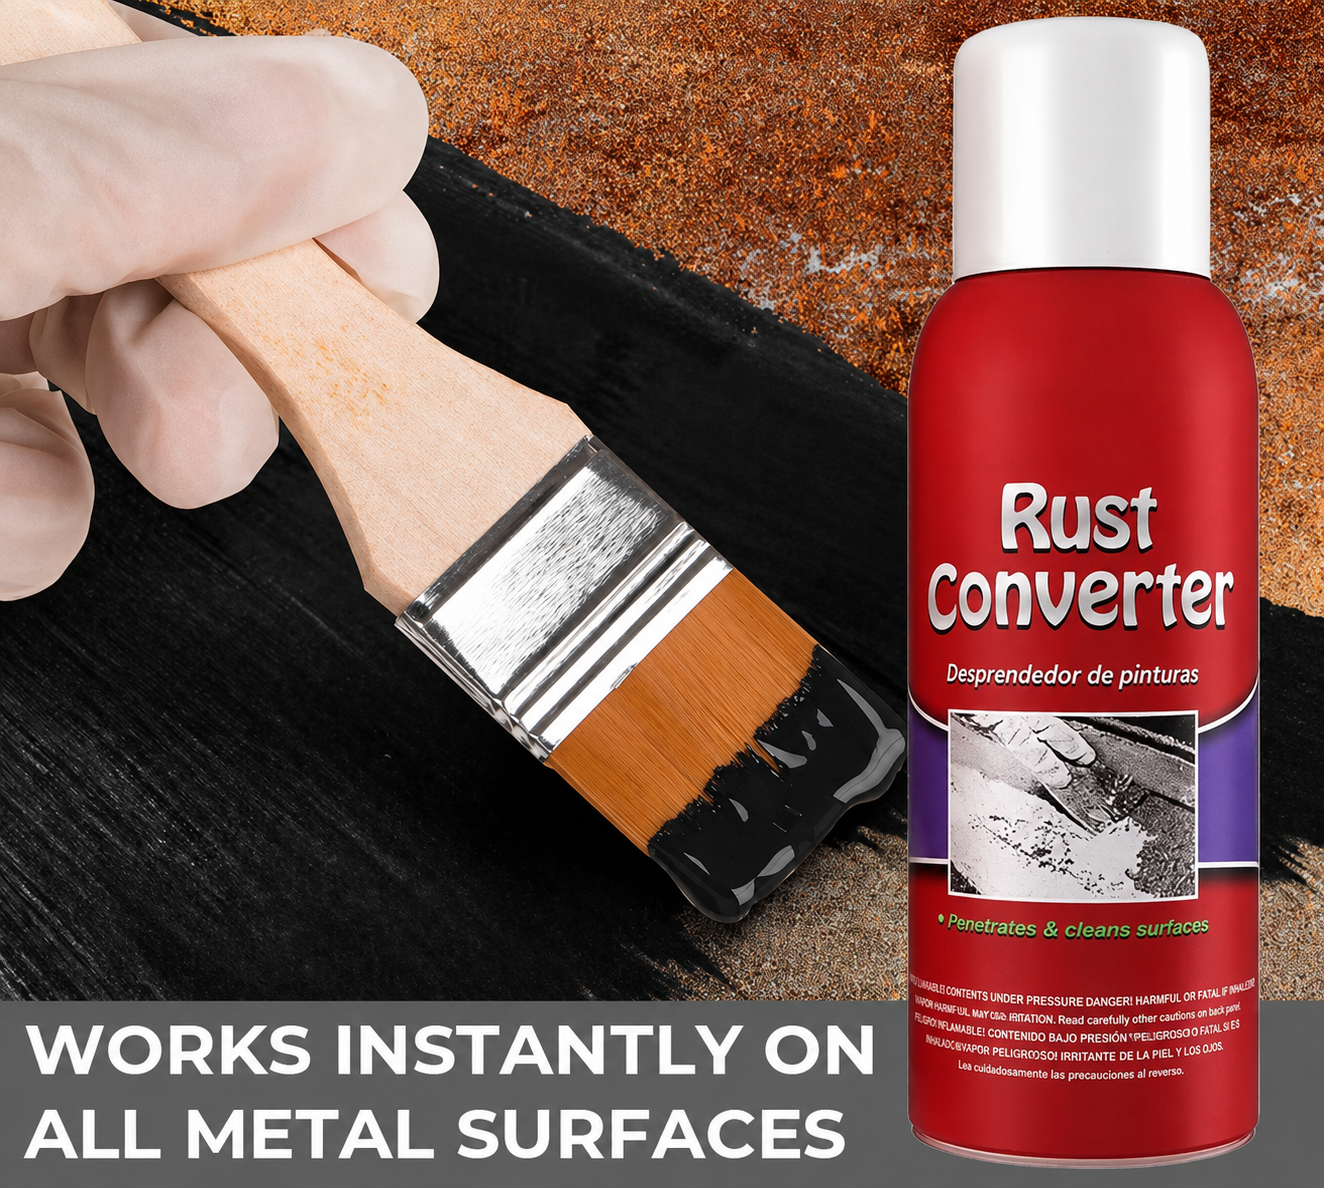
- Rust converter coverage calculatorWork out exactly how many bottles of RustGuard™ your job needs. Enter your area or pick a common job and get a bundle recommendation.
Last step
Ready to stop the rust?
Ships from our US fulfilment partner, typically 3–7 business days. 30-day money-back guarantee.