- Encrypted paymentSecure, encrypted checkout
- Tracked worldwideFree on 3+ bottle bundles
- 30-day guaranteeMoney-back if it is not for you
- Clear labellingCoverage and results stated honestly
Stock up & save
Choose your RustGuard™ bundle
Prices in USD. Free tracked shipping on 3-bottle bundles and above.
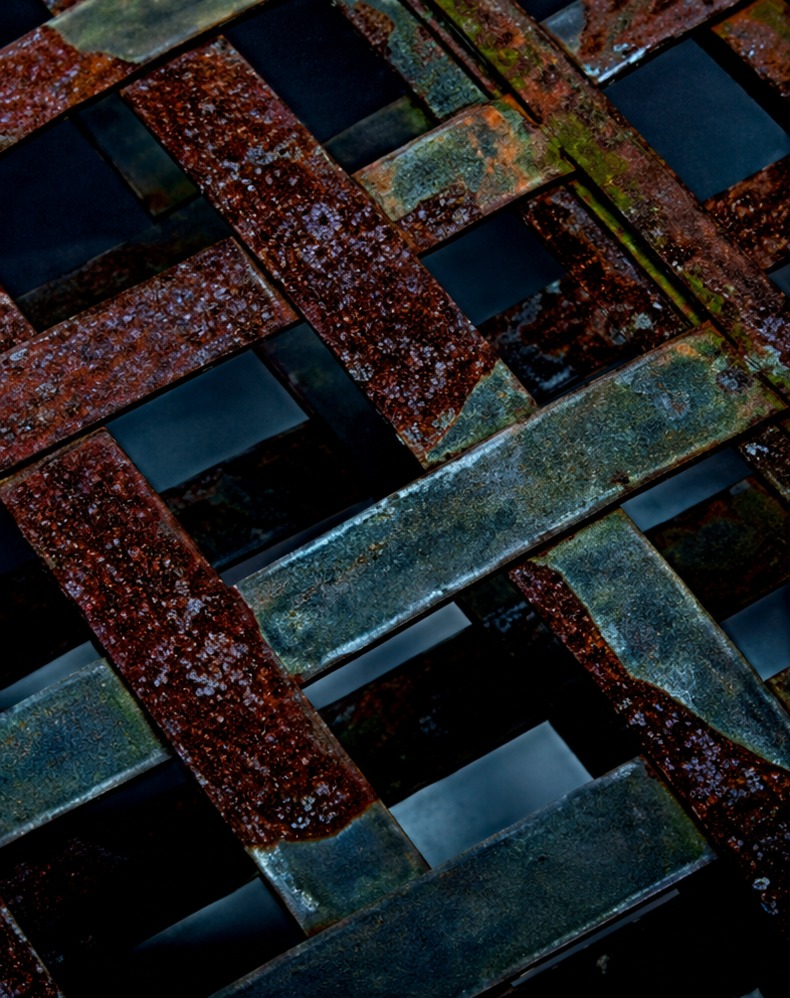
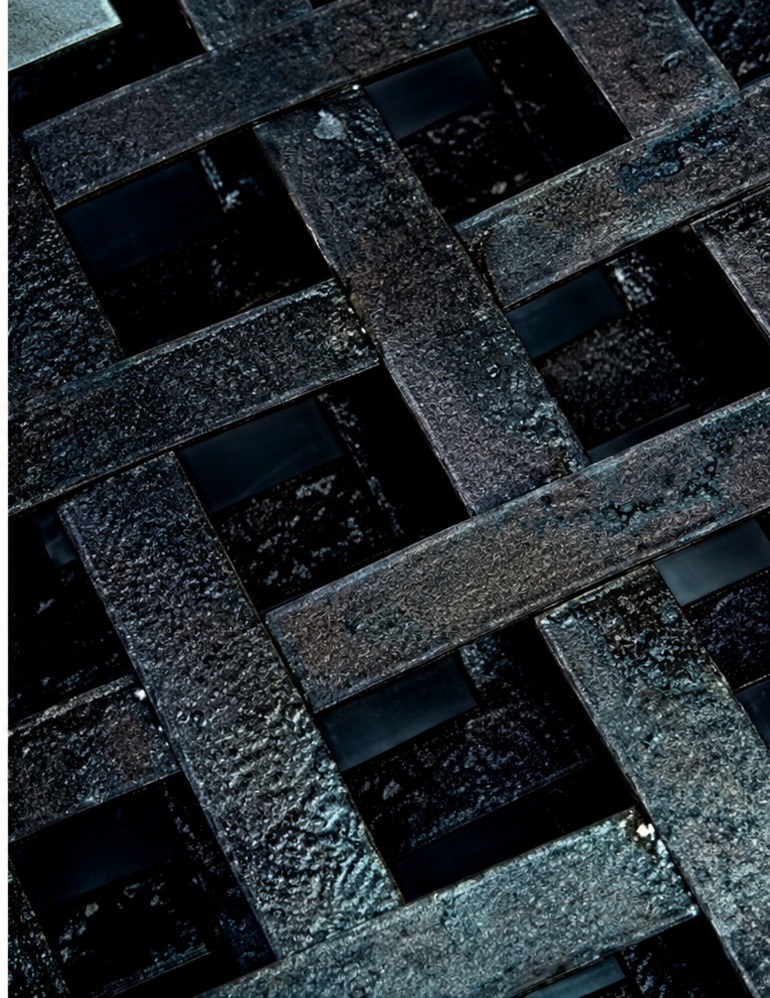
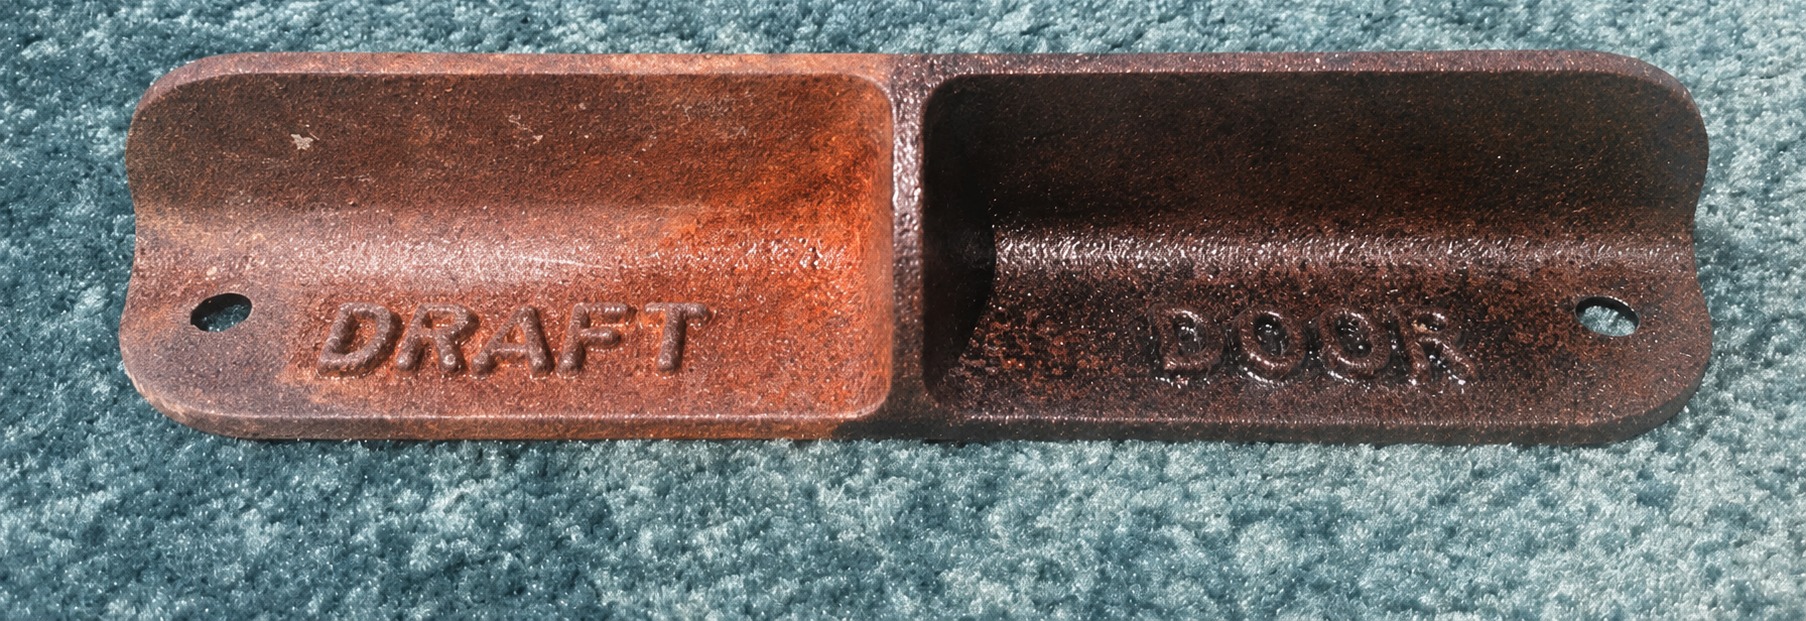
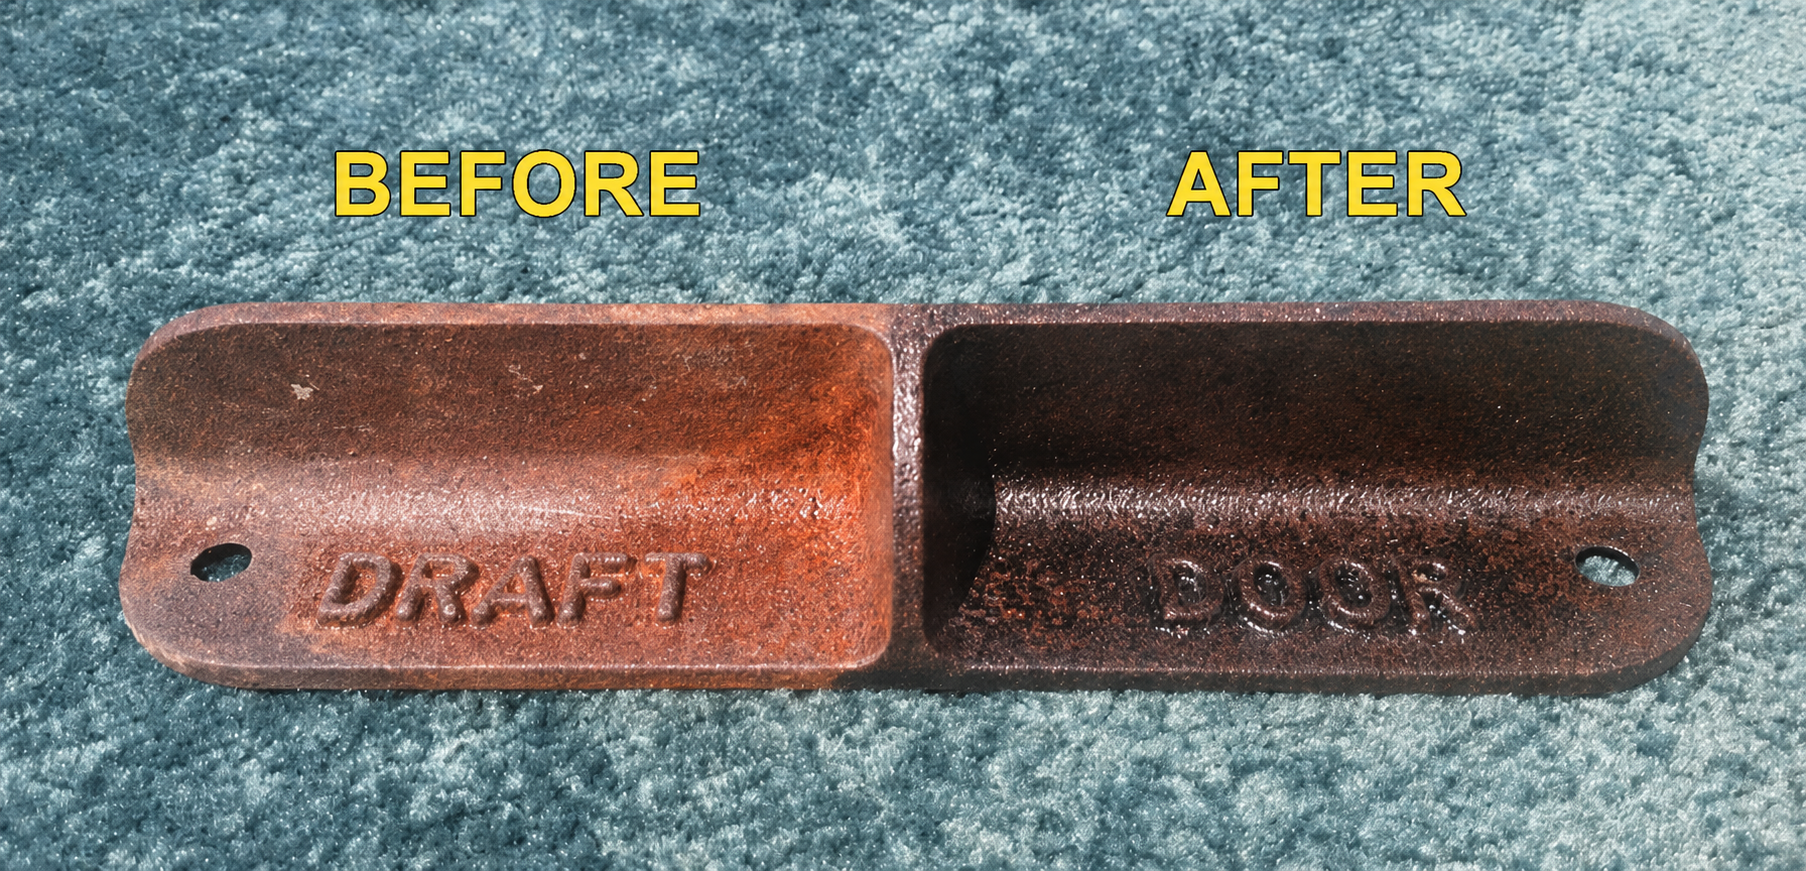
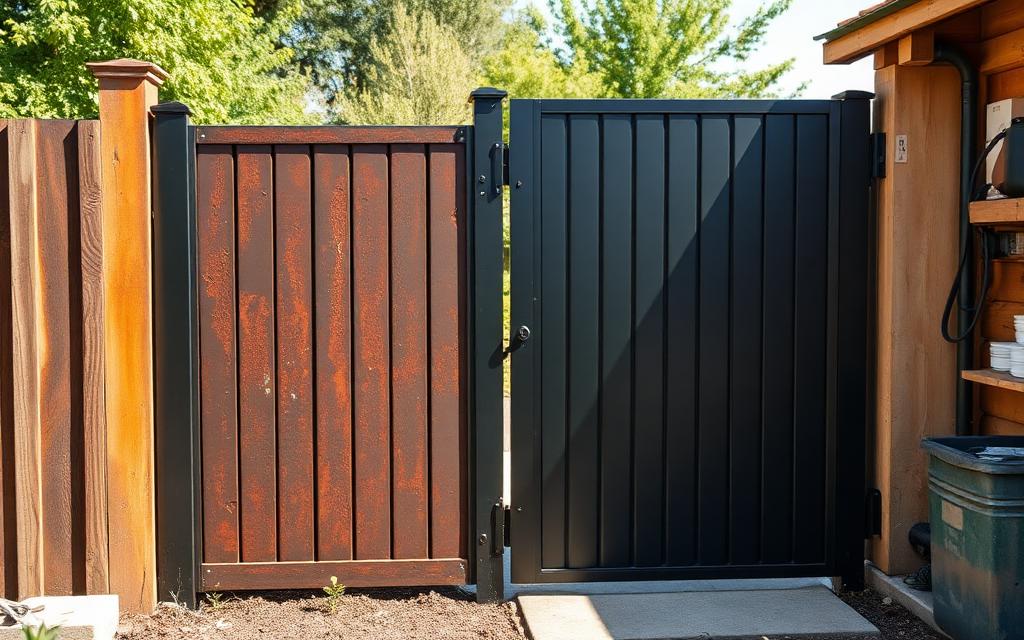
Rusted metal in, paint-ready surface out
Brush RustGuard™ over sound rust, let it cure, then paint. Images are illustrative — results depend on surface condition and preparation.
The short answer
You cannot paint over rust and expect it to hold — paint is not an adhesive for loose oxide and rust keeps expanding underneath it. What works is: remove everything loose, feather back the lifted paint, degrease, convert the remaining rust into a stable black film, cure 24 hours, then paint. That sequence is the difference between a repair that lasts years and one that bubbles by spring.
- Remove loose material, feather the paint edge, degrease — in that order
- One to two coats of converter, then a full 24-hour cure before colour
- Oil, acrylic, enamel, hammered and chassis paints all go straight over
- Patch-test any 2K automotive or high-build epoxy topcoat first
Why paint over rust fails
Rust is porous and holds moisture. Cover it with paint and you seal that moisture in against the steel, with oxygen already present in the rust layer itself. Corrosion continues, the oxide expands, and the paint film loses adhesion from below.
The flaking you see a few months later is not a paint quality problem. The paint did its job on the surface it was given; the surface was the problem.
The sequence that works is: remove loose material, stabilise what remains chemically, let it cure, then paint. A converter turns the rust into an inert dark film that paint can grip.
The correct sequence
- 01
Remove loose rust and lifting paint
Scrape and wire brush. Feather the edges of sound paint so there is no lip to telegraph through the finish.
- 02
Degrease and dry
Wash, rinse, dry. This step is skipped more often than any other and causes more failures than any other.
- 03
Convert the remaining rust
One thin coat, two on deep pitting. Wait for the colour to darken.
- 04
Cure 24 hours
Non-negotiable. Painting over an uncured film is how you get blistering weeks later.
- 05
Prime only if your topcoat needs it
The converted film acts as a primer for most systems. Check your paint's data sheet.
- 06
Topcoat within about a week
Two thin coats beat one thick coat, and give a far better edge on corners and seams.
Paints that go over a converted surface
| Topcoat | Suits | Notes |
|---|---|---|
| Alkyd / oil-based enamel | Gates, railings, machinery | Traditional, tough gloss finish |
| Acrylic water-based metal paint | Indoor steel, light exterior | Low odour, fast drying |
| Chassis / underbody coating | Vehicle frames and undersides | Excellent chip resistance |
| 2K epoxy or urethane | Industrial and marine | Best durability; follow the data sheet |
| High-heat stove paint | Stoves, flue surrounds | Required wherever heat exceeds enamel ratings |
Plan your coverage
Area
100 sq ft
Bottles needed
3
Recommended bundle
×3 — $42
Based on up to 55 sq ft per bottle on smooth steel, adjusted for surface condition. Estimates only — measure generously.
Why painting straight over rust always fails
Paint adheres to what it touches. If what it touches is a layer of loose oxide flakes, the paint film is bonded to flakes rather than to metal, and the whole assembly lifts as soon as the flakes let go. That is why a freshly painted gate can look perfect in April and show orange streaks in June.
The second problem is chemistry rather than mechanics. Rust is hygroscopic — it holds moisture — and the corrosion reaction continues under a paint film with the water and oxygen it already has. As the oxide grows it lifts the film from underneath, which is what a rust blister actually is.
So-called direct-to-rust paints manage the first problem by penetrating and binding the surface layer, and they are genuinely useful on light, firmly attached surface rust. They do not solve the second problem on heavy scale, which is why manufacturers of those products also tell you to remove loose material first.
The correct sequence, step by step
- 01
Remove everything loose
Scraper and wire brush until nothing lifts under a fingernail. This is the step people shorten and the reason most repaints fail.
- 02
Feather the paint edge
Sand the lifted paint back until the edge is sound and flush. A hard paint edge telegraphs through the topcoat and is the first place water gets back in.
- 03
Degrease and splash test
Detergent or degreaser, rinse, then flick water on it. Sheeting is clean; beading means grease remains.
- 04
Apply the converter thinly
One coat on light surface rust, two on pitting, three to four hours apart. Thin and even — puddles skin over and stay soft underneath.
- 05
Watch the colour change
Orange to blue-black in 20 minutes to two hours means it is reacting. Patches still orange after two hours were greasy or were not rusty.
- 06
Cure a full 24 hours
Longer in cold or humid air. The surface must be completely dry with no tack anywhere before colour goes on.
- 07
Two thin topcoats, not one heavy one
Thin coats flow, tie in and resist runs. Heavy coats trap solvent and sag on vertical work.
What you can put over a cured converter film
| Topcoat | Compatible? | Notes |
|---|---|---|
| Oil-based enamel | Yes | The default for gates, railings and machinery |
| Acrylic and latex | Yes | Fine outdoors over a fully cured film |
| Hammered finish | Yes | Hides residual pitting better than gloss |
| Chassis paint and underbody schutz | Yes | Standard for vehicle underside work |
| Aerosol topcoats | Yes | Several thin passes, not one wet pass |
| High-temperature stove paint | Only below 400°F | Above that, the film itself is out of range |
| 2K automotive systems | Test first | Aggressive solvents; patch-test an offcut |
| High-build epoxy | Test first | Usually fine, but confirm on a sample |
Timing, weather and the mistakes that cost a repaint
Work between 50 and 90°F with no rain due for at least four hours. Below 50°F the reaction crawls and the film may never cure properly; in direct summer sun the surface skins before the liquid has wetted into the pitting, which leaves an attractive-looking film with unconverted rust underneath it.
Humidity extends cure time significantly. In a damp garage or a humid coastal summer, treat the 24-hour figure as a minimum and check for tack before painting. Trapped moisture under a topcoat is the single most common cause of blistering weeks after the job.
Finally, resist the urge to sand the black film back for a smoother finish. Light scuffing for key is fine after full cure; sanding through to bare metal removes the conversion you just paid for and gives you an unprimed patch under your topcoat.
Signs you painted too early
- Small blisters appearing within days or weeks of painting
- Topcoat that stays soft or fingerprints easily
- Orange staining bleeding through at seams and edges
- Paint peeling in sheets that show a black film still attached underneath
- A wrinkled or lifted topcoat where solvent attacked an uncured film
Plan your coverage
Area
100 sq ft
Bottles needed
3
Recommended bundle
×3 — $42
Based on up to 55 sq ft per bottle on smooth steel, adjusted for surface condition. Estimates only — measure generously.
When painting is not the answer at all
- Perforated metal — weld or replace before anything gets painted
- Aluminium, stainless, copper or bright galvanising
- Surfaces running above roughly 400°F
- Show-standard panels that need filler and a flat, sanded substrate
- Damp or below-50°F conditions, where you should simply wait
- Contaminated surfaces you have not degreased, however good the paint
What buyers say
Rated by people who hate sanding
Saved my truck bed
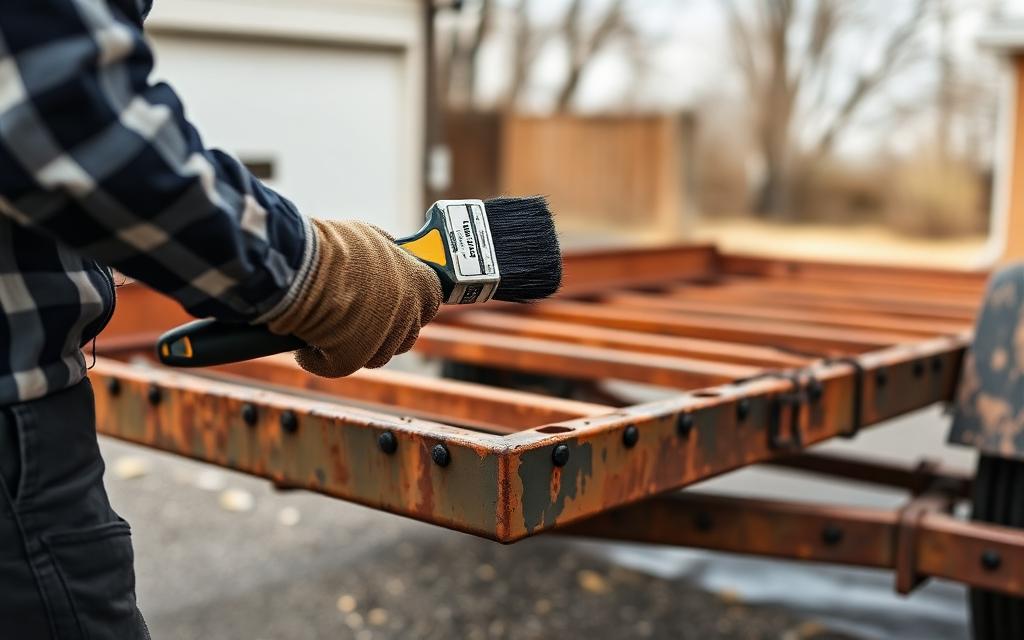
Wire-brushed the loose scale, brushed a coat on and left it overnight. Next morning it was a flat black surface that took primer without fighting me.
Dale R. · Tucson, AZ
No more grinding for hours
I restore gates and railings. This cut my prep time in half on pitted sections where the grinder just polishes the rust around.
Marcus H. · Leeds, UK
Held up through the wet season
Treated the shed roof sheets and topcoated them. Two seasons of rain later the treated panels still look the way I left them.
Janine K. · Brisbane, AU
Trailer frame looks new
Frame rails were surface-rusted everywhere. Two bottles covered the whole thing with enough left over for the tongue and jack.
Tom V. · Hamilton, ON
Simple to use
Shake, brush, wait. No mixing, no strong acid smell like the jelly products I used before.
Ricardo M. · Houston, TX
Bought the 5-pack, no regrets
Fence posts, patio furniture and a mower deck off one bundle. Ordering the workshop pack was cheaper than buying singles twice.
Ellen S. · Portland, OR
Reviews shown are illustrative sample copy while we collect verified customer feedback.
Buy with confidence
Nothing to lose but the rust
Worldwide shipping
Tracked delivery to the US, UK, Canada, Australia, EU and more. Free on 3-bottle bundles and above.
Encrypted payment
Card details are captured on a secure, encrypted checkout page. We never see or store your card number.
30-day guarantee
If RustGuard™ is not right for your project, contact support within 30 days for a refund of the product price.
No grinder needed
Brush-on chemistry designed for pitted, hard-to-reach rust where abrasives cannot get a bite.
Secure checkout
Order your RustGuard™ bundle
Pick a bundle, tap checkout — that's it. No account, no forms to fight. Your delivery address and payment are collected on the secure checkout page.
Step 1 — Choose your bundle
One bottle covers about 55 sq ft. Treating a whole vehicle, trailer or roof section? Most people need 3 or more.
Free tracked shipping unlocked
Most projects use more than they expect — the ×8 pack drops you to $9.00/bottle (you pay $11.00 now).
Step 2 — Checkout securely
Apple Pay, Google Pay and all major cards are accepted on the secure Shopify checkout — address, payment and confirmation, all in one place.
- 1Tap checkoutYour bundle is reserved in a secure cart.
- 2Pay your wayCard, Apple Pay or Google Pay — under a minute.
- 3Tracked dispatchConfirmation email instantly, packed in 1 business day.
“Ordered the 5-pack, treated the whole trailer frame and still had a bottle spare.”
Tom V. · Hamilton, ON
“Arrived tracked in five days and the brush kit saved me a trip to the store.”
Dale R. · Tucson, AZ
Reviews are illustrative while verified feedback is collected.
Frequently asked questions
Can I use a rust-inhibiting paint instead?
Direct-to-rust paints are convenient on light surface rust. On pitted or scaled rust, converting first and then painting is much more reliable.
Do I still need a primer?
Usually not — the cured converter functions as your primer. Check what your specific topcoat expects.
How long can I leave it before painting?
Topcoat within about a week. Beyond that, wipe the surface down and check nothing has re-rusted at the edges.
Can I spray the topcoat?
Yes. The converted film accepts brush, roller and spray application equally well.
Can you paint directly over rust?
Not over loose or scaly rust — it fails within a season. Remove everything loose, feather the paint edge, degrease, convert the remaining rust and paint after a 24-hour cure.
Do I need primer over a rust converter?
No. The cured film is a primer, so your topcoat goes straight on.
How long should I wait before painting?
24 hours at 68°F, longer in cold or humid conditions. The surface must be dry with no tack.
What paint is best over converted rust?
Oil-based enamel or hammered finish for ironwork, chassis paint for vehicle undersides, exterior acrylic for general outdoor steel.
Can I spray paint over it?
Yes — several thin passes rather than one wet coat. Patch-test 2K automotive systems first.
Why did my paint bubble again?
Almost always one of three things: loose rust left underneath, grease not removed, or paint applied before the film had fully cured.
Should I sand the black film first?
A light scuff helps gloss topcoats key. Do not sand through to bare metal — that removes the conversion.
Keep reading
- How to use rust converter, step by stepThe full method for applying a rust converter: preparation, degreasing, coats, cure time and topcoating. Written for RustGuard™ but valid for any converter.
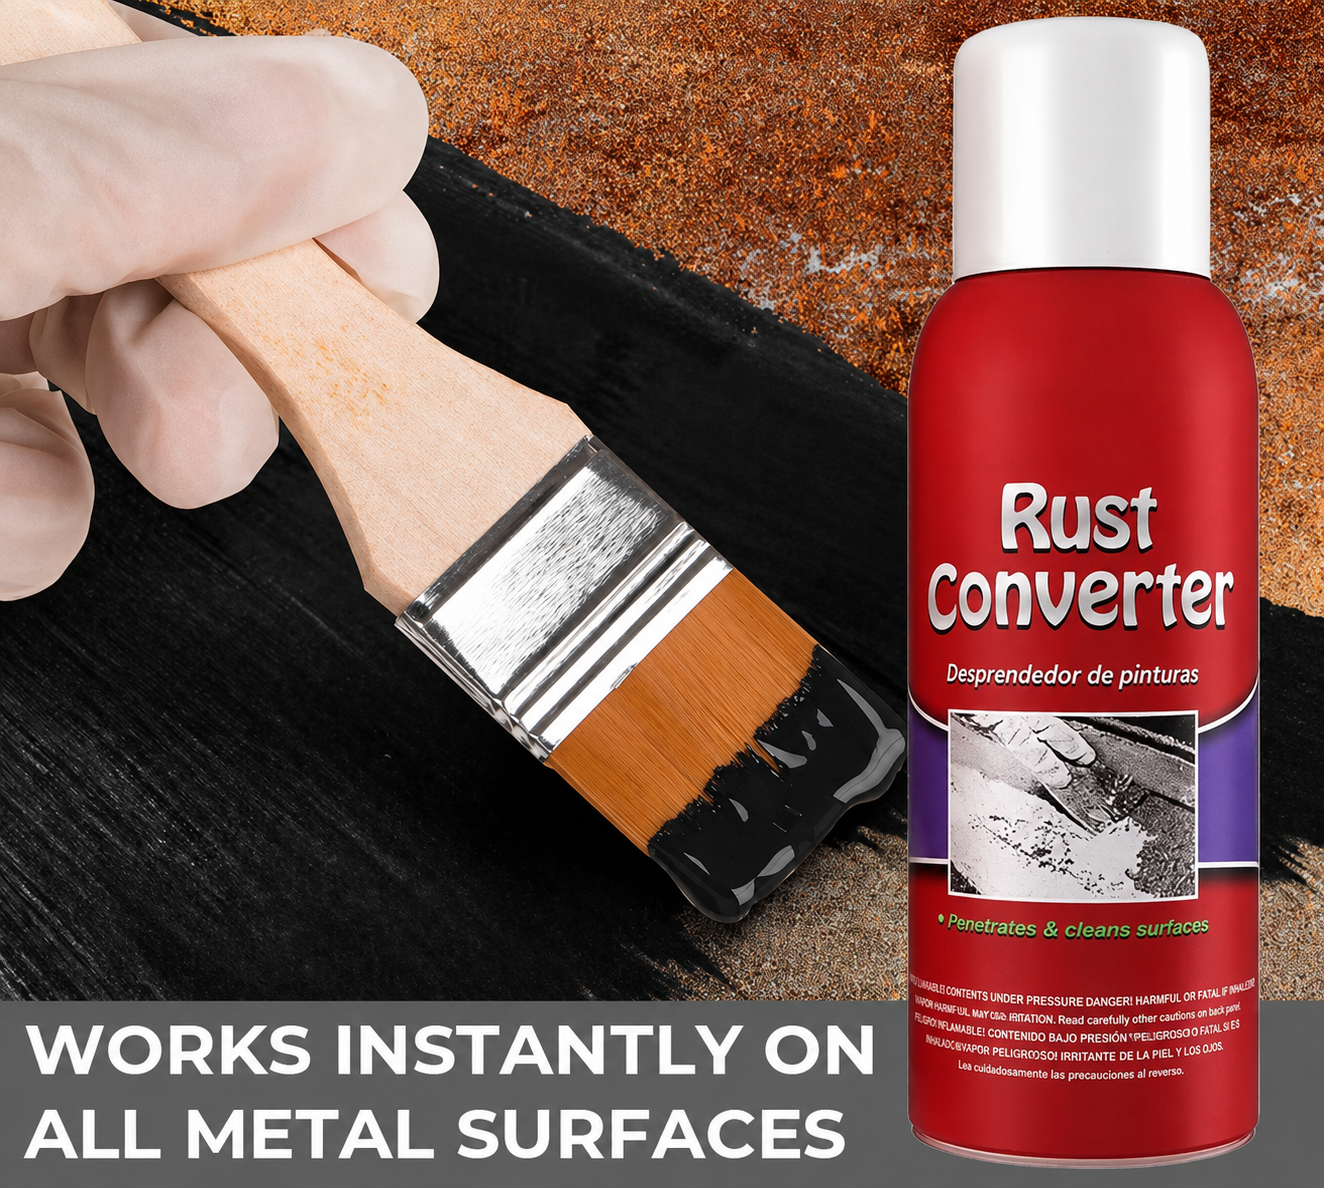
- Rust converter primer, in one coatRustGuard™ converts rust and leaves a paint-ready primed film in a single coat. No separate primer, no blasting. Bundles from $24 with worldwide shipping.
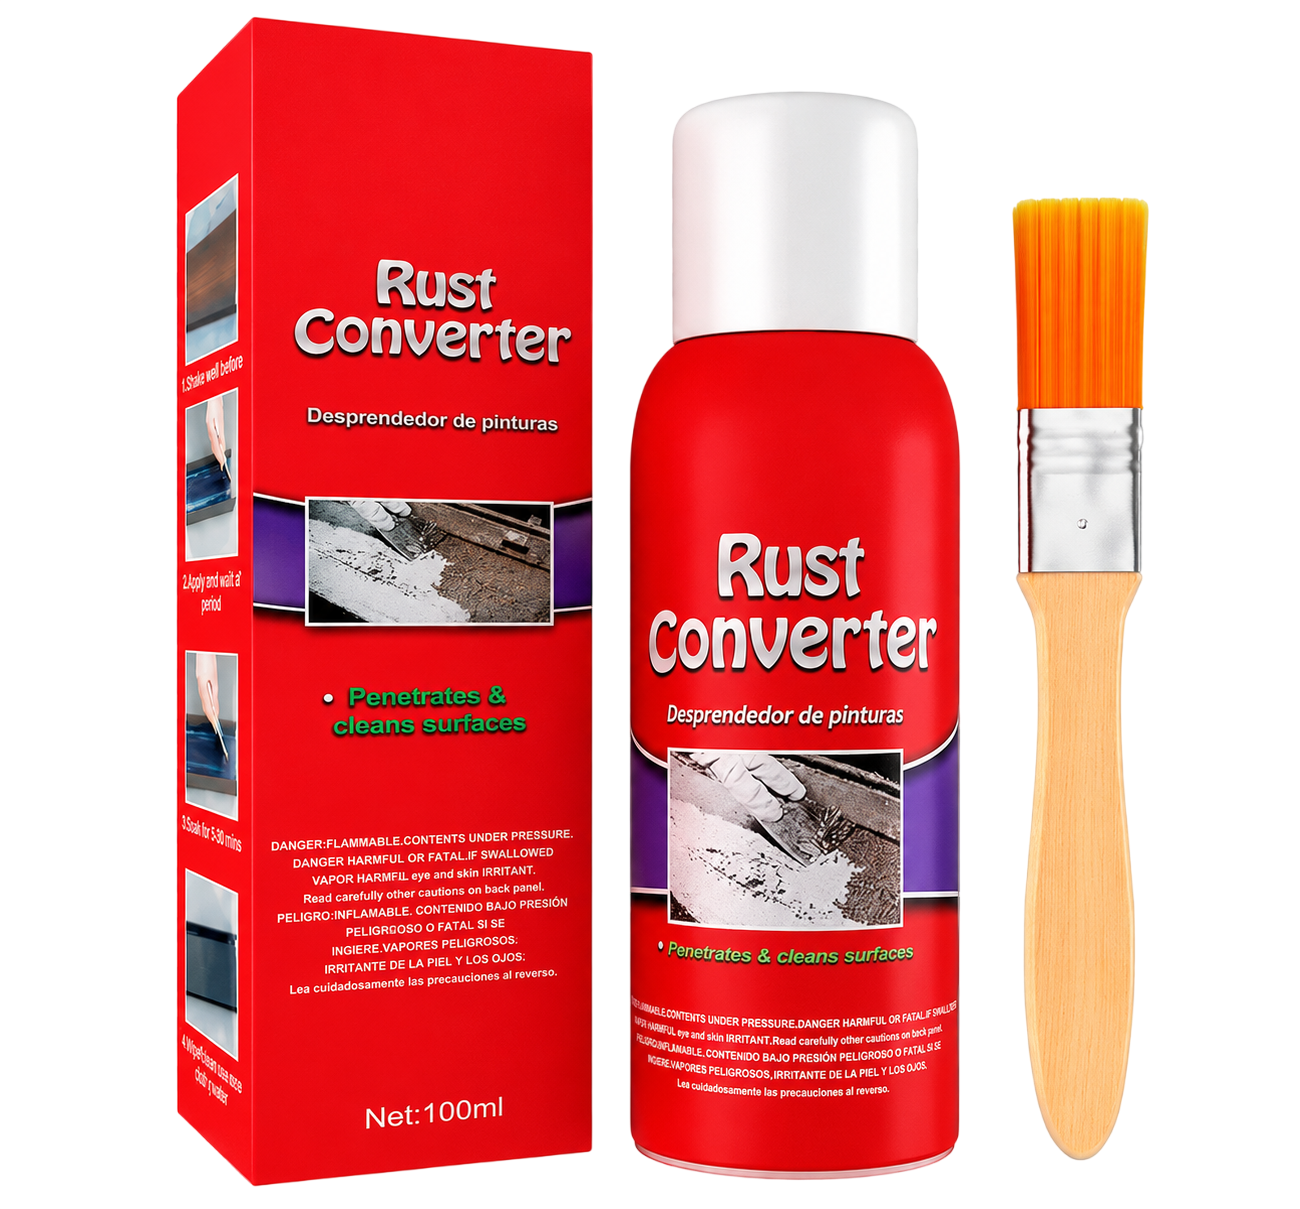
- Rust converter for iron and steel that leaves a paint-ready surfaceBrush RustGuard™ onto rusted iron or steel, convert the corrosion and topcoat in 24 hours. Bundles from $24, free shipping on 3+.
- How to remove rust from metalAbrasives, acids, electrolysis, chelation and conversion — what each rust removal method costs in time and effort, and when each one is the right call.
- Rust converter drying and cure timeColour change, touch dry, recoat and topcoat windows for rust converter — plus how temperature and humidity change every one of them.
Last step
Ready to stop the rust?
Ships from our US fulfilment partner, typically 3–7 business days. 30-day money-back guarantee.