- Encrypted paymentSecure, encrypted checkout
- Tracked worldwideFree on 3+ bottle bundles
- 30-day guaranteeMoney-back if it is not for you
- Clear labellingCoverage and results stated honestly
Stock up & save
Choose your RustGuard™ bundle
Prices in USD. Free tracked shipping on 3-bottle bundles and above.
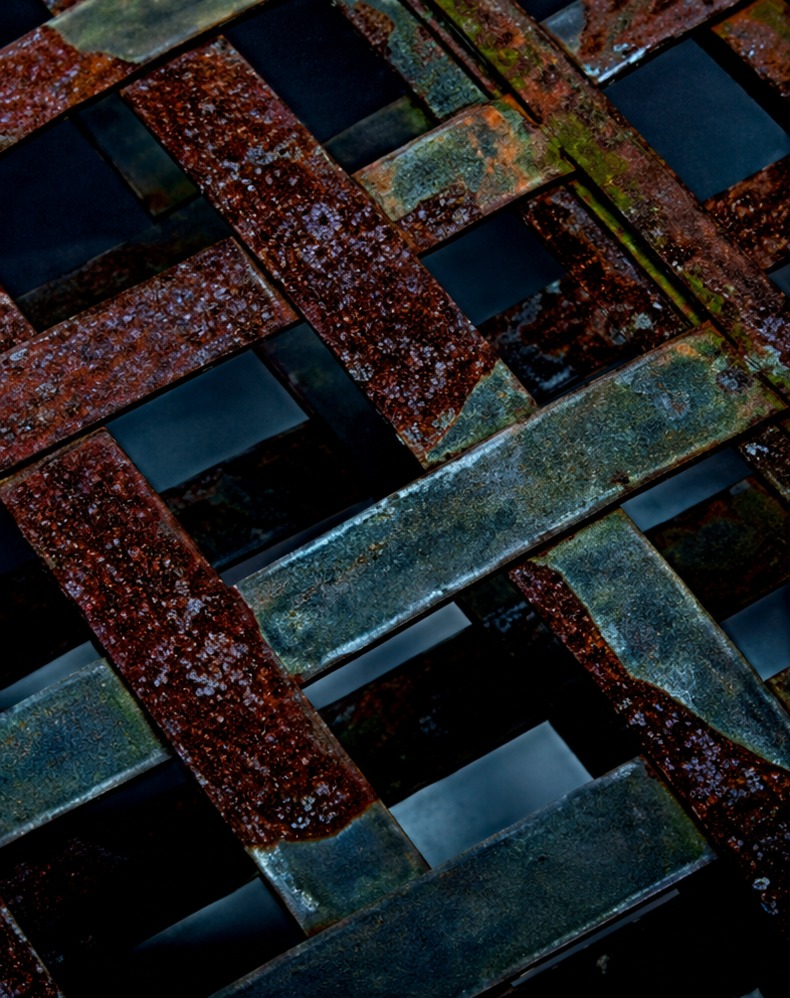
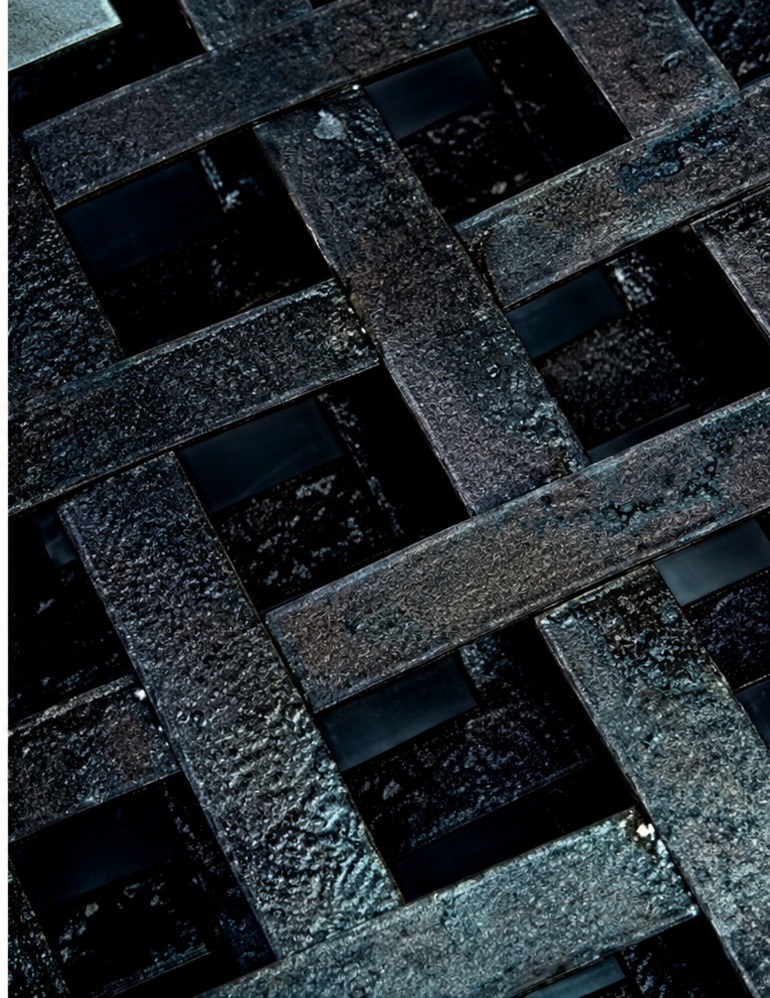
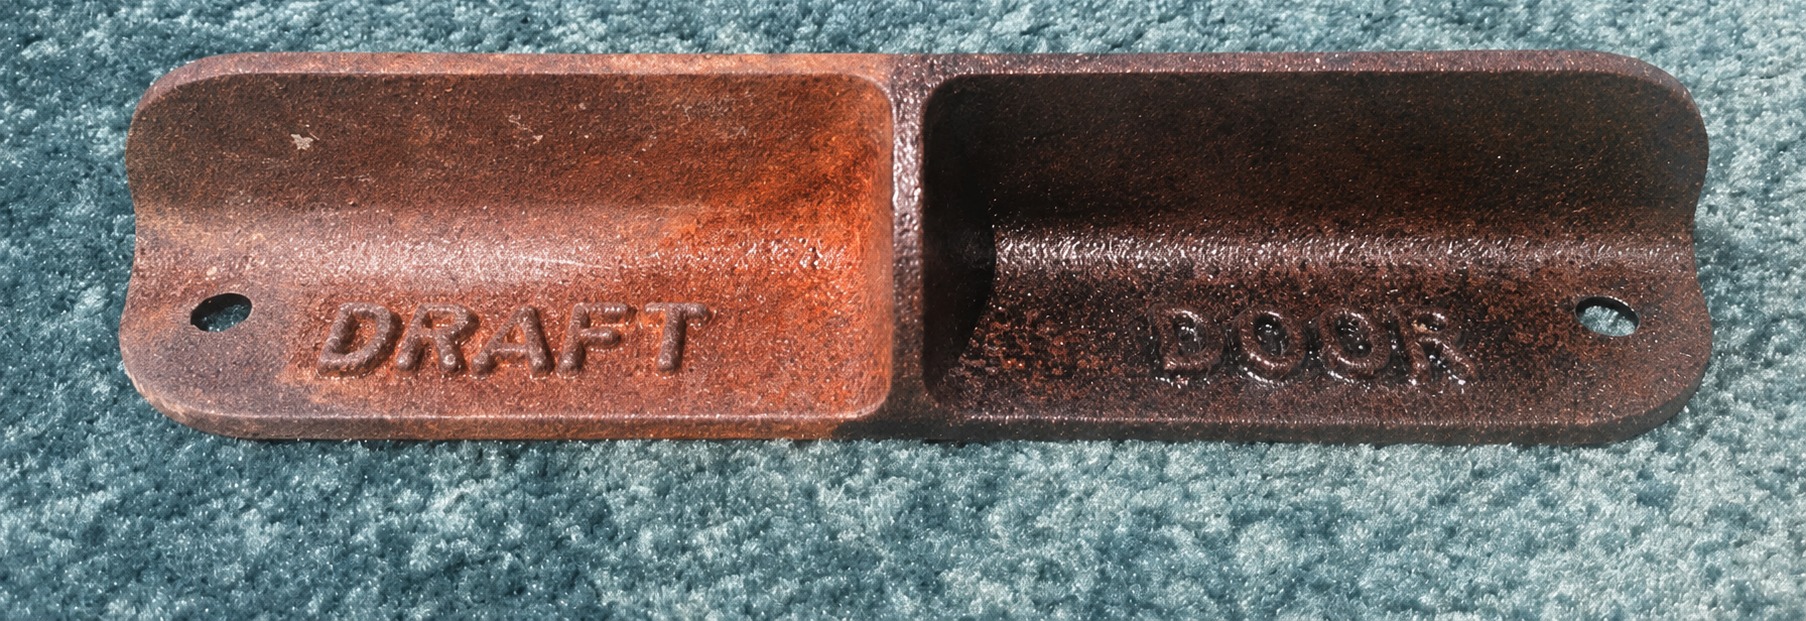
Rusted metal in, paint-ready surface out
Brush RustGuard™ over sound rust, let it cure, then paint. Images are illustrative — results depend on surface condition and preparation.
The short answer
Grade the rust first, because the grade decides the method. Surface bloom sands off and paints. Scaly rust in arches, sills and floors gets scraped, degreased, converted in two thin coats and topcoated. Perforation — anywhere a blunt screwdriver goes through — is a welding job and no chemical fixes it. Most home car jobs are the middle case, and take a weekend and two to three bottles.
- Blunt screwdriver test decides everything: dent, go chemical; hole, go weld
- Both rear arches: one bottle. Sills and arches: two. Full underside: three to five
- Feather back lifted paint before you treat, or you are treating the paint
- Clear the drain holes, or the same panel rusts again within two winters
Grade the rust before you buy anything
| What you see | Grade | What it needs |
|---|---|---|
| Orange film, paint intact | Surface | Clean, convert, topcoat |
| Flaking scale, pitted metal | Scale | Scrape, convert twice, topcoat |
| Bubbling paint over solid metal | Sub-paint | Feather back, convert, filler and paint |
| Screwdriver goes through | Perforation | Cut out and weld — no coating fixes this |
| Structural member affected | Structural | Professional assessment |
The DIY sequence
- 01
Get the car up and lit
Ramps or stands on level ground, chocked wheels, bright light. Most car rust is on the underside where you cannot see it standing up.
- 02
Probe before you plan
Press firmly with a blunt screwdriver on every suspect area. Anything that gives way is a welding job, not a paint job.
- 03
Remove loose material
Scrape flaking scale, wire brush the pitting, and sand bubbling paint back to a sound edge that does not lift.
- 04
Wash, degrease, dry
Underbody grime is oily. Detergent wash, rinse, and let the car dry fully — trapped water in a seam will ruin the coat.
- 05
Mask the untouchables
Brake lines and discs, fuel lines, rubber bushes, wiring, and any paint you want to keep.
- 06
Convert the rust
Brush it into the arch lips, seam folds and pitting. A second thin coat on the worst areas after four hours.
- 07
Cure a full 24 hours
Then filler if you need it for cosmetic panels, primer, colour, and lacquer — or chassis paint underneath.
- 08
Seal and protect
Seam sealer over treated seams, then cavity wax inside the sills and box sections you cannot brush.
Where to look on any car
- Rear wheel arch lips, inner and outer
- Sills below the door seal, especially at the jacking points
- Floor pans and footwells under the carpet underlay
- Boot floor and spare wheel well
- Bonnet and tailgate lower edges and seams
- Subframes, suspension turrets and the rear beam
How much do you need for your car?
Area
100 sq ft
Bottles needed
3
Recommended bundle
×3 — $42
Based on up to 55 sq ft per bottle on smooth steel, adjusted for surface condition. Estimates only — measure generously.
Grade the rust before you buy anything
There are three grades and they need three different responses. Grade one is surface rust: orange bloom on otherwise sound steel, often where a stone chip has broken the paint. Grade two is scale: layered, flaking rust with pitting underneath, typical of arches, sills, subframes and boot floors. Grade three is perforation, where the steel has been consumed and there is a hole or a soft, flexing area.
Grading is a two-minute job with a blunt screwdriver and moderate pressure. If the surface dents but holds, you are grade one or two and chemistry is the right answer. If it punches through or the metal crumples like foil, you are grade three and the only honest fix is cutting the section out and welding new metal in.
People waste money by treating grade three as grade two. A converter over a hole makes a black hole. It looks tidier for a season and then the edges lift, because there is nothing structural underneath holding the coating up.
Grade, method and realistic outcome
| Grade | What you see | Method | Outcome |
|---|---|---|---|
| Surface bloom | Orange film, no pitting | Sand, prime, paint — or one coat of converter | Invisible when done |
| Light scale | Flaking, shallow pitting | Scrape, degrease, one to two coats, topcoat | Stable for years with paint maintained |
| Heavy scale | Deep pitting, layered rust | Wire-brush, degrease, two coats, seal, paint | Stabilised; surface stays textured |
| Blistered paint | Bubbles over sound-looking metal | Feather back to sound edge, then treat | Depends on what is underneath |
| Perforation | Hole, or metal flexes | Cut out and weld a patch | Only real repair |
The full DIY sequence, in order
- 01
Wash the underside and let it dry a full day
Salt and mud hold water for far longer than a surface looks wet. Pressure wash, then leave 24 hours.
- 02
Grade every area with the screwdriver test
Mark the perforated spots with chalk or tape — those go on the welding list, not the paint list.
- 03
Feather back lifted and blistered paint
Sand until the edge is sound and does not lift under a fingernail. Vacuum the dust out of the seams.
- 04
Scrape and wire-brush the scale
Loose material must come off. A drill-mounted knot wheel on flats, a hand brush in seams and arch lips.
- 05
Degrease and splash test
Detergent, rinse, flick water at it. Sheeting means clean; beading means the oil is still there.
- 06
Mask brakes, lines, bushes and connectors
Ten minutes of masking prevents the two jobs you really do not want to redo.
- 07
Two thin coats of converter, three to four hours apart
Work into the pitting. Watch for the orange-to-black colour change within the first two hours.
- 08
Cure 24 hours, then seal and topcoat
Seam sealer where water sits, chassis paint or schutz over the lot, body colour on visible panels.
Where to look on any car
Start at the back. Rear arches, the lip inside them, the rear valance and the boot floor with the spare wheel out. Then the sills, top and bottom, including the jacking points, and the front of the rear wheel well where road spray is thrown directly at the sill end.
Underneath, work front to back with a light: subframe mounts, suspension turret bases, the seat belt and seat mounting points through the floor pan, the fuel and brake line runs, and the crossmembers — the top face of a crossmember is the single most missed area on any car.
Finally the water traps: door bottoms and their drain holes, the scuttle under the windscreen, the tailgate lower edge, the sunroof drains and the bottom of the A and B pillars. Almost every rusty car has a blocked drain somewhere as the underlying cause.
Alternatives, and when each is actually better
Mechanical removal — grinding, flap discs, wire wheels — is the right answer on accessible flat panels you intend to fill and paint properly, because it gives you bare metal and a smooth substrate. It is the wrong answer inside an arch lip or a seam, where the abrasive cannot reach and the corrosion continues out of sight.
Acid removers strip rust to bare metal and are excellent for small parts you can dunk. On a car underside they create a rinse-water problem and leave bare steel that flash-rusts within hours unless you prime immediately.
Blasting is the professional answer and gives the best substrate of all, at a cost of a few hundred dollars and a booking. For a car worth restoring properly it is money well spent; for keeping a daily driver alive through another few winters, chemistry on a Saturday is the better trade.
Inspection, structure and safety
- Corrosion within a prescribed structural area fails an inspection whatever it is coated with
- Coating over perforation can make an assessment harder and is not a repair
- Never work under a car on a jack alone — axle stands or ramps, on level ground
- Keep every product off discs, pads and any friction surface
- Ventilate if you are working inside the cabin on floor pans
- Seat belt and suspension mounting points are structural: if they are soft, stop and get it welded
How much do you need for your car?
Area
100 sq ft
Bottles needed
3
Recommended bundle
×3 — $42
Based on up to 55 sq ft per bottle on smooth steel, adjusted for surface condition. Estimates only — measure generously.
What this method will not do
- Repair holes, soft floors or perforated sills
- Restore a show-standard flat panel finish without filler work
- Treat aluminium panels, stainless trim or chrome
- Reach inside sealed box sections you cannot wet — use cavity wax there
- Fix corrosion caused by a leak you have not found and stopped
- Turn a structurally failed car into an inspection pass
What buyers say
Rated by people who hate sanding
Saved my truck bed
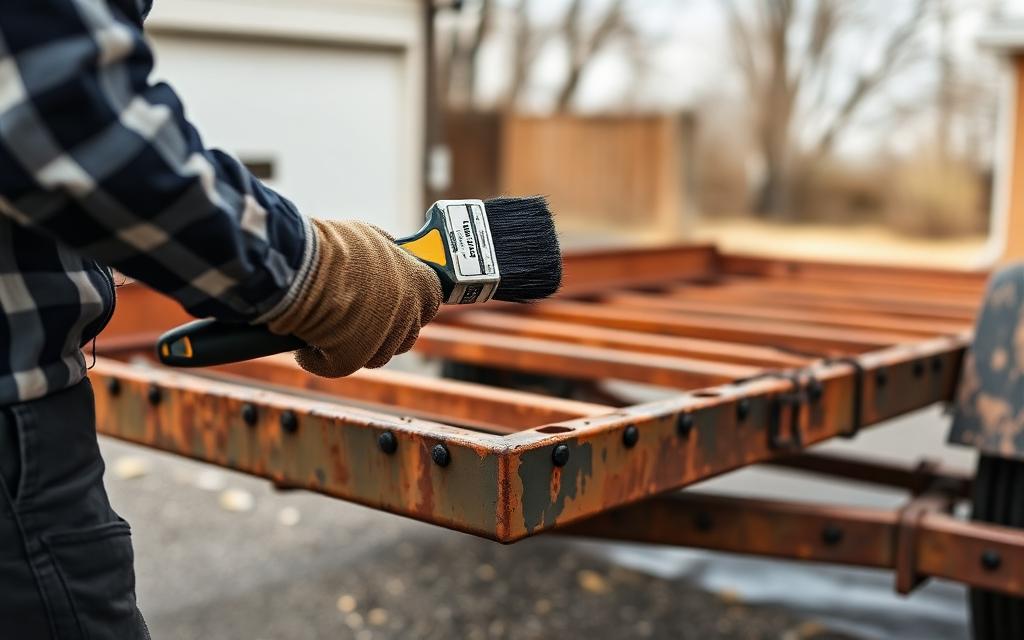
Wire-brushed the loose scale, brushed a coat on and left it overnight. Next morning it was a flat black surface that took primer without fighting me.
Dale R. · Tucson, AZ
No more grinding for hours
I restore gates and railings. This cut my prep time in half on pitted sections where the grinder just polishes the rust around.
Marcus H. · Leeds, UK
Held up through the wet season
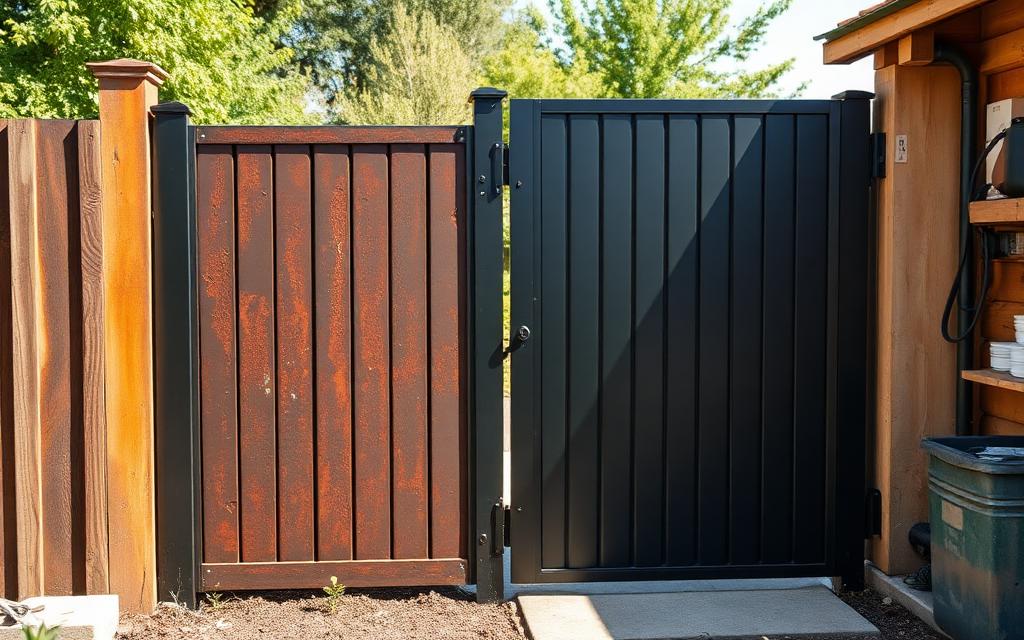
Treated the shed roof sheets and topcoated them. Two seasons of rain later the treated panels still look the way I left them.
Janine K. · Brisbane, AU
Trailer frame looks new
Frame rails were surface-rusted everywhere. Two bottles covered the whole thing with enough left over for the tongue and jack.
Tom V. · Hamilton, ON
Simple to use
Shake, brush, wait. No mixing, no strong acid smell like the jelly products I used before.
Ricardo M. · Houston, TX
Bought the 5-pack, no regrets
Fence posts, patio furniture and a mower deck off one bundle. Ordering the workshop pack was cheaper than buying singles twice.
Ellen S. · Portland, OR
Reviews shown are illustrative sample copy while we collect verified customer feedback.
Buy with confidence
Nothing to lose but the rust
Worldwide shipping
Tracked delivery to the US, UK, Canada, Australia, EU and more. Free on 3-bottle bundles and above.
Encrypted payment
Card details are captured on a secure, encrypted checkout page. We never see or store your card number.
30-day guarantee
If RustGuard™ is not right for your project, contact support within 30 days for a refund of the product price.
No grinder needed
Brush-on chemistry designed for pitted, hard-to-reach rust where abrasives cannot get a bite.
Secure checkout
Order your RustGuard™ bundle
Pick a bundle, tap checkout — that's it. No account, no forms to fight. Your delivery address and payment are collected on the secure checkout page.
Step 1 — Choose your bundle
One bottle covers about 55 sq ft. Treating a whole vehicle, trailer or roof section? Most people need 3 or more.
Free tracked shipping unlocked
Most projects use more than they expect — the ×8 pack drops you to $9.00/bottle (you pay $11.00 now).
Step 2 — Checkout securely
Apple Pay, Google Pay and all major cards are accepted on the secure Shopify checkout — address, payment and confirmation, all in one place.
- 1Tap checkoutYour bundle is reserved in a secure cart.
- 2Pay your wayCard, Apple Pay or Google Pay — under a minute.
- 3Tracked dispatchConfirmation email instantly, packed in 1 business day.
“Ordered the 5-pack, treated the whole trailer frame and still had a bottle spare.”
Tom V. · Hamilton, ON
“Arrived tracked in five days and the brush kit saved me a trip to the store.”
Dale R. · Tucson, AZ
Reviews are illustrative while verified feedback is collected.
Frequently asked questions
Can I fix a rust hole without welding?
Not properly. Filler and mesh over a hole is cosmetic and will fail. If the panel is perforated, cut it out and let in new metal.
Will treated rust pass an inspection?
Surface rust, treated and painted, is not a problem. Corrosion in a structural area, or metal you can push through, fails regardless of coating.
Do I need to remove the wheels?
For arch work, yes. Access is far better and it keeps product away from the brakes.
How long will the repair last?
Prepared properly and topcoated, years. Skip the degrease or the cure and you may see it back within a season.
What is the easiest way to remove rust from a car?
For anything beyond surface bloom, scrape and wire-brush the loose scale, degrease, apply two thin coats of rust converter and topcoat it. It avoids blasting, works in the pitting you cannot reach mechanically and can be done on a driveway.
Can I fix rust without welding?
Only if the metal is still solid. Pitted but sound steel is a chemical job. If a blunt screwdriver goes through under moderate pressure, it needs cutting out and welding.
How long does a DIY rust repair take?
A weekend for arches and sills: prep and first coat on day one, second coat the same day, cure overnight, seal and paint on day two.
Do I need to remove all the paint?
No. Remove anything lifted or blistered and feather the edge to sound paint. Well-adhered paint can stay.
Will body filler stick over treated rust?
Filler should go on bare, sound metal, not over converted rust. Convert and paint the areas you are protecting; fill the areas you are shaping.
Is rust repair worth doing on an old car?
If the structure is sound, yes — a weekend and two or three bottles buys years. If the structure has gone, the honest answer is that money is better spent elsewhere.
What paint should I use underneath?
Chassis paint or underbody schutz over the cured film. Both go on without a separate primer.
Keep reading
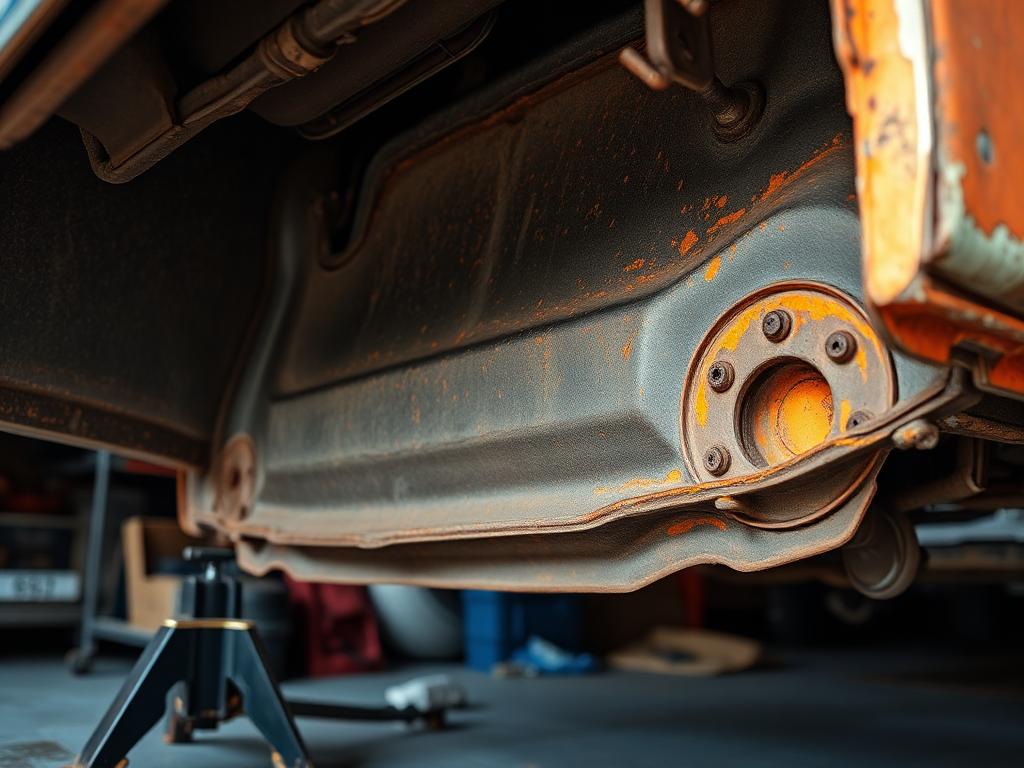
- Rust converter for carsTreat surface rust on car sills, wheel arches, floor pans and subframes with RustGuard™ — convert, prime and repaint without blasting.
- How to paint over rust properlyPainting straight over rust always fails. Here's the correct sequence — prep, convert, cure, prime, topcoat — and the paints that work over a converted surface.
- Rust converter for iron and steel that leaves a paint-ready surfaceBrush RustGuard™ onto rusted iron or steel, convert the corrosion and topcoat in 24 hours. Bundles from $24, free shipping on 3+.
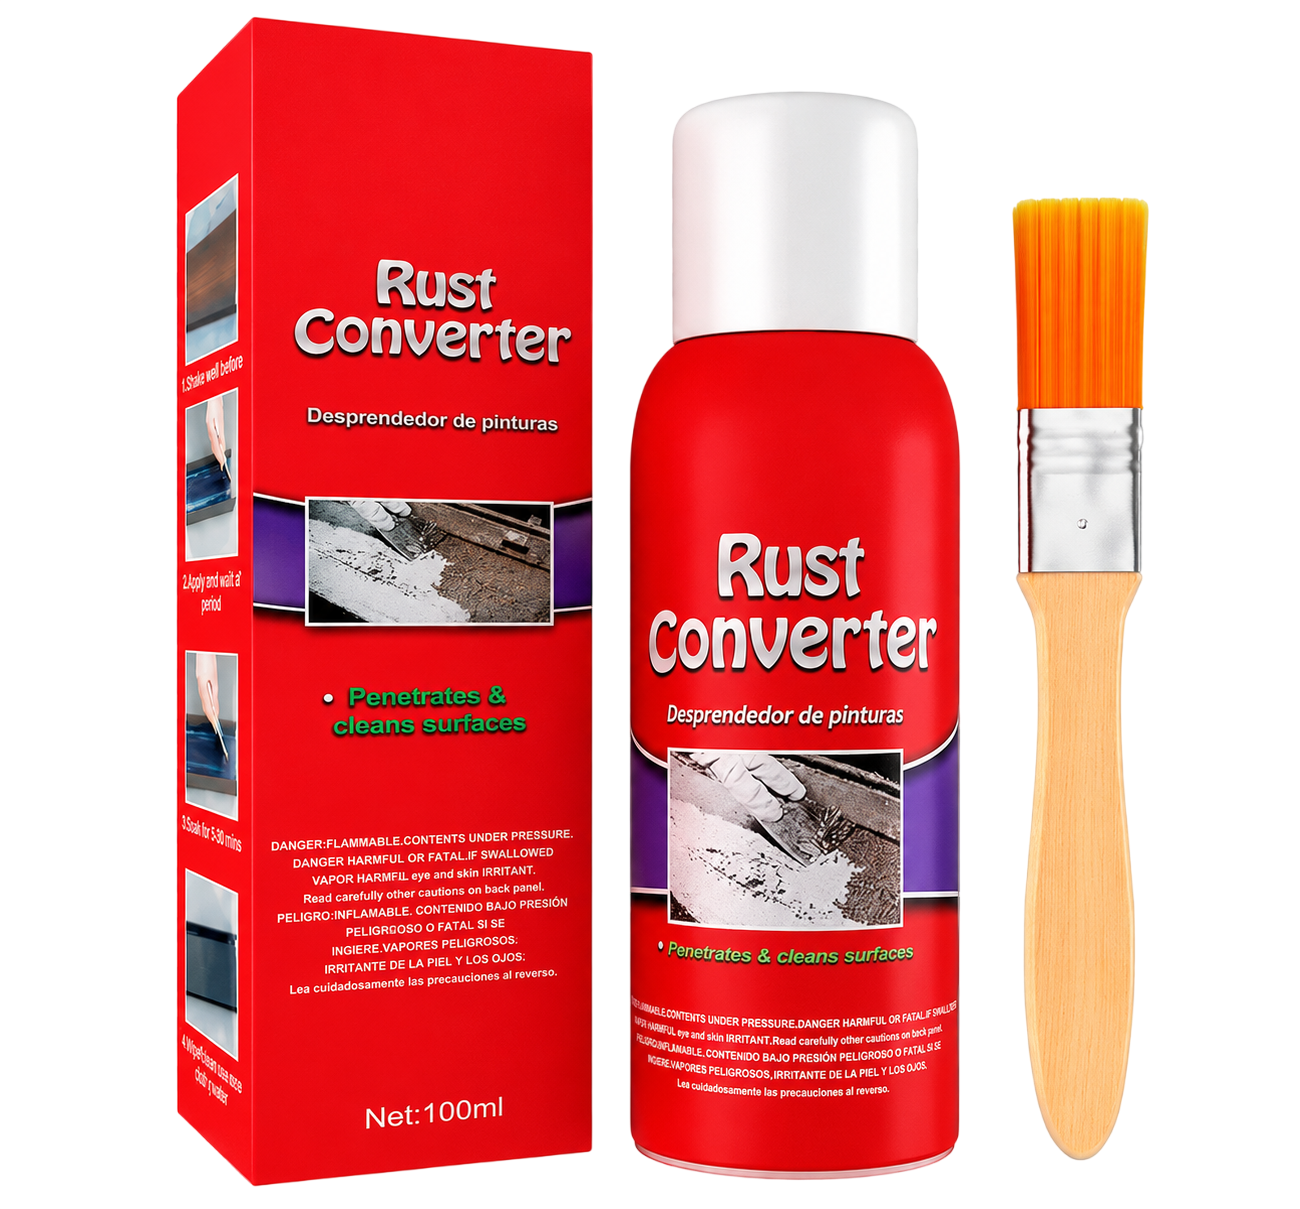
- How to stop rust from spreadingRust spreads because it holds moisture. Break the cycle with the right prep, a converter and a topcoat — plus the maintenance that stops it restarting.
- Rust converter for motorcyclesTreat rust on motorcycle frames, swingarms, brackets and fasteners. What to convert, what to strip, and what to leave to a specialist.
Last step
Ready to stop the rust?
Ships from our US fulfilment partner, typically 3–7 business days. 30-day money-back guarantee.