- Encrypted paymentSecure, encrypted checkout
- Tracked worldwideFree on 3+ bottle bundles
- 30-day guaranteeMoney-back if it is not for you
- Clear labellingCoverage and results stated honestly
Stock up & save
Choose your RustGuard™ bundle
Prices in USD. Free tracked shipping on 3-bottle bundles and above.
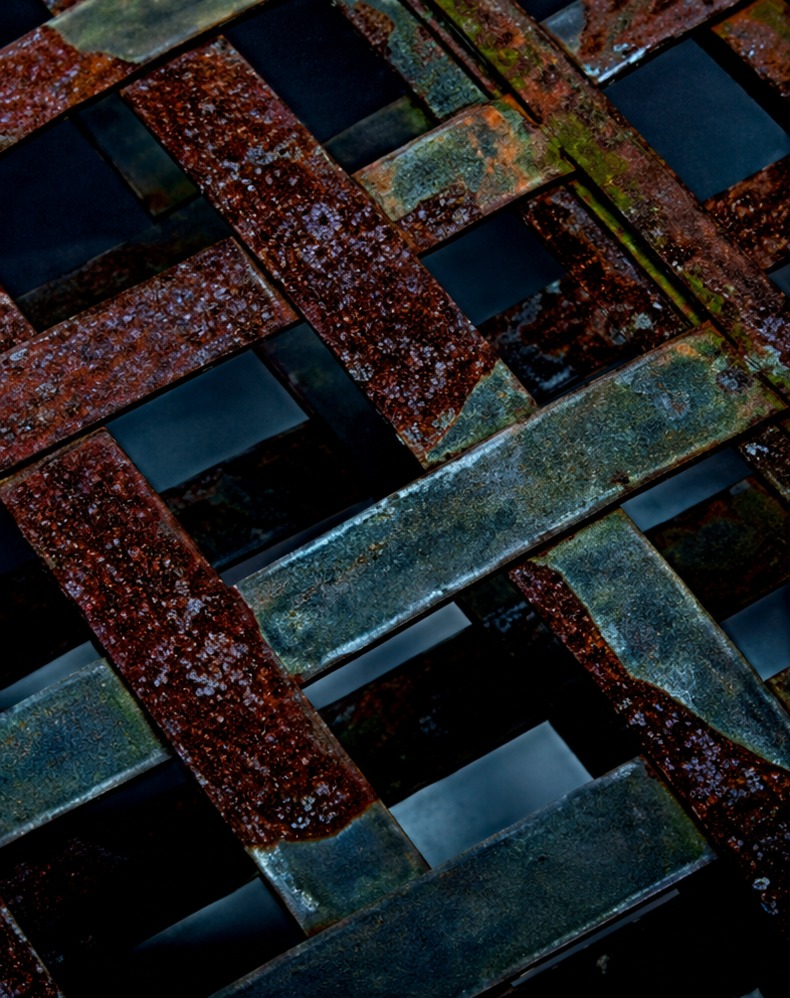
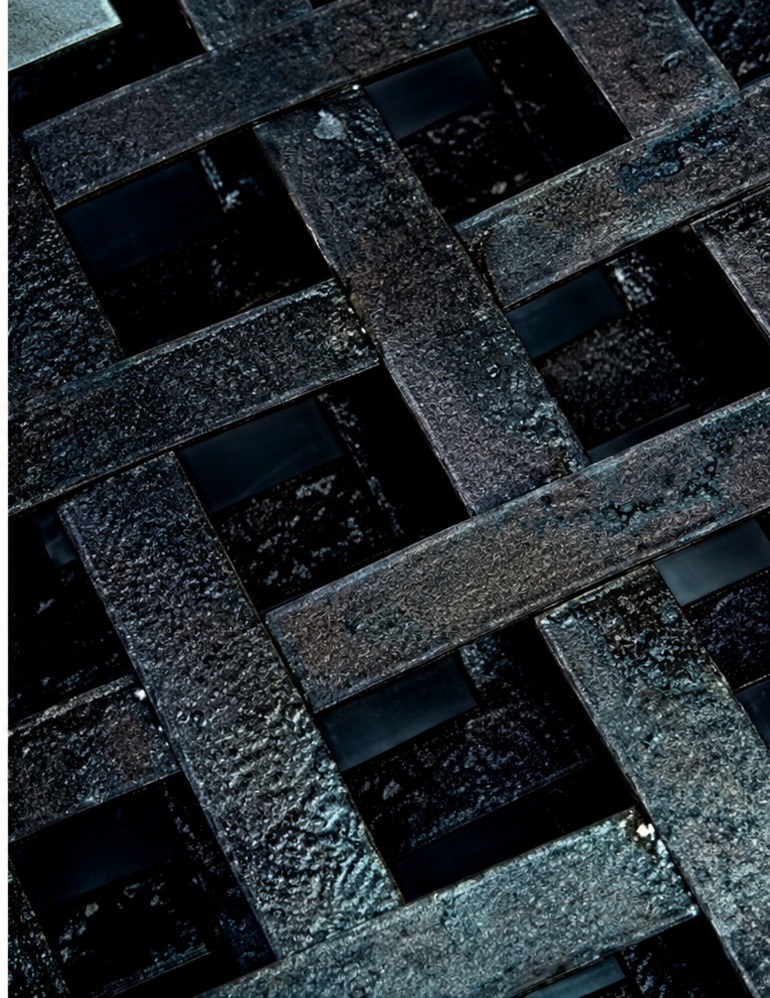
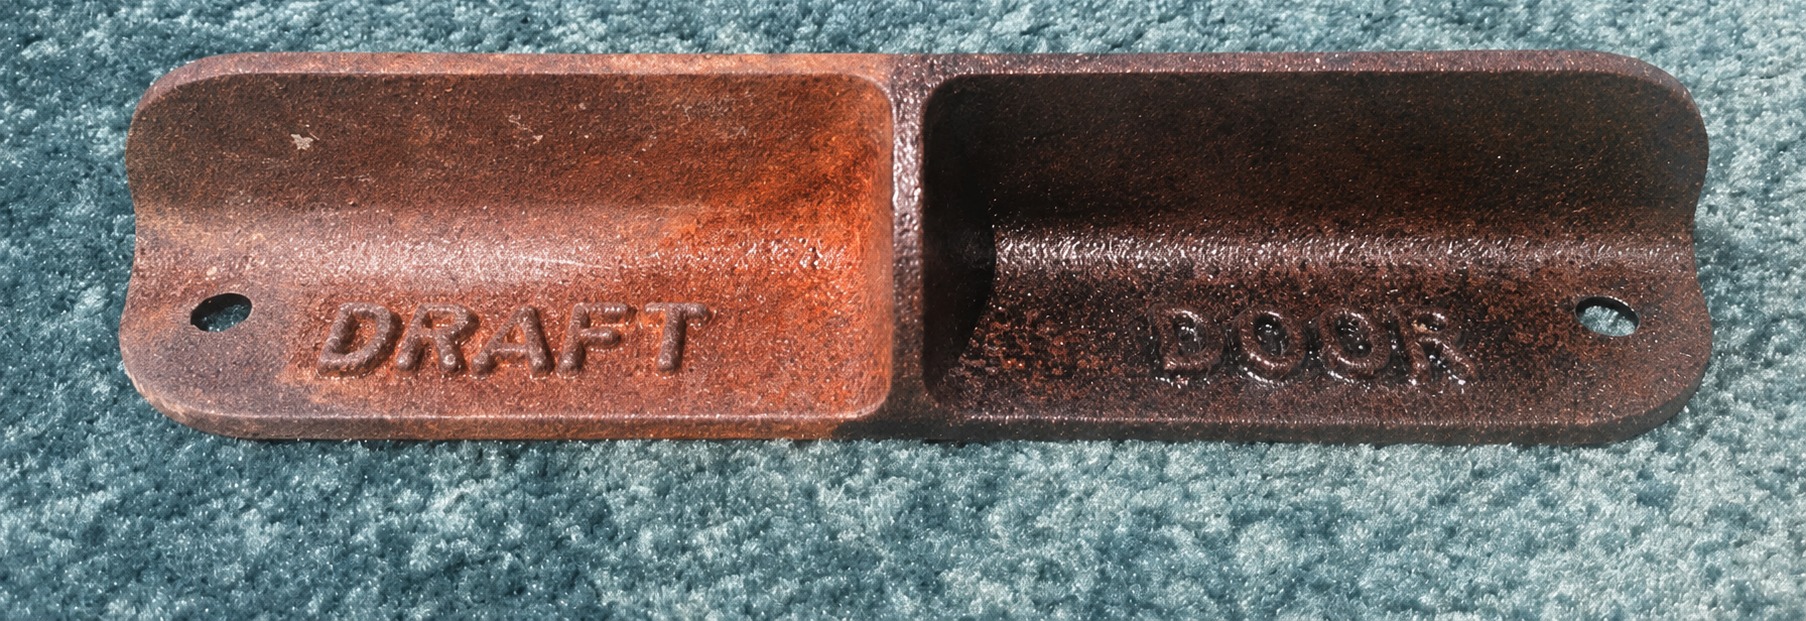
Rusted metal in, paint-ready surface out
Brush RustGuard™ over sound rust, let it cure, then paint. Images are illustrative — results depend on surface condition and preparation.
The short answer
On a bike, converter belongs on the frame, swingarm, centre stand, brackets, mudguard undersides and the inside of the tank filler area — the painted steel you cannot dismantle or blast. It does not belong on chrome, alloy, brake components, fork stanchions or the exhaust. One bottle covers a whole frame and running gear on most bikes.
- One bottle covers a typical frame, swingarm, stands and brackets
- Keep it off chrome, polished alloy, discs, pads, stanchions and the exhaust
- Two thin coats where the salt collects: under the engine and behind the shock
- Cure fully before satin black topcoat — bikes show every blemish
Where rust shows up first
The areas worth checking before you order.
- Frame tubes, gussets and engine mounting lugs
- Swingarms, centre stands and side stands
- Bracketry, subframes and rack mounts
- Steel mudguards and chain guards behind failing paint
- Steel fuel tank exteriors, once emptied and made safe
- Fastener heads and captive nuts you are not replacing
Step-by-step on this job
- 01
Dismantle as far as is sensible
Loose parts on a bench get a far better finish than parts treated in situ, and you can see all sides.
- 02
Brush and feather
Wire brush the scale, feather back the edges of failing paint until nothing lifts.
- 03
Degrease every surface
Chain fling and engine oil are everywhere on a bike. Degrease, rinse, dry.
- 04
Thin coats on tubing
Round tube shows every run. Keep the coat thin and rotate the part as it sets.
- 05
Topcoat and reassemble
Satin or gloss frame enamel after 24 hours. Refit with new fasteners where the old ones are pitted.
What not to do
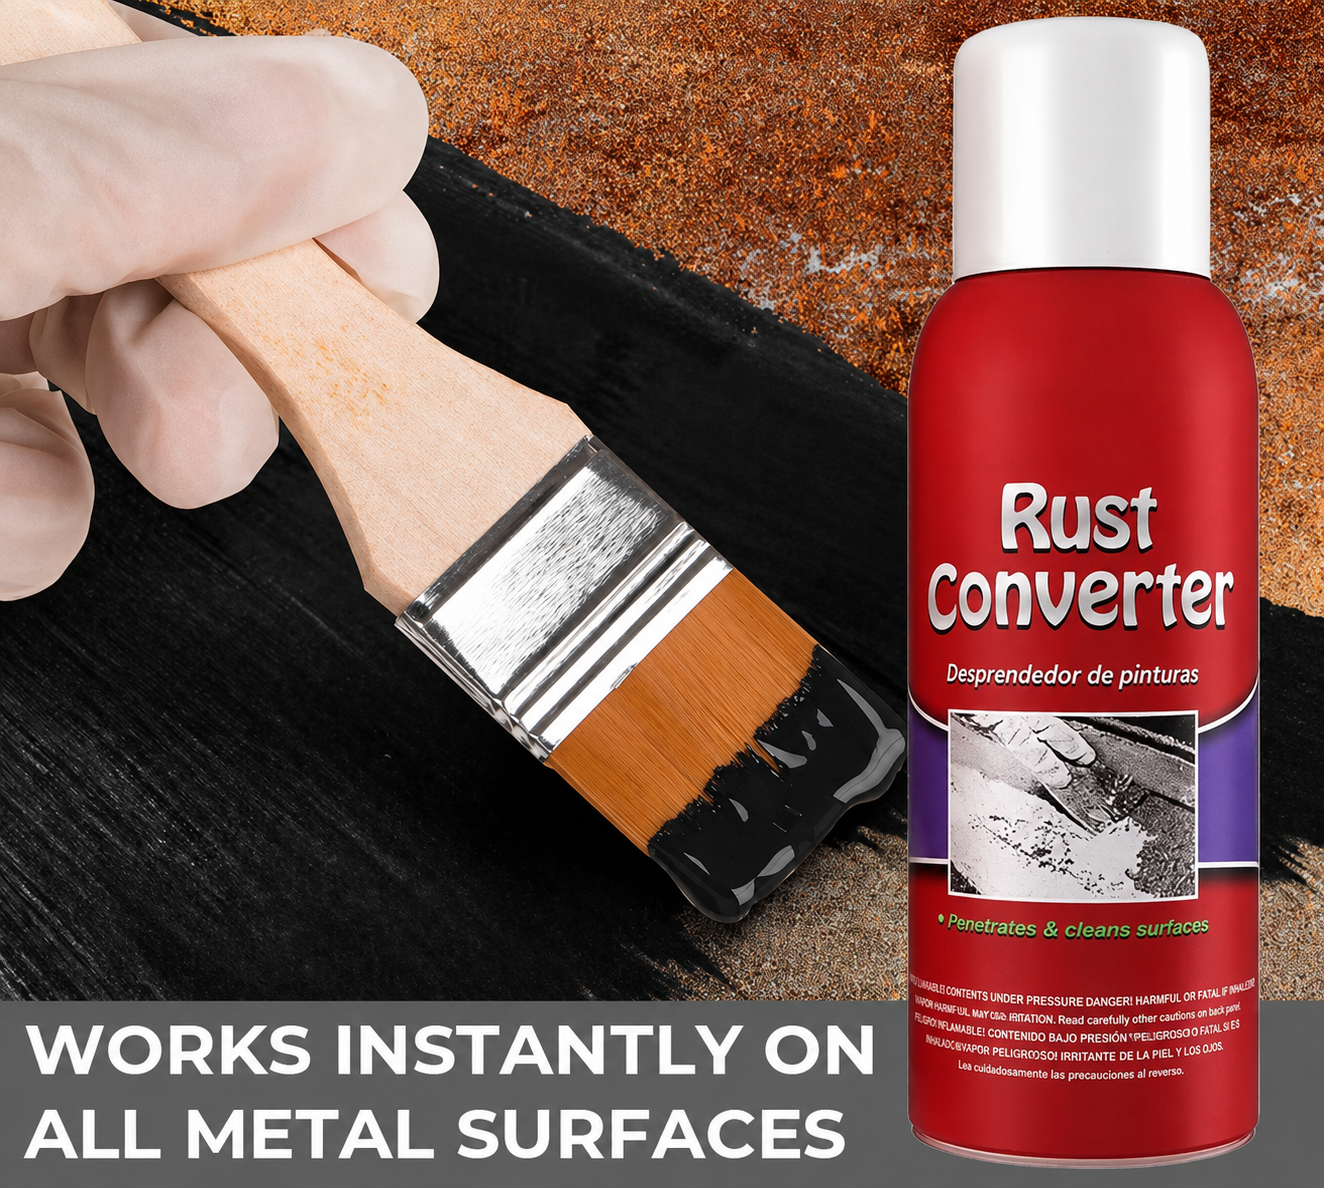
The cautions that save a re-do.
- Never on chrome, polished aluminium, or spoked rims you want to keep bright
- Nothing near brake discs, pads, calipers or the drive chain
- Empty and vent a fuel tank properly before any work — vapour is the hazard
- Bearing races, threads and slider surfaces must stay bare
Typical quantities
A starting point based on the jobs customers order for most often.
| Job | Bottles |
|---|---|
| Frame only | 1 bottle |
| Frame and swingarm | 1–2 bottles |
| Full rolling chassis, bracketry included | 2–3 bottles |
| Mudguards and chain guard | 1 bottle |
| Two-bike project | 3–5 bottles |
Work out your exact quantity
Area
100 sq ft
Bottles needed
3
Recommended bundle
×3 — $42
Based on up to 55 sq ft per bottle on smooth steel, adjusted for surface condition. Estimates only — measure generously.
Why converters win
RustGuard™ vs the old ways
| Method | RustGuard™ | Grinding / sanding | Naval jelly | Paint straight over rust |
|---|---|---|---|---|
| Works on pitted rust you cannot reach | Partly | |||
| No power tools required | ||||
| Leaves a paint-ready surface | After priming | |||
| Stops the treated rust spreading | ||||
| Low dust, low mess | ||||
| Cost for a 100 sq ft panel | From $24 | Discs + hours | $$ | Repaint yearly |
Read the detail: rust converter vs naval jelly · converter vs remover · how to choose one
What buyers say
Rated by people who hate sanding
Saved my truck bed
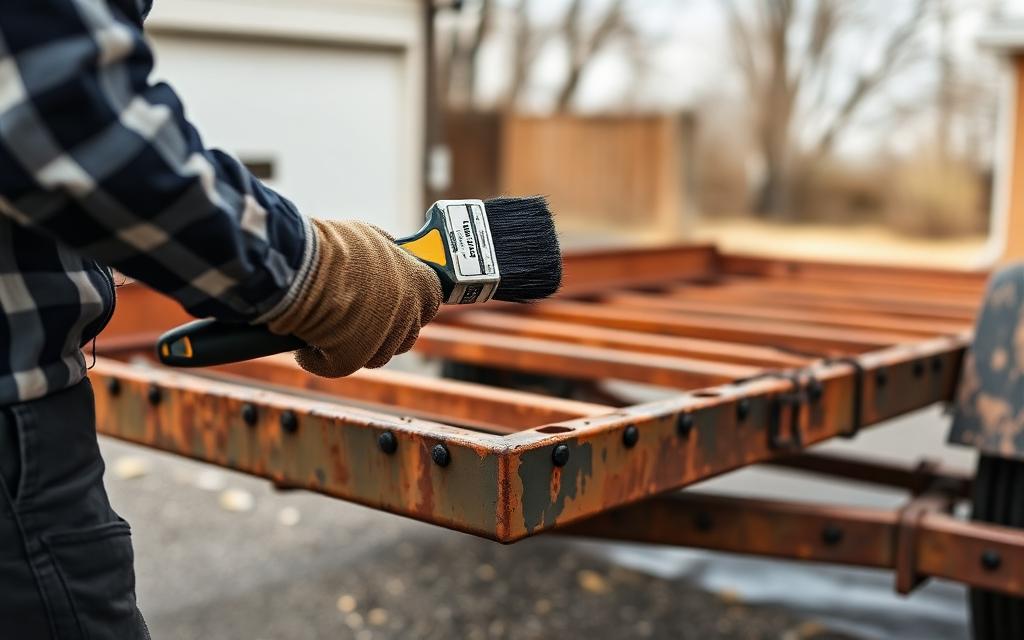
Wire-brushed the loose scale, brushed a coat on and left it overnight. Next morning it was a flat black surface that took primer without fighting me.
Dale R. · Tucson, AZ
No more grinding for hours
I restore gates and railings. This cut my prep time in half on pitted sections where the grinder just polishes the rust around.
Marcus H. · Leeds, UK
Held up through the wet season
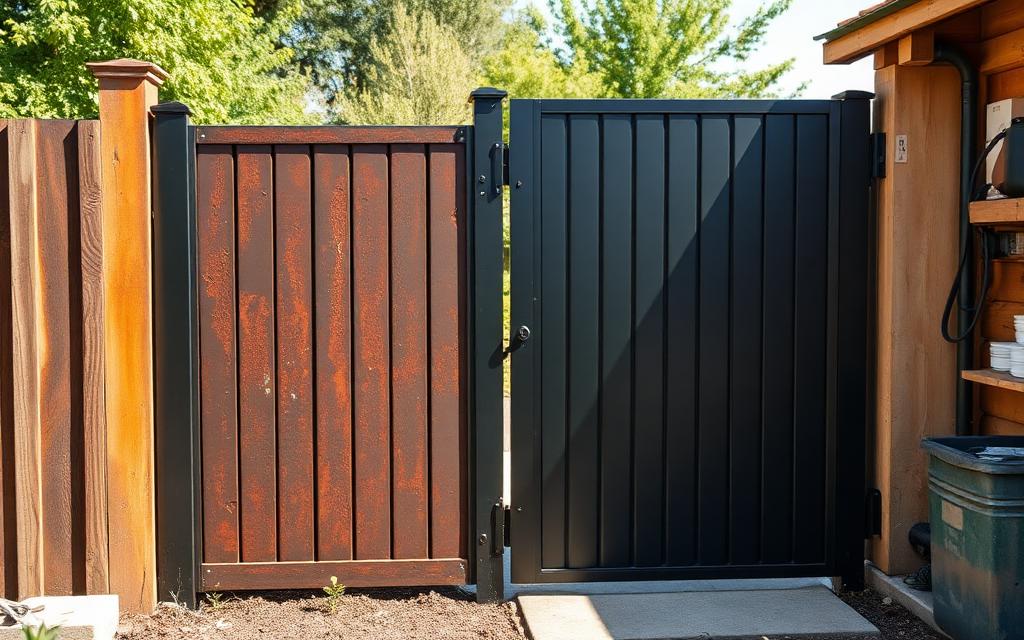
Treated the shed roof sheets and topcoated them. Two seasons of rain later the treated panels still look the way I left them.
Janine K. · Brisbane, AU
Trailer frame looks new
Frame rails were surface-rusted everywhere. Two bottles covered the whole thing with enough left over for the tongue and jack.
Tom V. · Hamilton, ON
Simple to use
Shake, brush, wait. No mixing, no strong acid smell like the jelly products I used before.
Ricardo M. · Houston, TX
Bought the 5-pack, no regrets
Fence posts, patio furniture and a mower deck off one bundle. Ordering the workshop pack was cheaper than buying singles twice.
Ellen S. · Portland, OR
Reviews shown are illustrative sample copy while we collect verified customer feedback.
Buy with confidence
Nothing to lose but the rust
Worldwide shipping
Tracked delivery to the US, UK, Canada, Australia, EU and more. Free on 3-bottle bundles and above.
Encrypted payment
Card details are captured on a secure, encrypted checkout page. We never see or store your card number.
30-day guarantee
If RustGuard™ is not right for your project, contact support within 30 days for a refund of the product price.
No grinder needed
Brush-on chemistry designed for pitted, hard-to-reach rust where abrasives cannot get a bite.
Secure checkout
Order your RustGuard™ bundle
Pick a bundle, tap checkout — that's it. No account, no forms to fight. Your delivery address and payment are collected on the secure checkout page.
Step 1 — Choose your bundle
One bottle covers about 55 sq ft. Treating a whole vehicle, trailer or roof section? Most people need 3 or more.
Free tracked shipping unlocked
Most projects use more than they expect — the ×8 pack drops you to $9.00/bottle (you pay $11.00 now).
Step 2 — Checkout securely
Apple Pay, Google Pay and all major cards are accepted on the secure Shopify checkout — address, payment and confirmation, all in one place.
- 1Tap checkoutYour bundle is reserved in a secure cart.
- 2Pay your wayCard, Apple Pay or Google Pay — under a minute.
- 3Tracked dispatchConfirmation email instantly, packed in 1 business day.
“Ordered the 5-pack, treated the whole trailer frame and still had a bottle spare.”
Tom V. · Hamilton, ON
“Arrived tracked in five days and the brush kit saved me a trip to the store.”
Dale R. · Tucson, AZ
Reviews are illustrative while verified feedback is collected.
Where a motorcycle actually rusts
Bikes rust in the places you never see from the saddle: the underside of the frame rails, the back of the swingarm, the centre stand and its pivot, the brackets that carry the exhaust and the rear guard, and the pockets behind the shock absorber and under the engine where road spray collects and never dries.
The bike's own heat is part of the problem. A frame gets warm, dries the top surfaces and drives moisture downward, so corrosion concentrates on the lower, cooler faces. That is also why a bike left standing all winter deteriorates faster than one ridden — condensation forms and there is no heat cycle at all to shift it.
The good news is scale. A whole frame is a small area compared to a car, so one bottle and a careful afternoon covers everything. The hard part is masking, not application.
Part by part on a bike
| Part | Treat? | Note |
|---|---|---|
| Frame rails and headstock area | Yes | The main job; two coats underneath |
| Swingarm (steel) | Yes | Check the underside and the chain-side inner face |
| Centre and side stands | Yes | Pivots collect road salt |
| Exhaust and rear guard brackets | Yes | Common failure point |
| Mudguard undersides (steel) | Yes | Where the spray lands |
| Fuel tank exterior | Only if painted and rusting through | Bodywork usually wants a body shop finish |
| Chrome guards, pipes and trim | No | Chrome polish, or replate |
| Alloy wheels, cases and swingarms | No | Not ferrous — wrong chemistry |
| Discs, pads, calipers | No | Never coat friction surfaces |
| Fork stanchions | No | Sliding sealed surfaces |
| Exhaust pipes and headers | No | Far above the 400°F limit |
Doing a frame properly
- 01
Get the bike up and take what you can off
Paddock stand or bench, wheels out if you are being thorough, plastics and seat off. Access decides quality here.
- 02
Degrease the whole frame twice
Chain lube fling and engine oil mist coat every bike frame. Solvent wipe, detergent wash, splash test.
- 03
Mask ruthlessly
Discs, pads, calipers, stanchions, bearings, electrical connectors, the exhaust and all chrome and polished alloy.
- 04
Wire-brush the flaking areas
A small hand brush and a wire detail brush get into the bracket welds and the stand pivot.
- 05
First thin coat with a detail brush
Work under the rails and behind the shock first, while your patience and your brush are fresh.
- 06
Second coat after 3–4 hours on the salted zones
Underside, brackets and stand pivots. Upper frame usually needs one.
- 07
Cure 24 hours, then satin black
Two thin coats of a good satin or semi-gloss. On a bike, thin coats are the whole difference between tidy and homemade.
Winter storage, which causes most of the damage
The worst thing you can do to a bike is put it away wet and salty in an unheated garage in November. Condensation cycles daily on a cold frame, the salt holds water against the metal, and by March a bike that was fine in October has a bloom of surface rust on every unprotected surface.
Before storage: wash the salt off properly, dry it thoroughly — a warm run, then compressed air or a leaf blower into the recesses — and give bare metal a spray of a water-displacing protectant. Then cover it with something breathable, not a plastic sheet that traps moisture.
If you have already had a bad winter, this is the ideal converter job. Frame, stands, brackets and guard undersides in an afternoon, satin black over the top, and the bike is ahead of the corrosion rather than behind it.
What not to do on a motorcycle
- Getting product on discs, pads or anything in the braking system
- Treating alloy cases, wheels or swingarms — it does nothing there
- Coating chrome, which needs polishing or replating instead
- Brushing near fork seals or bearing seals without masking
- Painting the frame the same day, before the film has cured
- Treating an exhaust, which runs far above the film's temperature limit
Work out your exact quantity
Area
100 sq ft
Bottles needed
3
Recommended bundle
×3 — $42
Based on up to 55 sq ft per bottle on smooth steel, adjusted for surface condition. Estimates only — measure generously.
Where it is not the answer
- Structural frame corrosion that has thinned a tube — a frame specialist, not a coating
- Alloy, magnesium and chrome components
- Brake and clutch friction surfaces of any kind
- Fork stanchions, bearing races and sealed sliding surfaces
- Exhaust systems and heat shields
- Show-standard tank and bodywork finishing, which needs a proper paint shop
Frequently asked questions
Can I use it inside a fuel tank?
No. Tank interiors need a dedicated fuel-resistant sealer system, and the vapour risk makes DIY work genuinely dangerous.
Will it restore rusted chrome?
No. Pitted chrome needs re-plating. The converter only addresses the steel underneath.
Is it strong enough for a frame?
As a converter-primer under a proper frame enamel, yes. For a show-standard finish, powder coating over bare blasted steel is still the benchmark.
What about rusted spokes?
Individual spokes are easier to replace than to coat well, and a coated spoke never looks right.
How much rust converter for a motorcycle frame?
One bottle is enough for a typical frame, swingarm, stands and brackets in two coats. Buy two if you are also doing guard undersides and a lot of bracketry.
Can I use it on the exhaust?
No. Exhausts run far above the roughly 400°F limit of the cured film. Use a dedicated high-temperature exhaust paint on cleaned bare metal.
Will it work on alloy engine cases?
No, they are not ferrous. Alloy corrosion needs polishing or an aluminium-specific etch primer.
What about chrome?
Chrome polish for light spotting, replating if the chrome has pitted through. Converter does not restore chrome.
Can I do it with the engine in the frame?
Yes, most people do. Mask thoroughly, use a detail brush, and take the wheels out if you want to reach the lower rails properly.
What topcoat looks right on a frame?
Satin or semi-gloss black in two thin coats. Chassis paint also works and is tougher against stone chips.
Is it safe around wiring and connectors?
Mask them. It is water-based and low odour, but you do not want any coating inside an electrical connector.
Keep reading
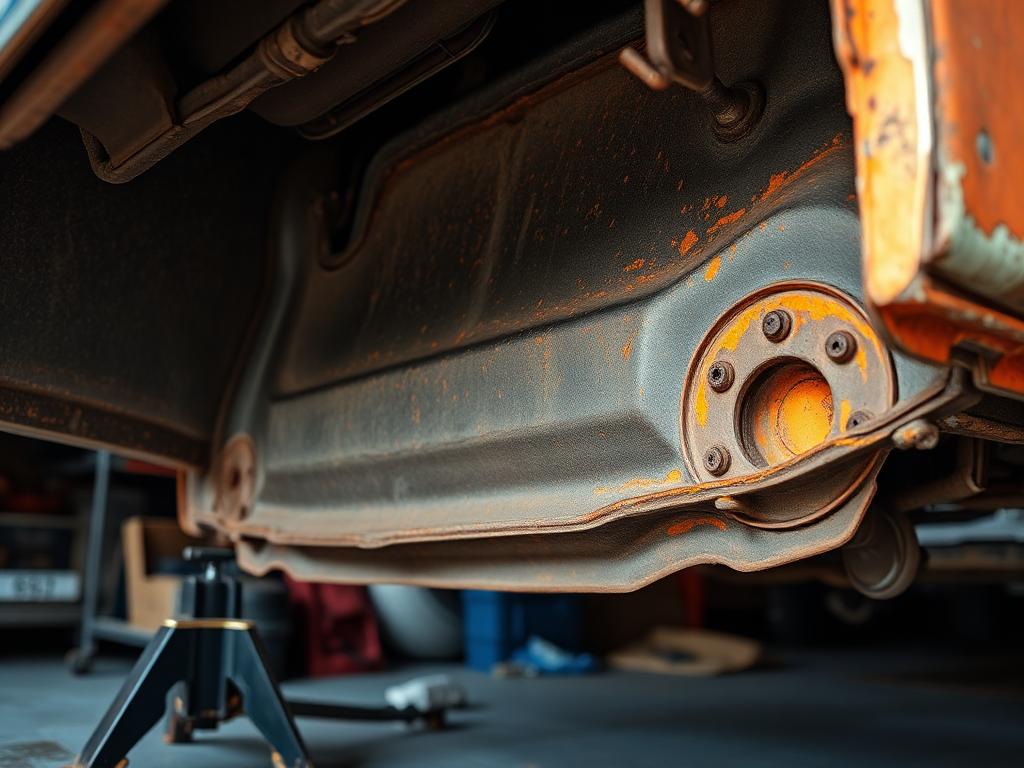
- Rust converter for carsTreat surface rust on car sills, wheel arches, floor pans and subframes with RustGuard™ — convert, prime and repaint without blasting.
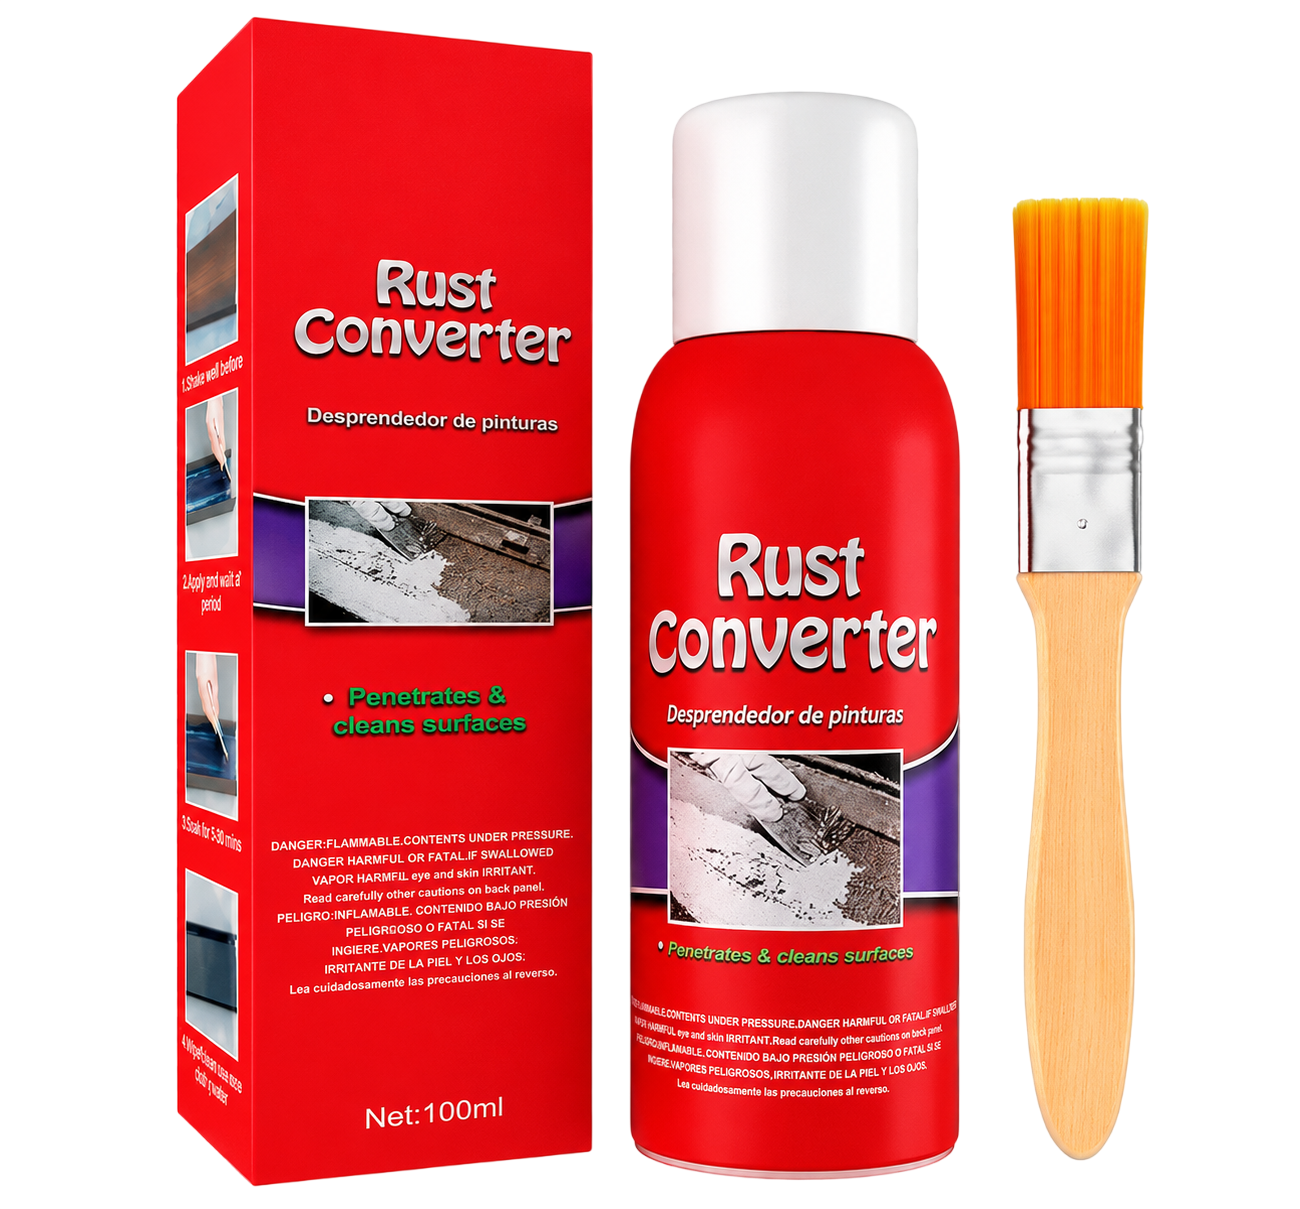
- Rust converter for iron and steel that leaves a paint-ready surfaceBrush RustGuard™ onto rusted iron or steel, convert the corrosion and topcoat in 24 hours. Bundles from $24, free shipping on 3+.
- How to paint over rust properlyPainting straight over rust always fails. Here's the correct sequence — prep, convert, cure, prime, topcoat — and the paints that work over a converted surface.
- Rust converter for tools and workshop equipmentBring rusted hand tools, vices, clamps and cast-iron surfaces back into service. When to convert and when to strip and oil instead.
- Rust converter drying and cure timeColour change, touch dry, recoat and topcoat windows for rust converter — plus how temperature and humidity change every one of them.
Last step
Ready to stop the rust?
Ships from our US fulfilment partner, typically 3–7 business days. 30-day money-back guarantee.